A Journey - The Shoot
Date: 12/03/2018
Location: Portland, Oregon
Reflection
These five photos tell a story of my shoot that I just had in Portland, Oregon. This is my first time in Portland, and I’ve been really enjoying it so far. That being said, when you travel somewhere for work it takes away that unique feeling when you get when you visit a place for the very first time.
It’s still a great experience but your focus remains on your work and not on the interesting details of the place your visiting. That’s why I decided to take shots of things that interested me that were nearby where we were filming.
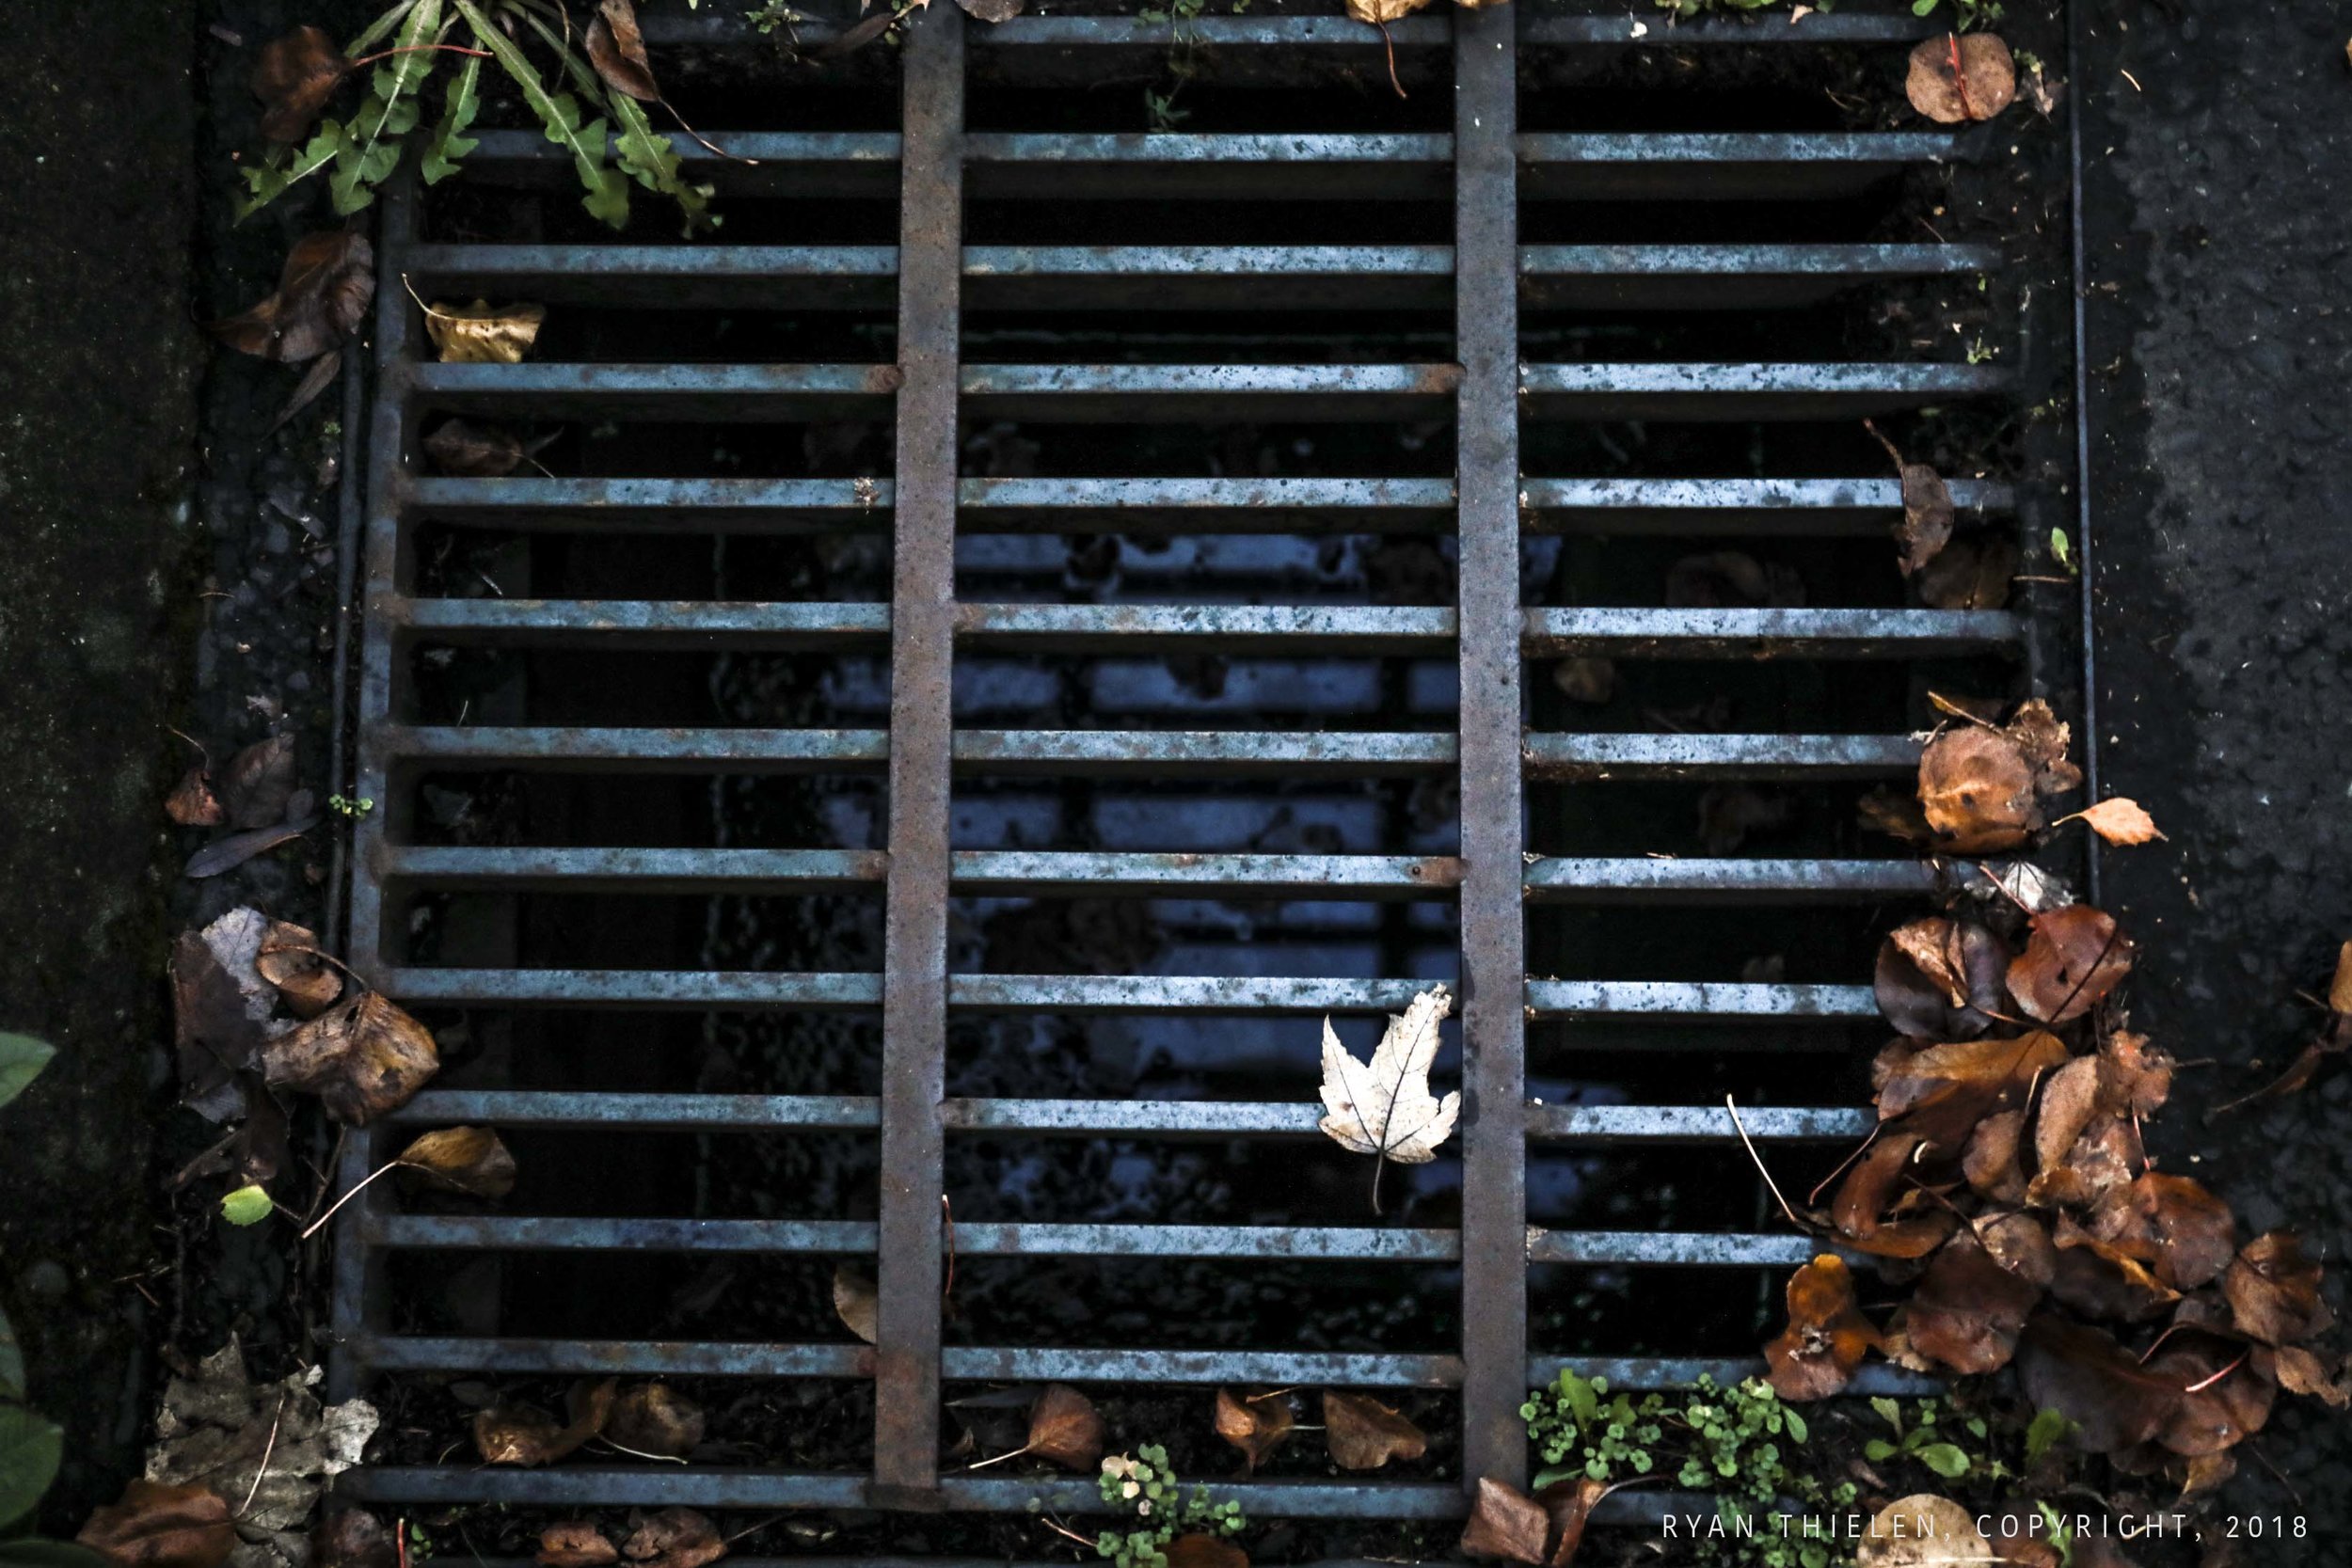
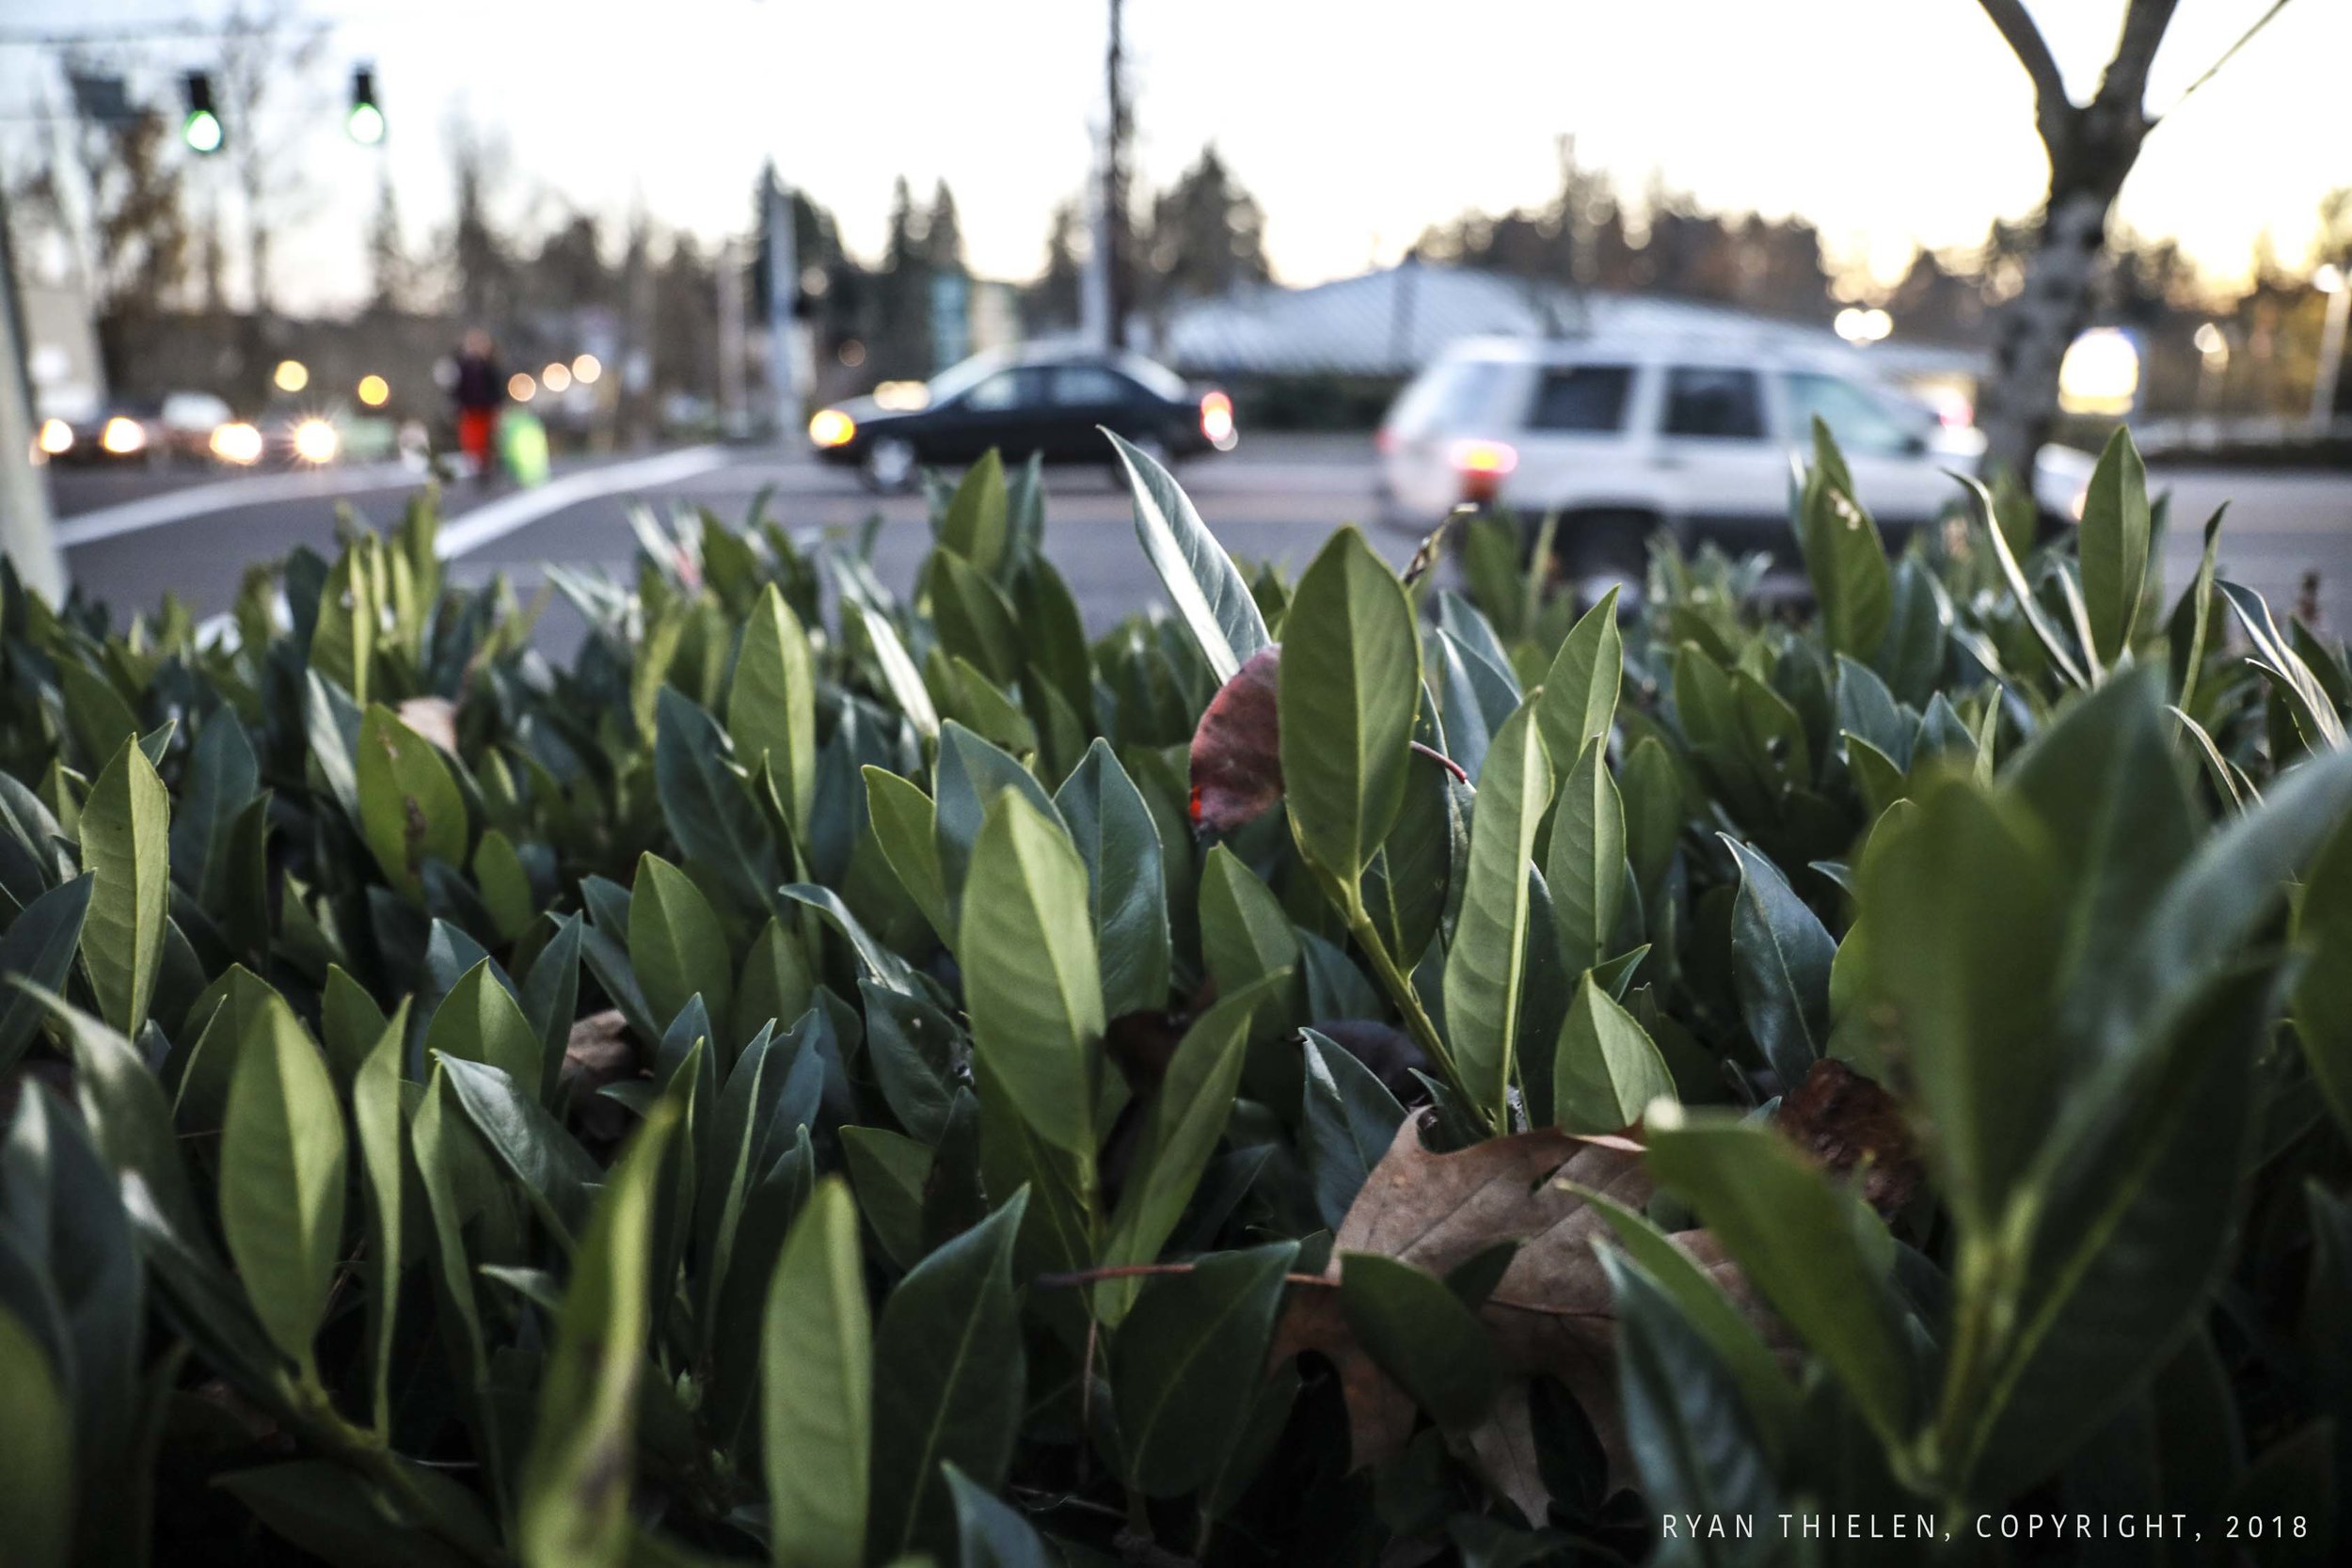
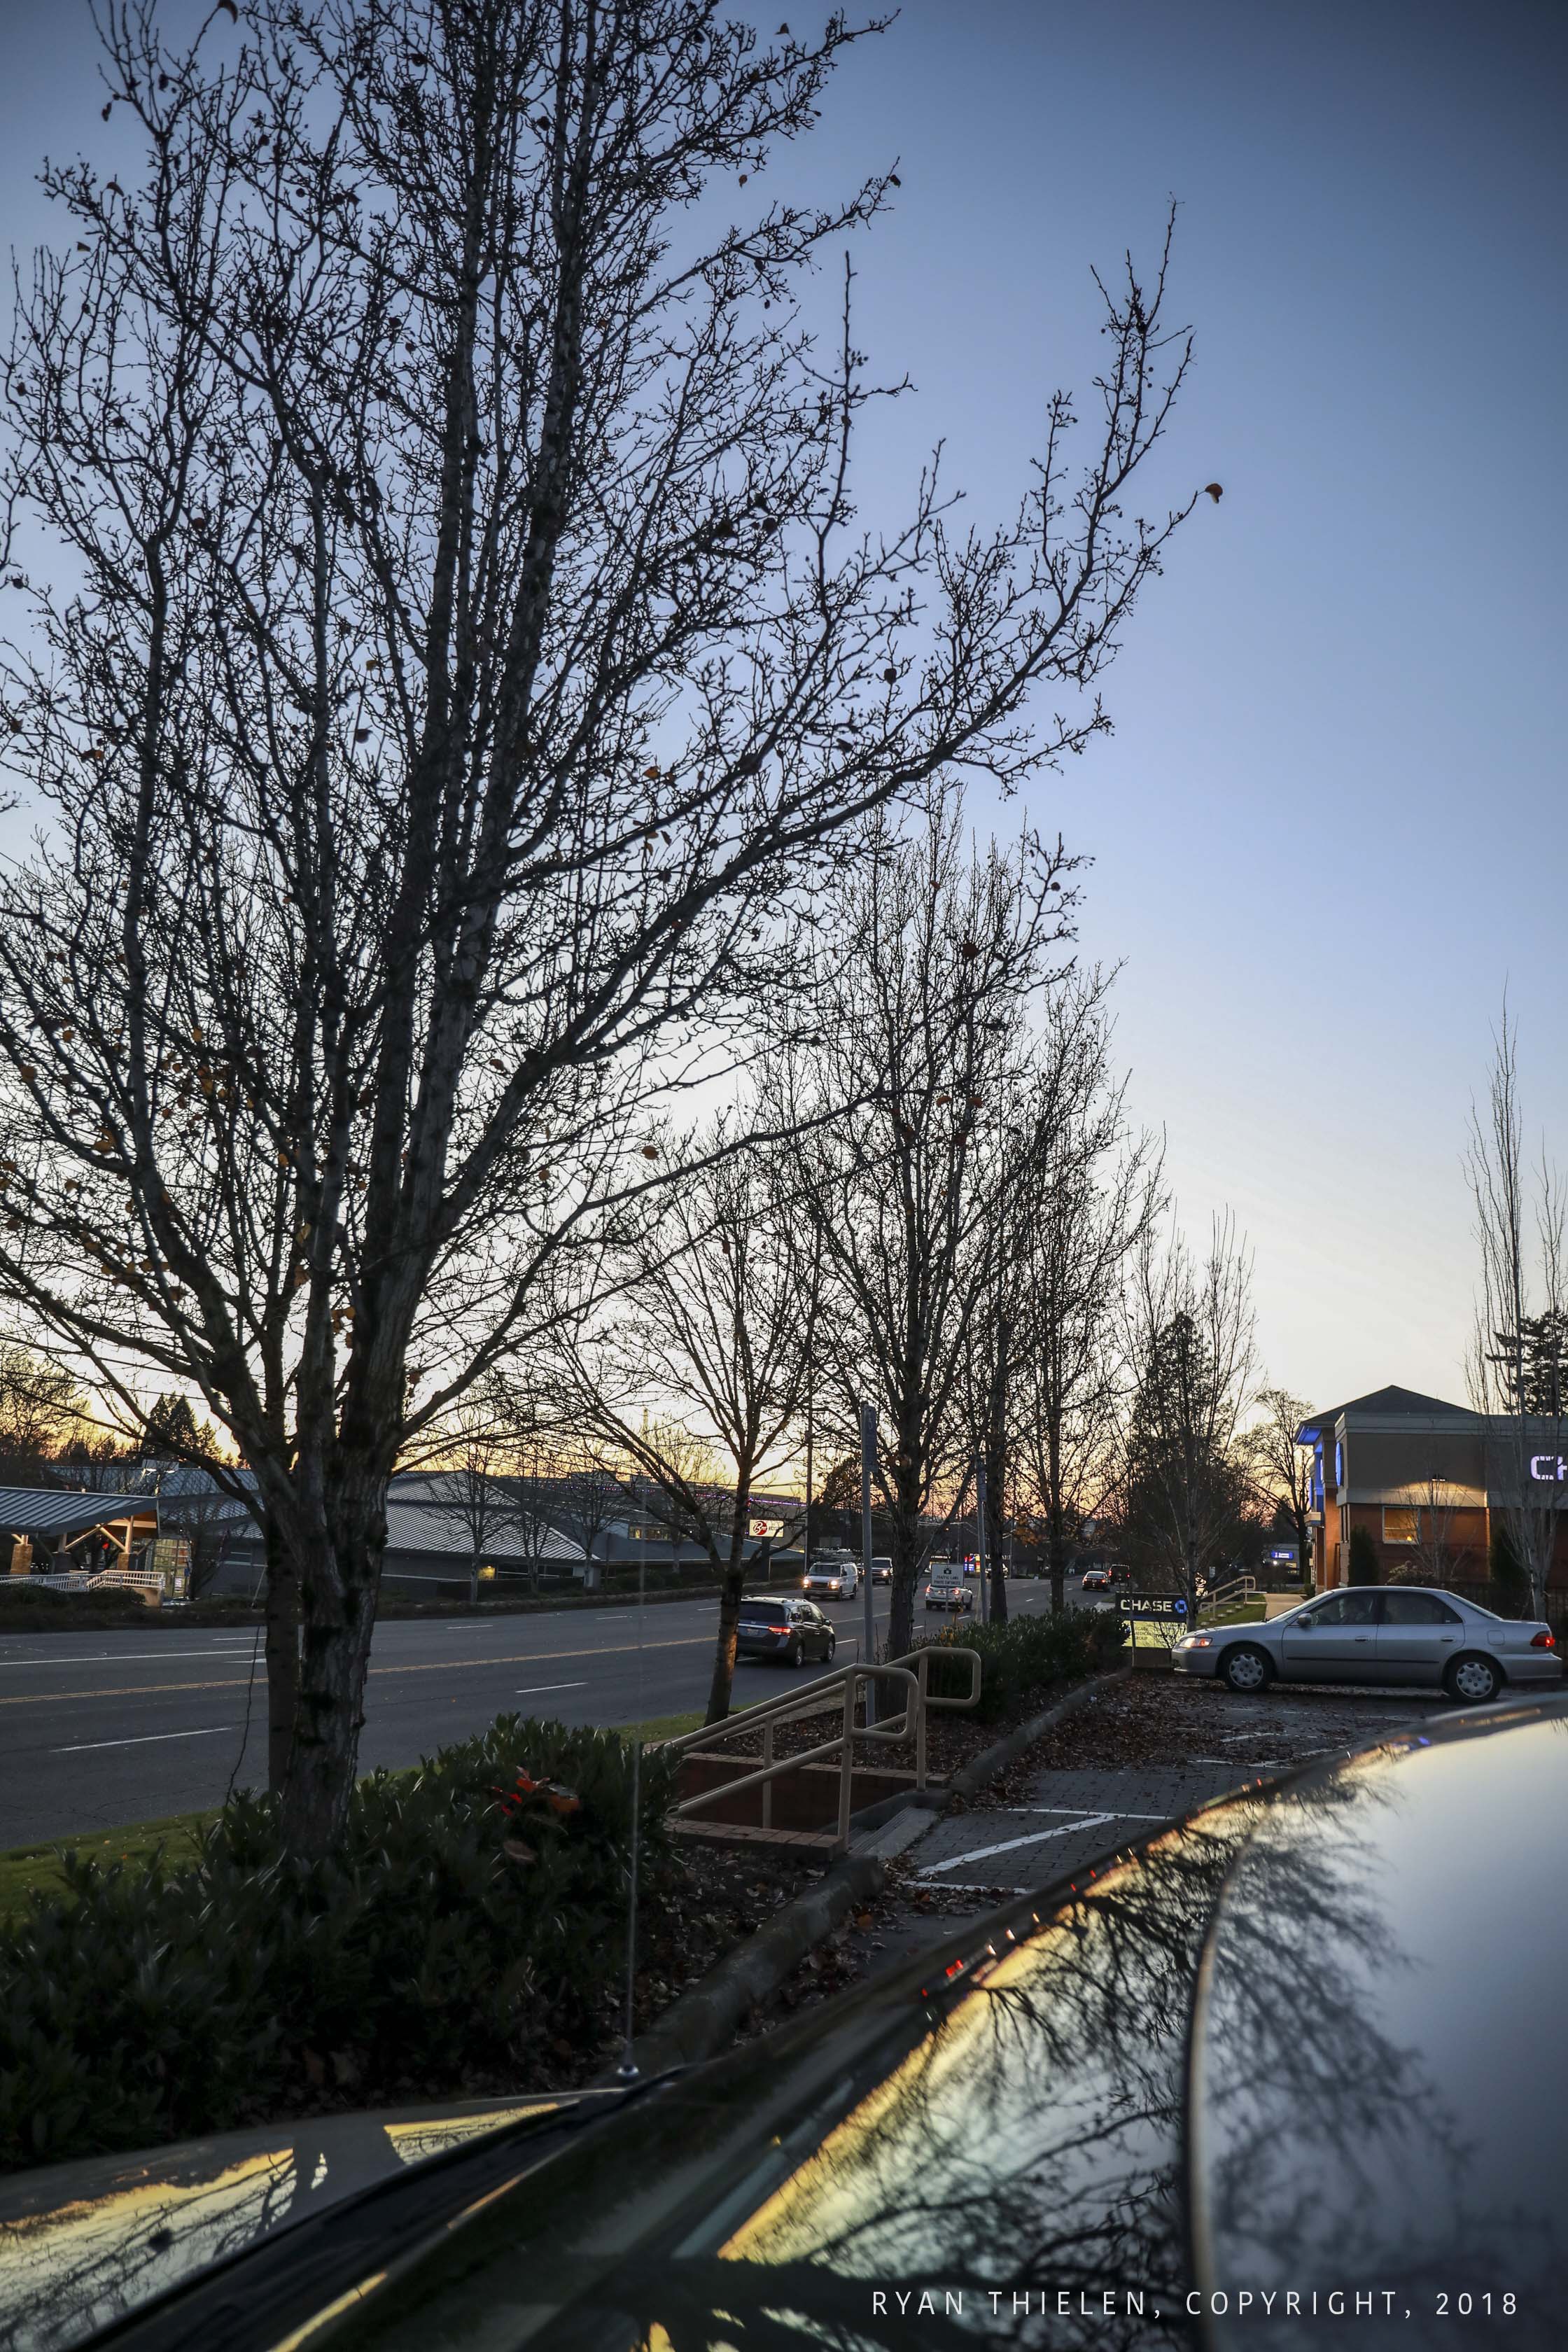
I really liked the way the trees looked as well as some of the plants. There was a sewage grate that had leaves in and around it that looked cool. As one of my co-workers was buried in his laptop working - I was enjoying the moment taking pictures of the surrounding area.
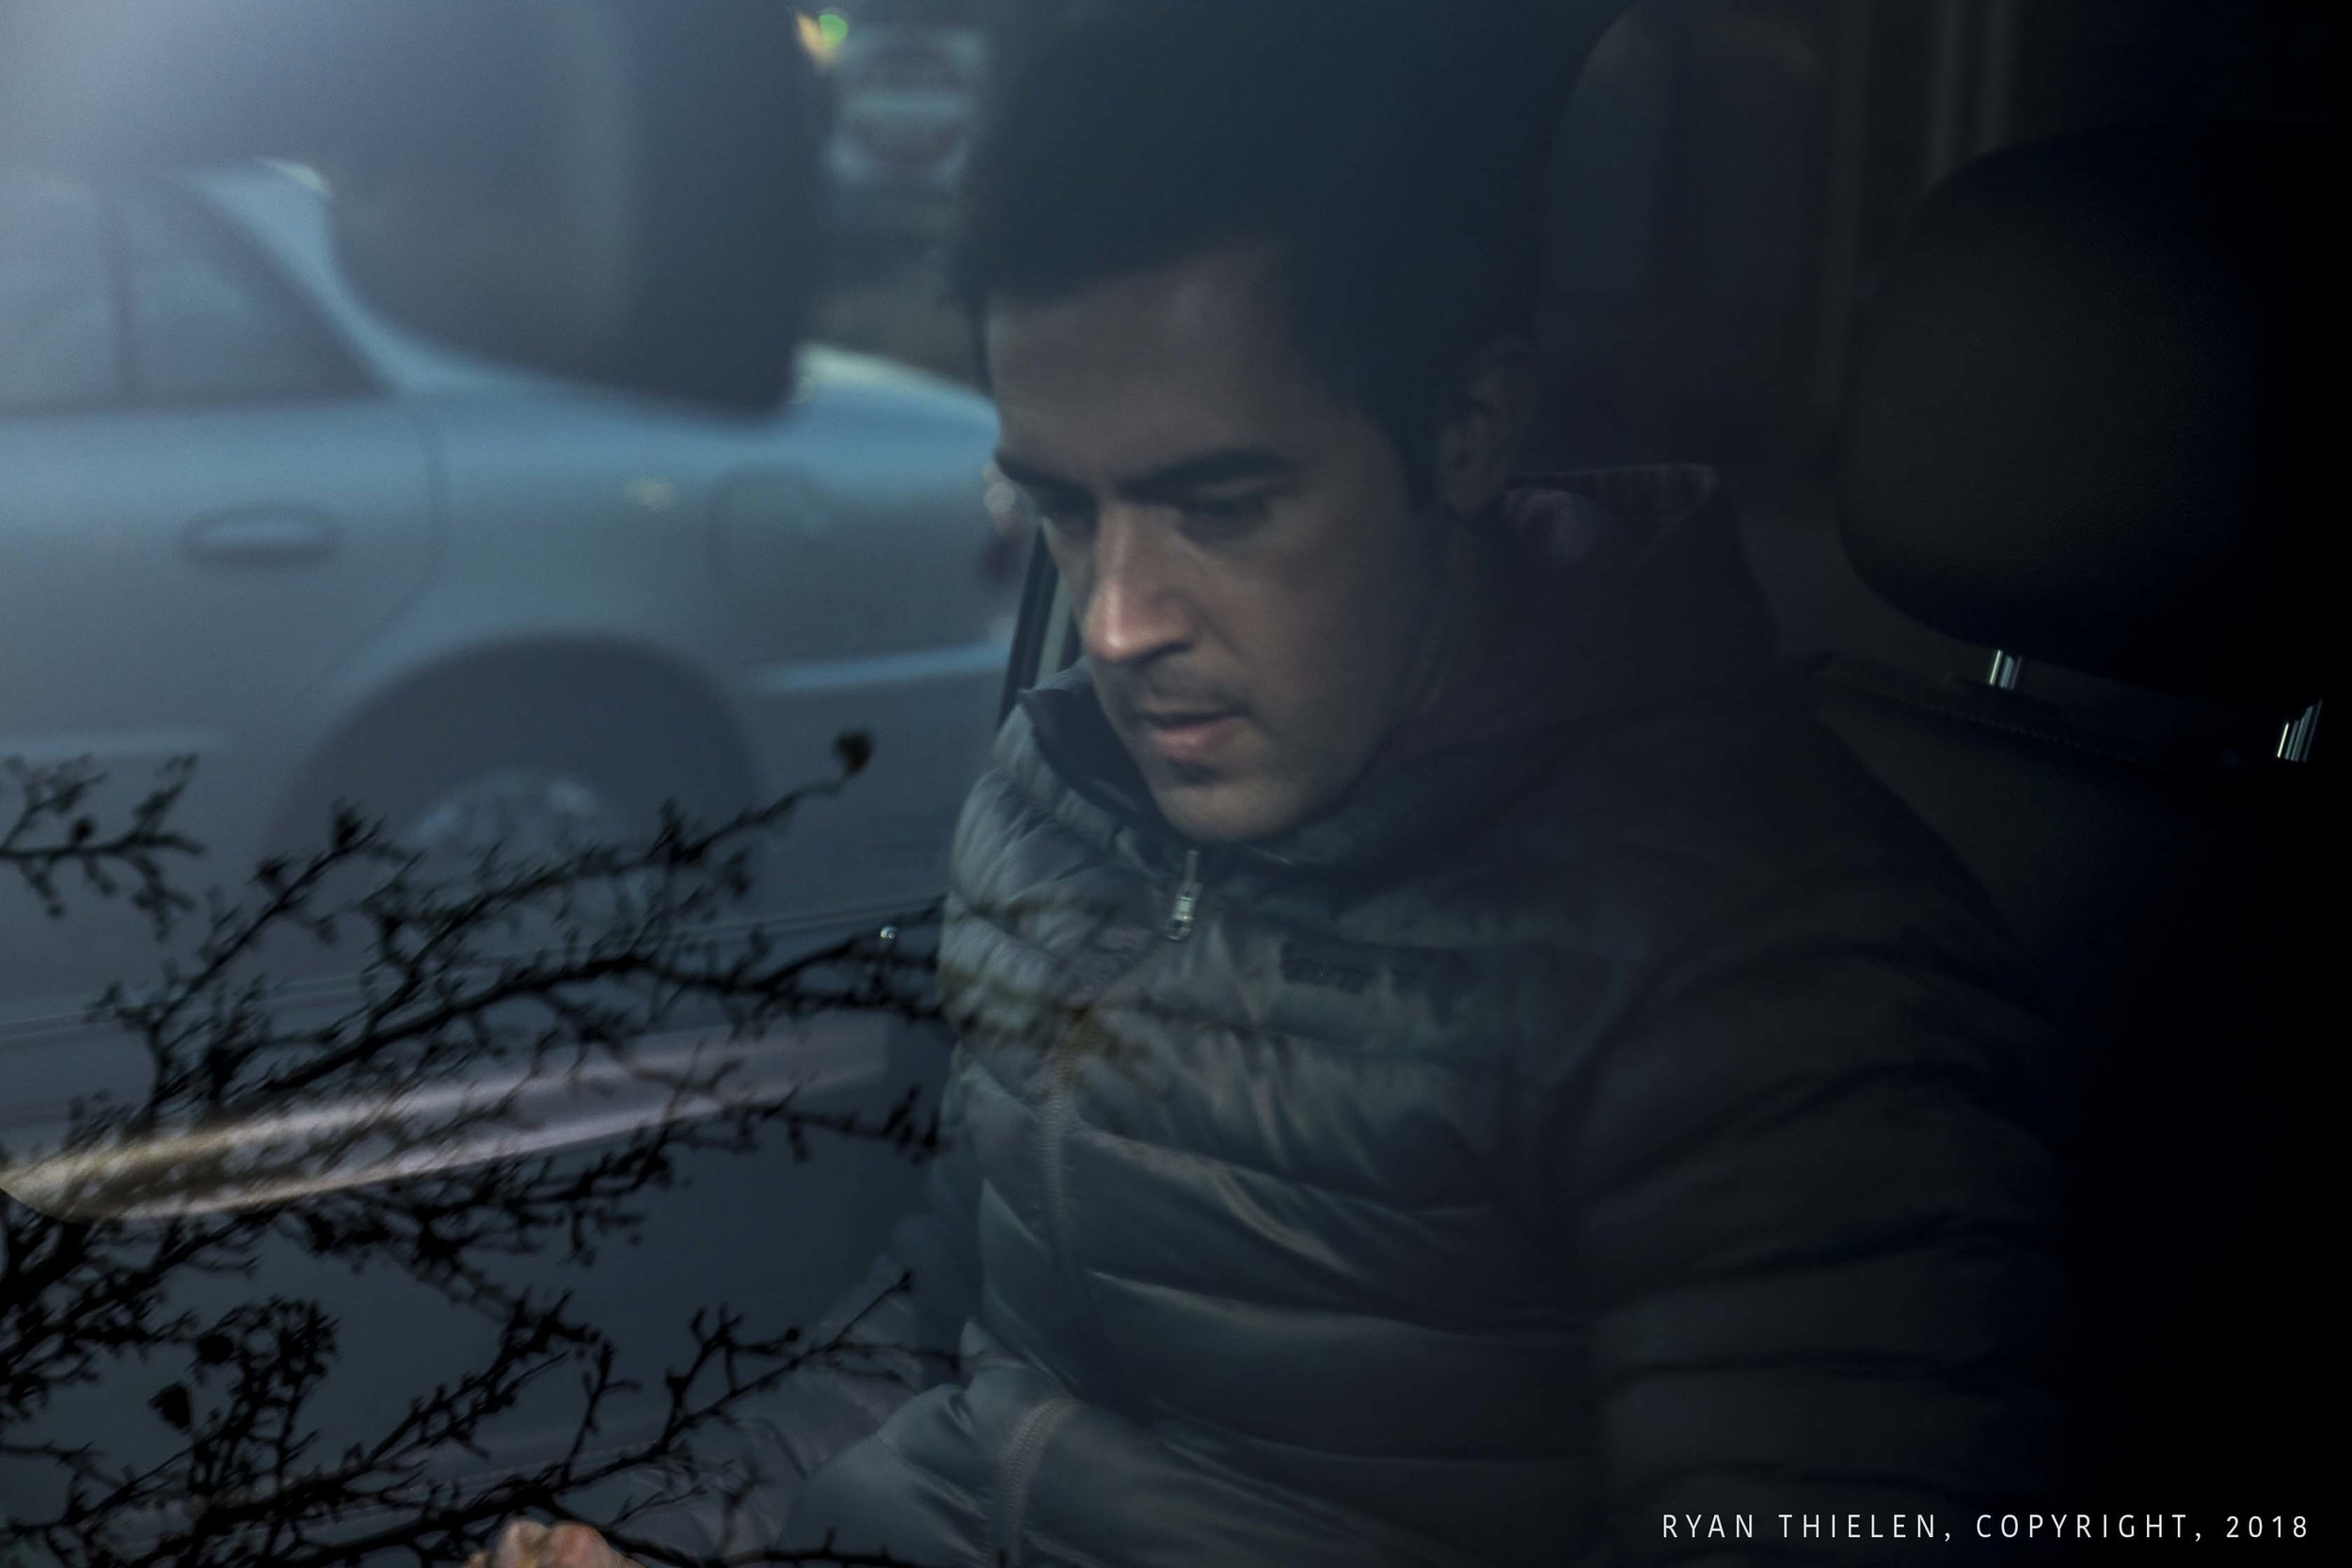
I thought this was a great representation of what I described about how work can dull the freshness of visiting a new place. His photo shows him working in the car as a beautiful tree is reflected over the top of the glass in front of him.
Overall I thought this was a fun assignment. It forced me to take some time to appreciate the new location I was visiting and try to represent that through photography. I really liked the richness of some of the colors and contrast. I do feel like I could have done a better job finding one or two more interesting shots. There was a moment as we were driving of beautiful trees swallowed by fog in the morning. Unfortunately I missed that shot.
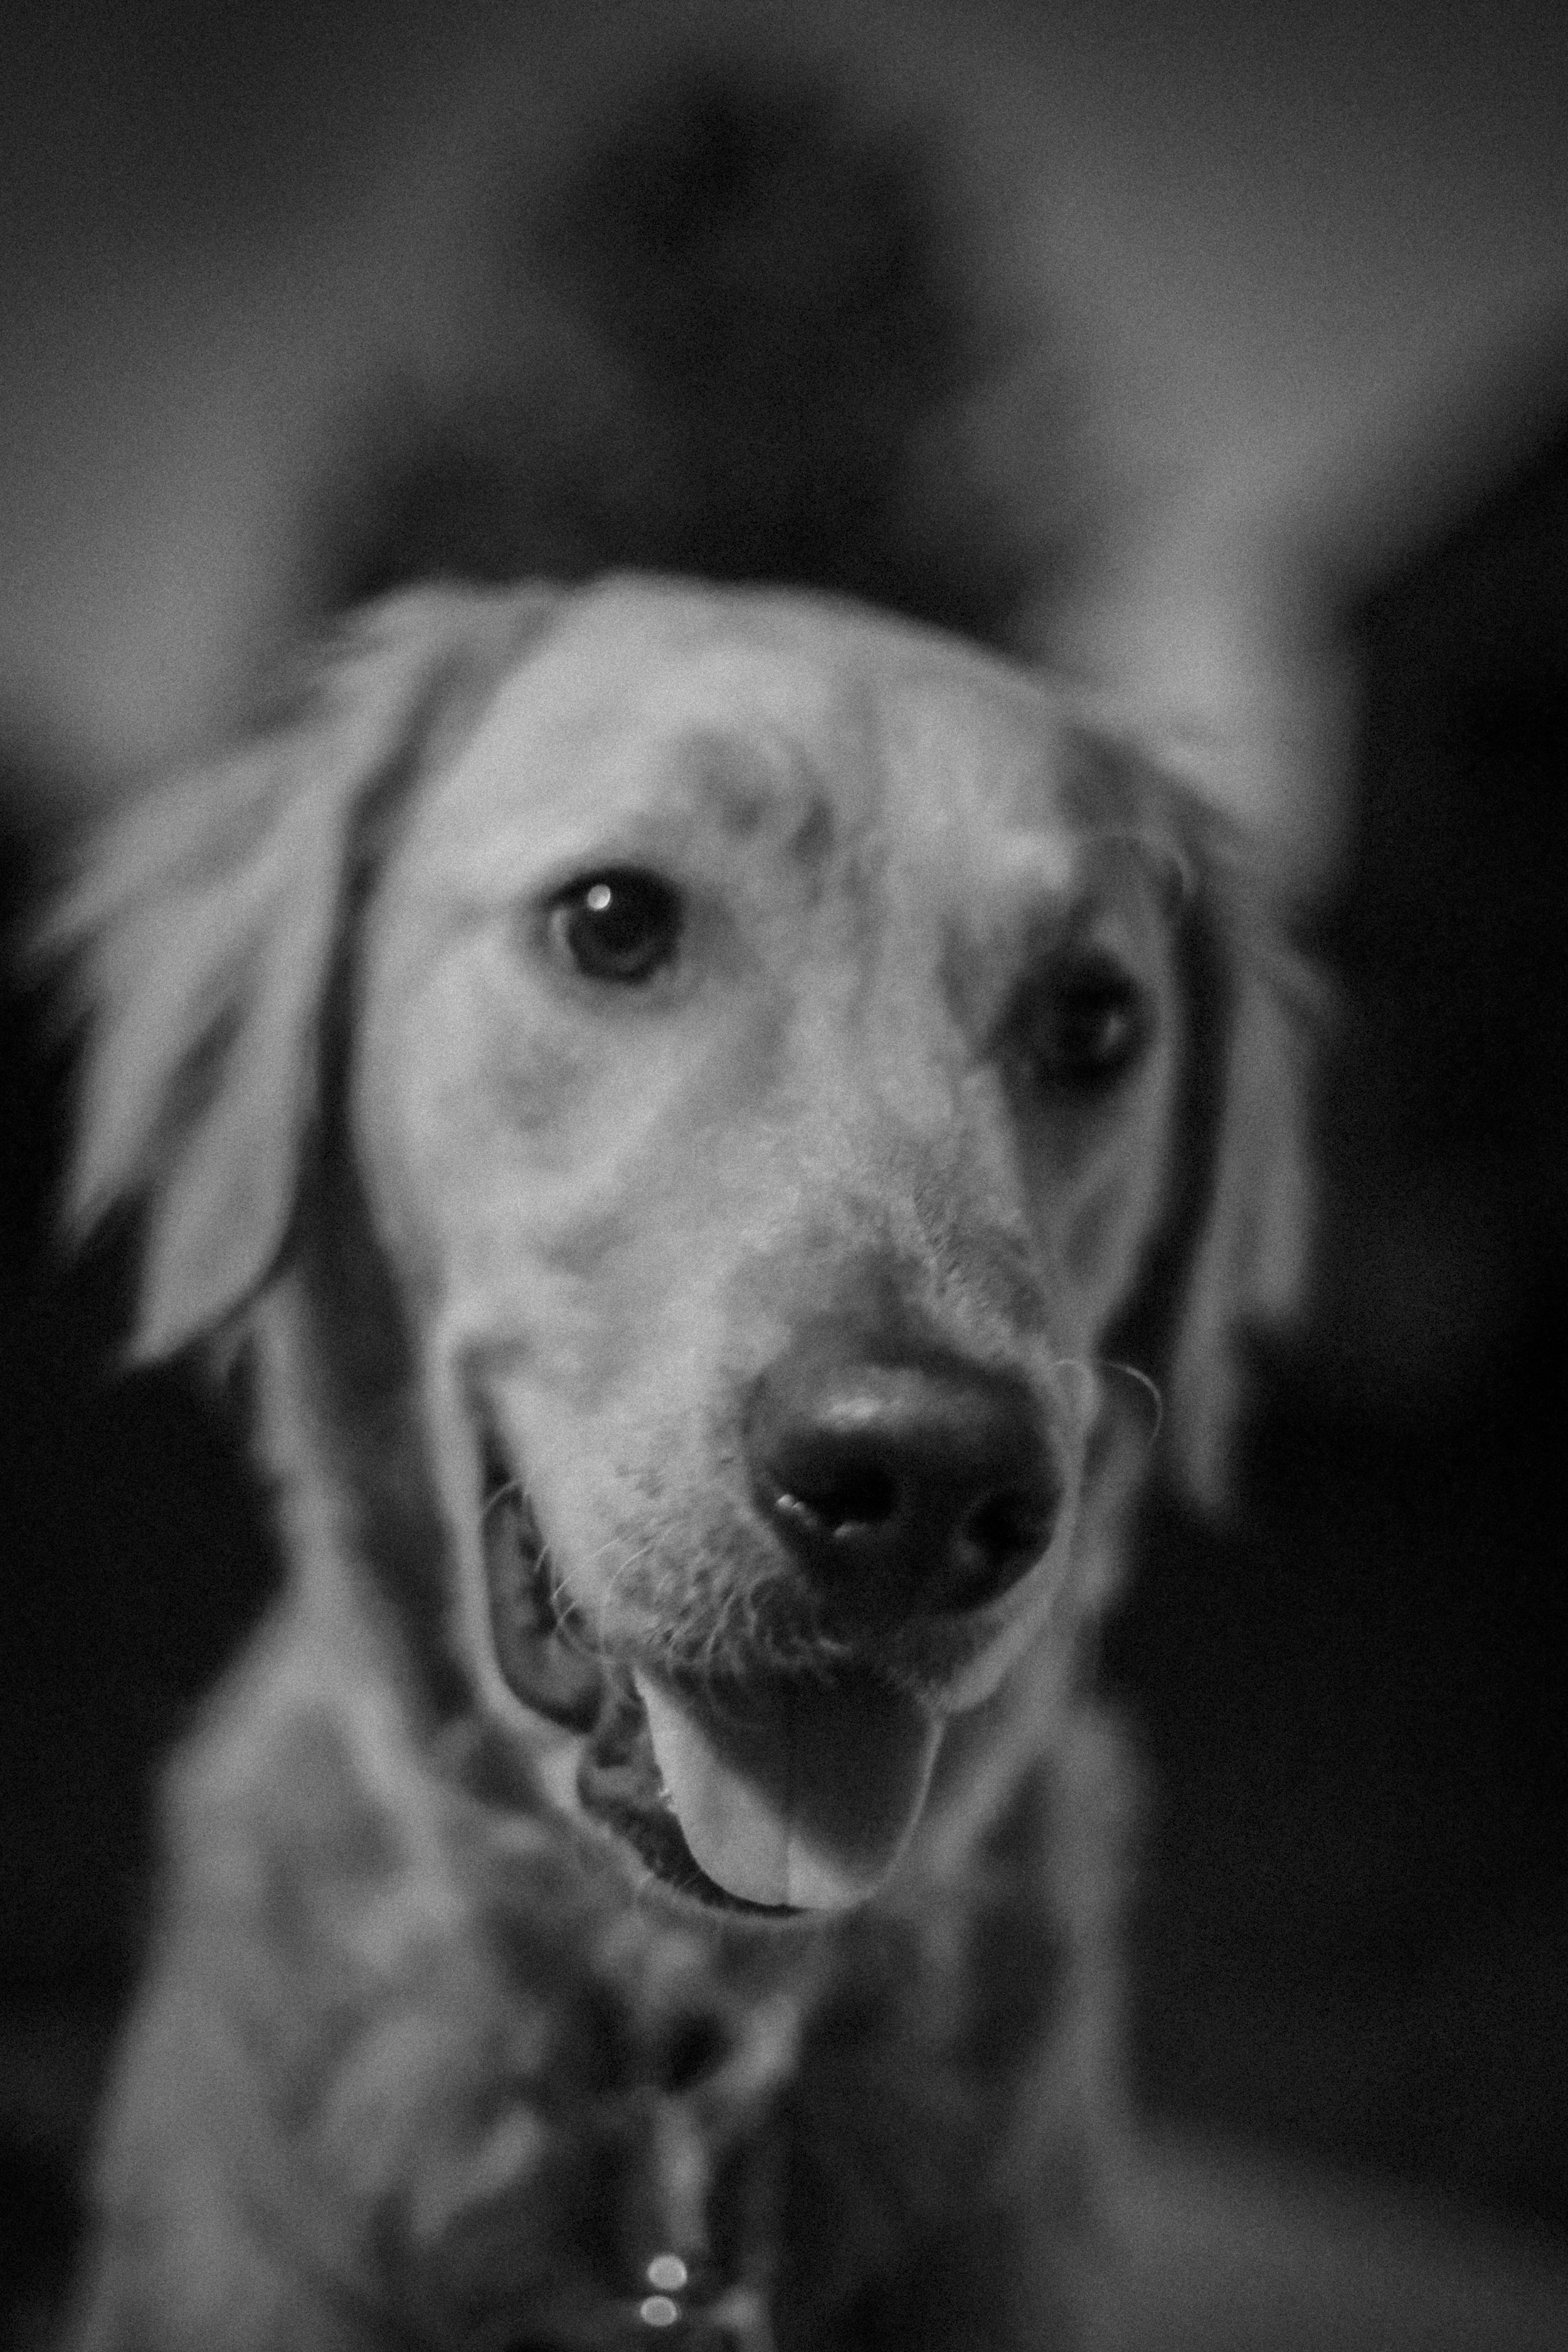
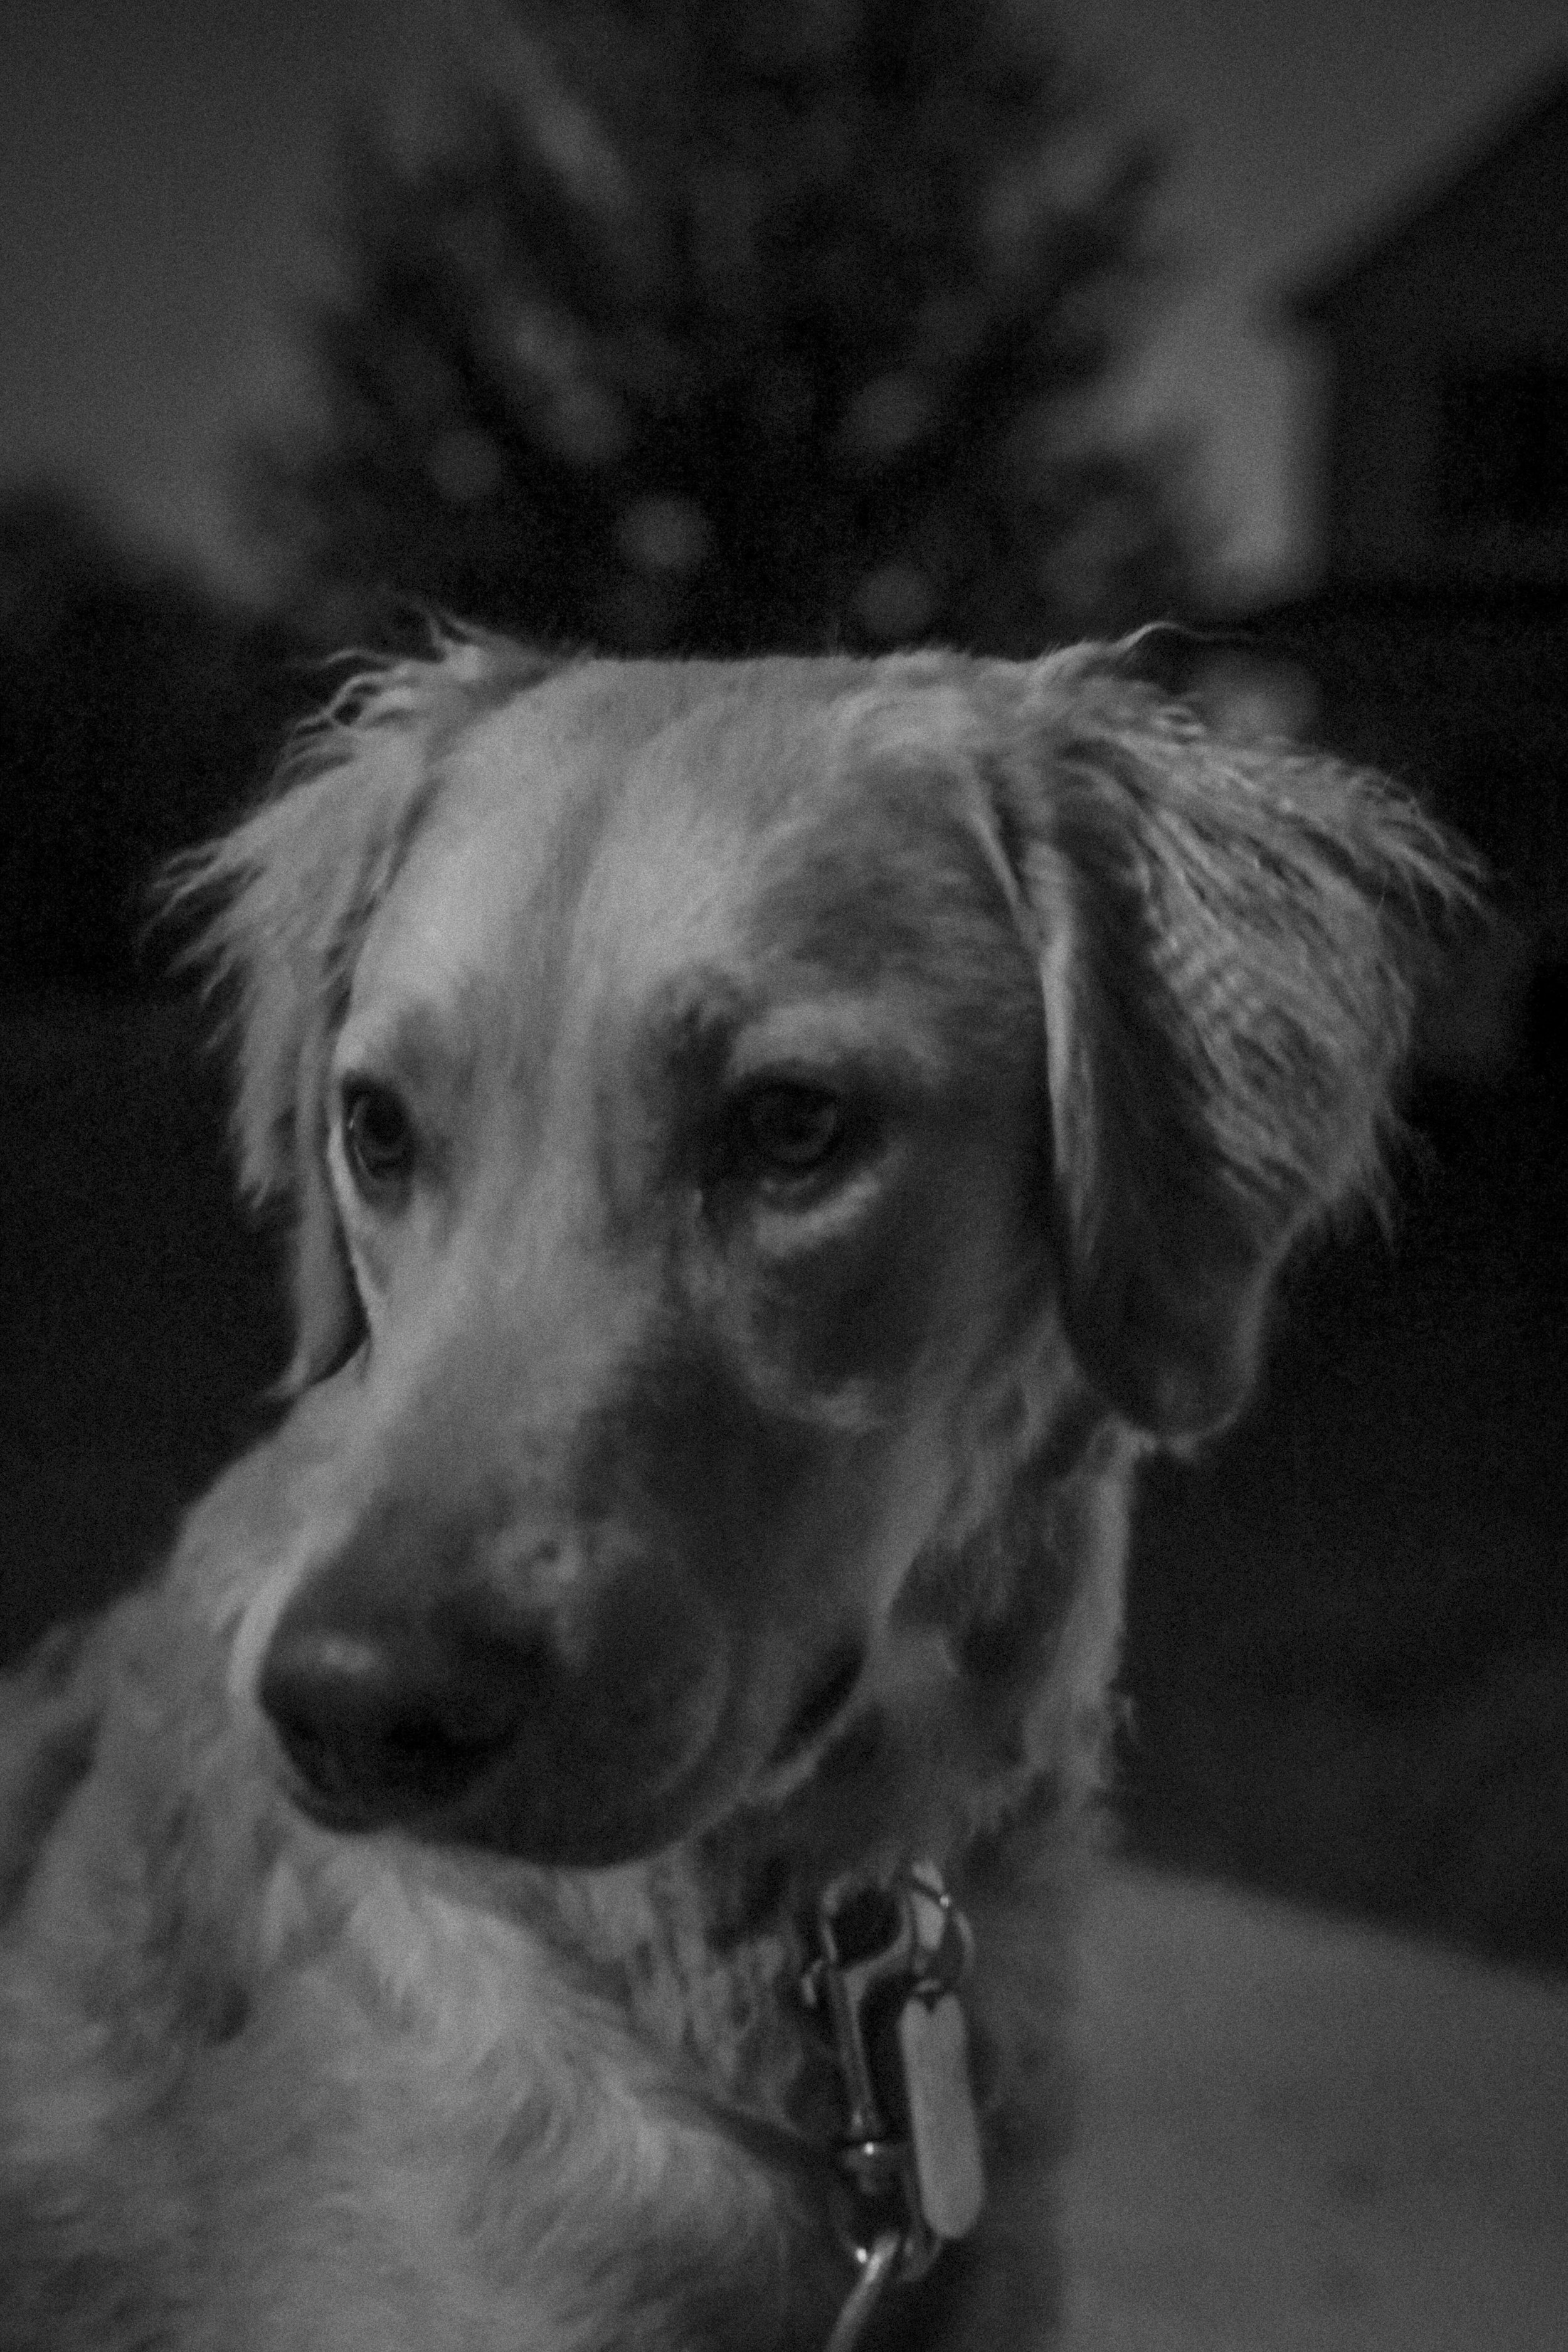
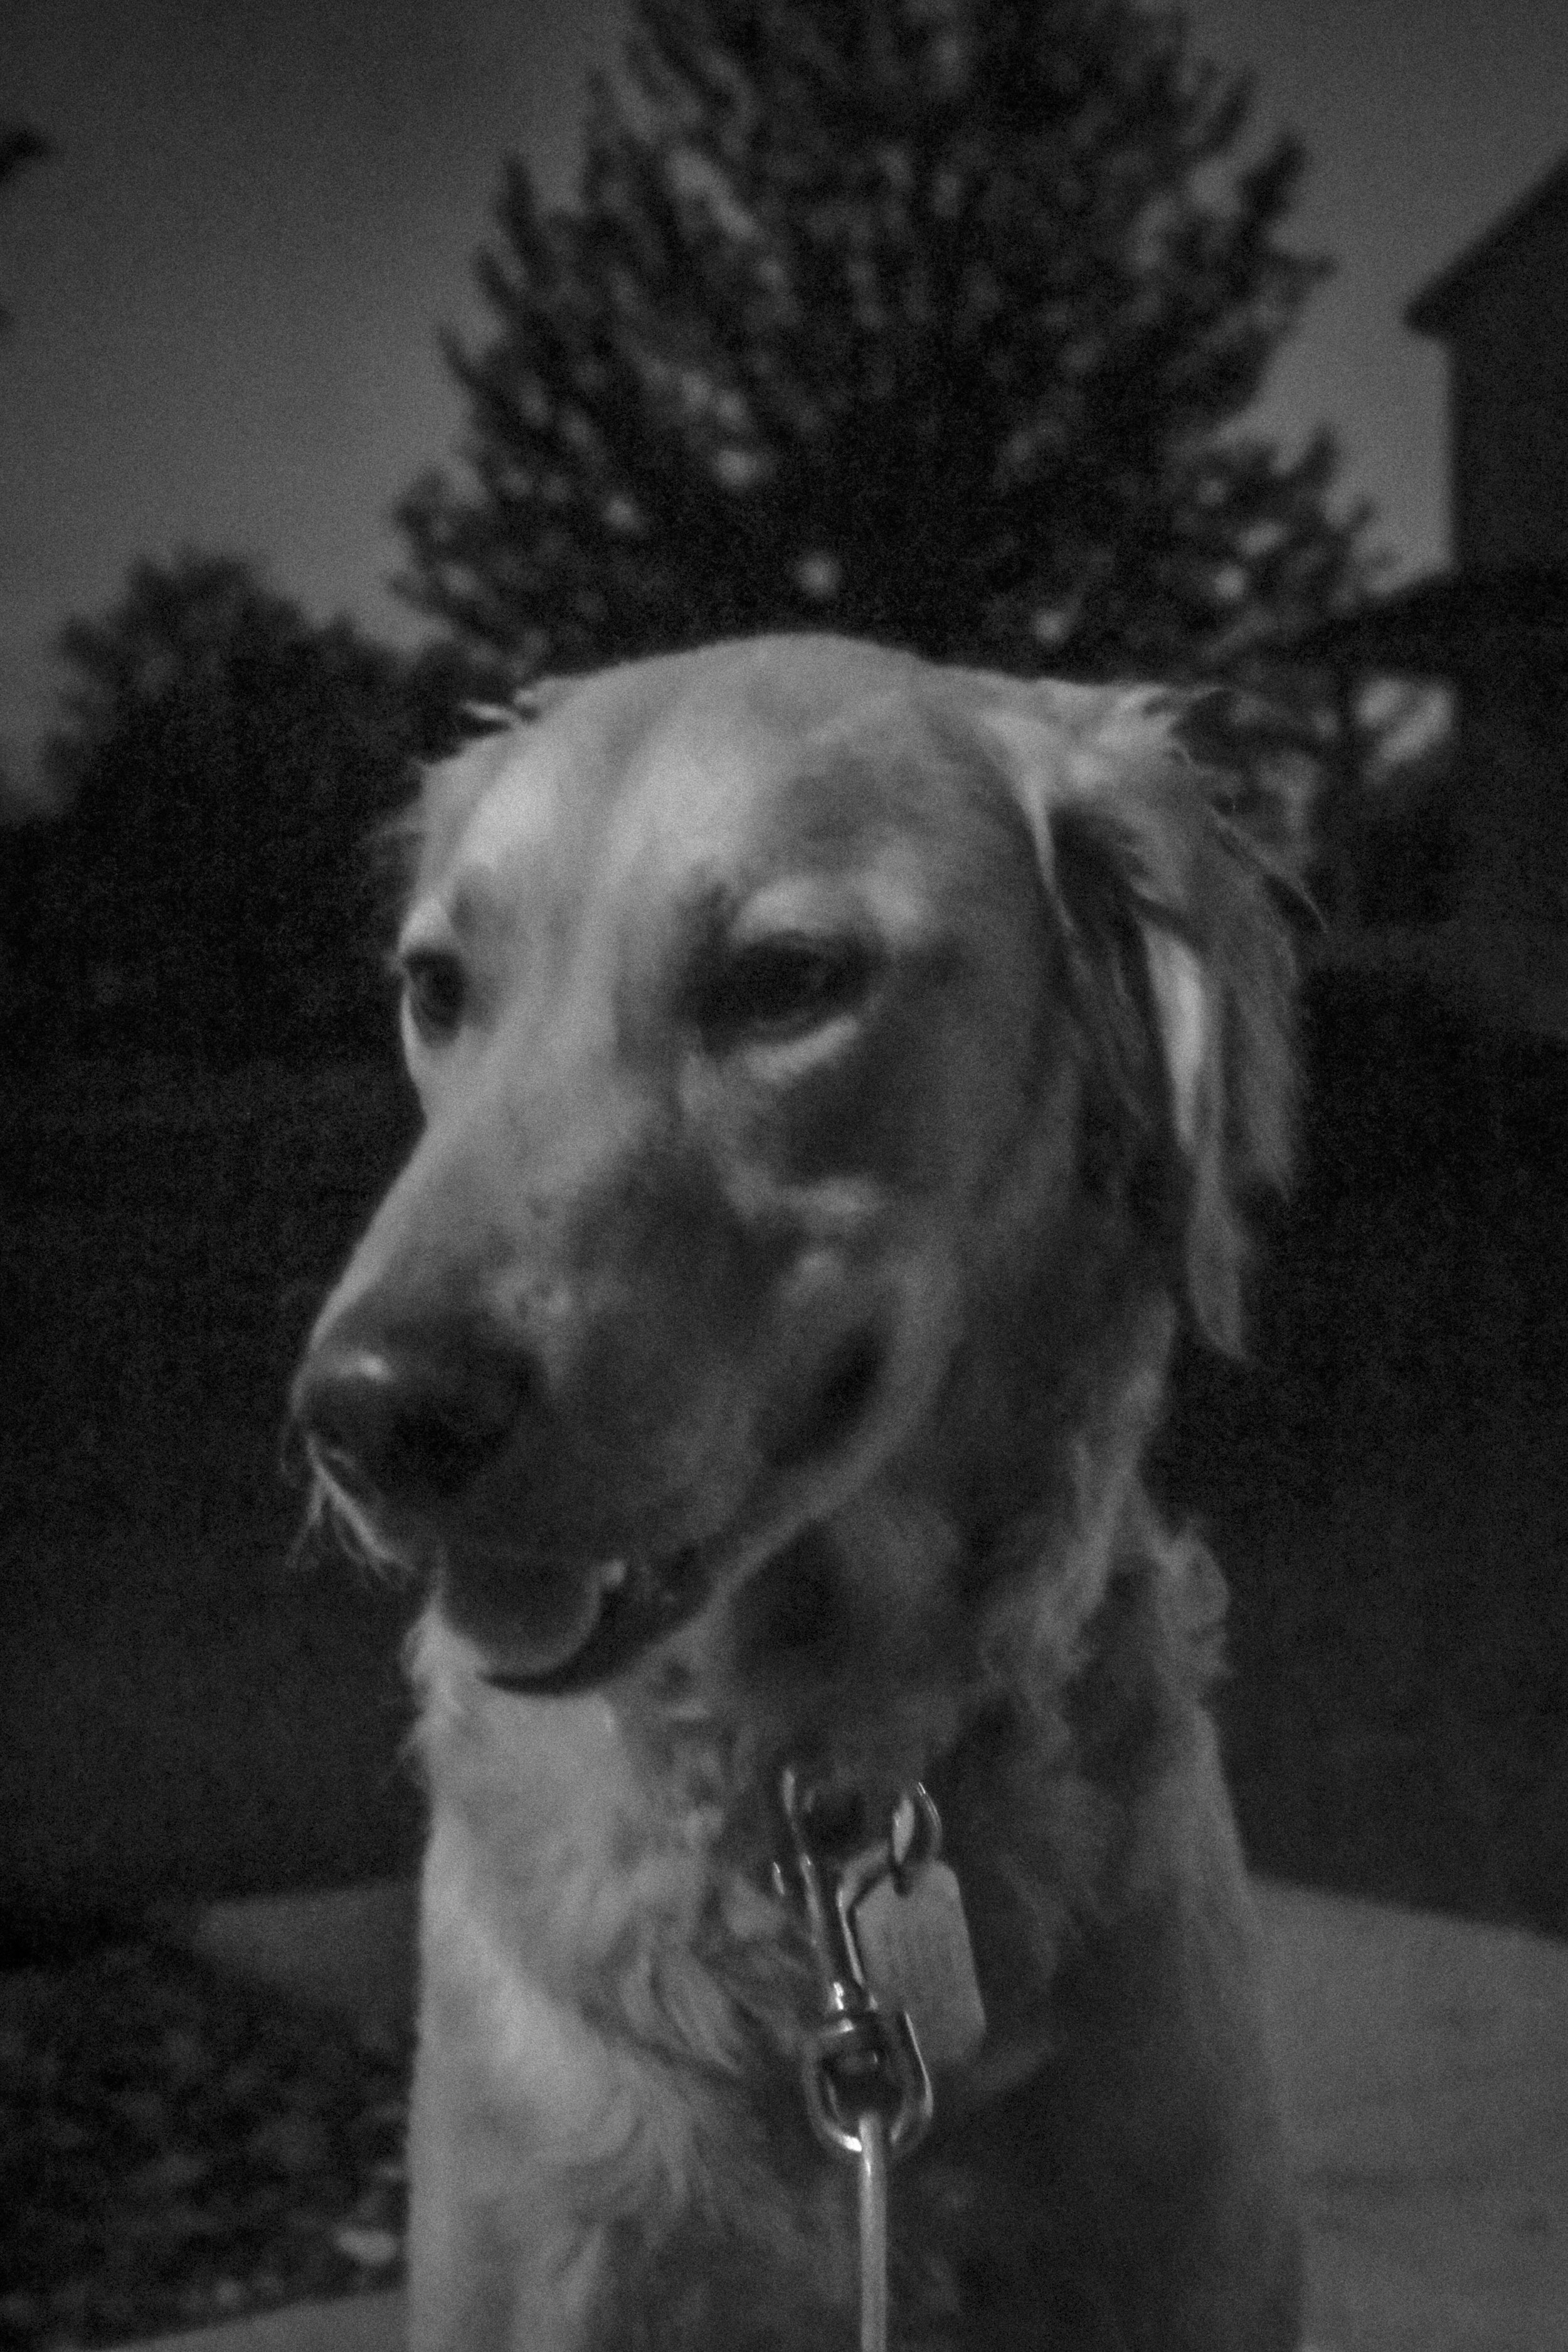
A Day in the Life of Rita & Cooper
Date: 11/24/2018
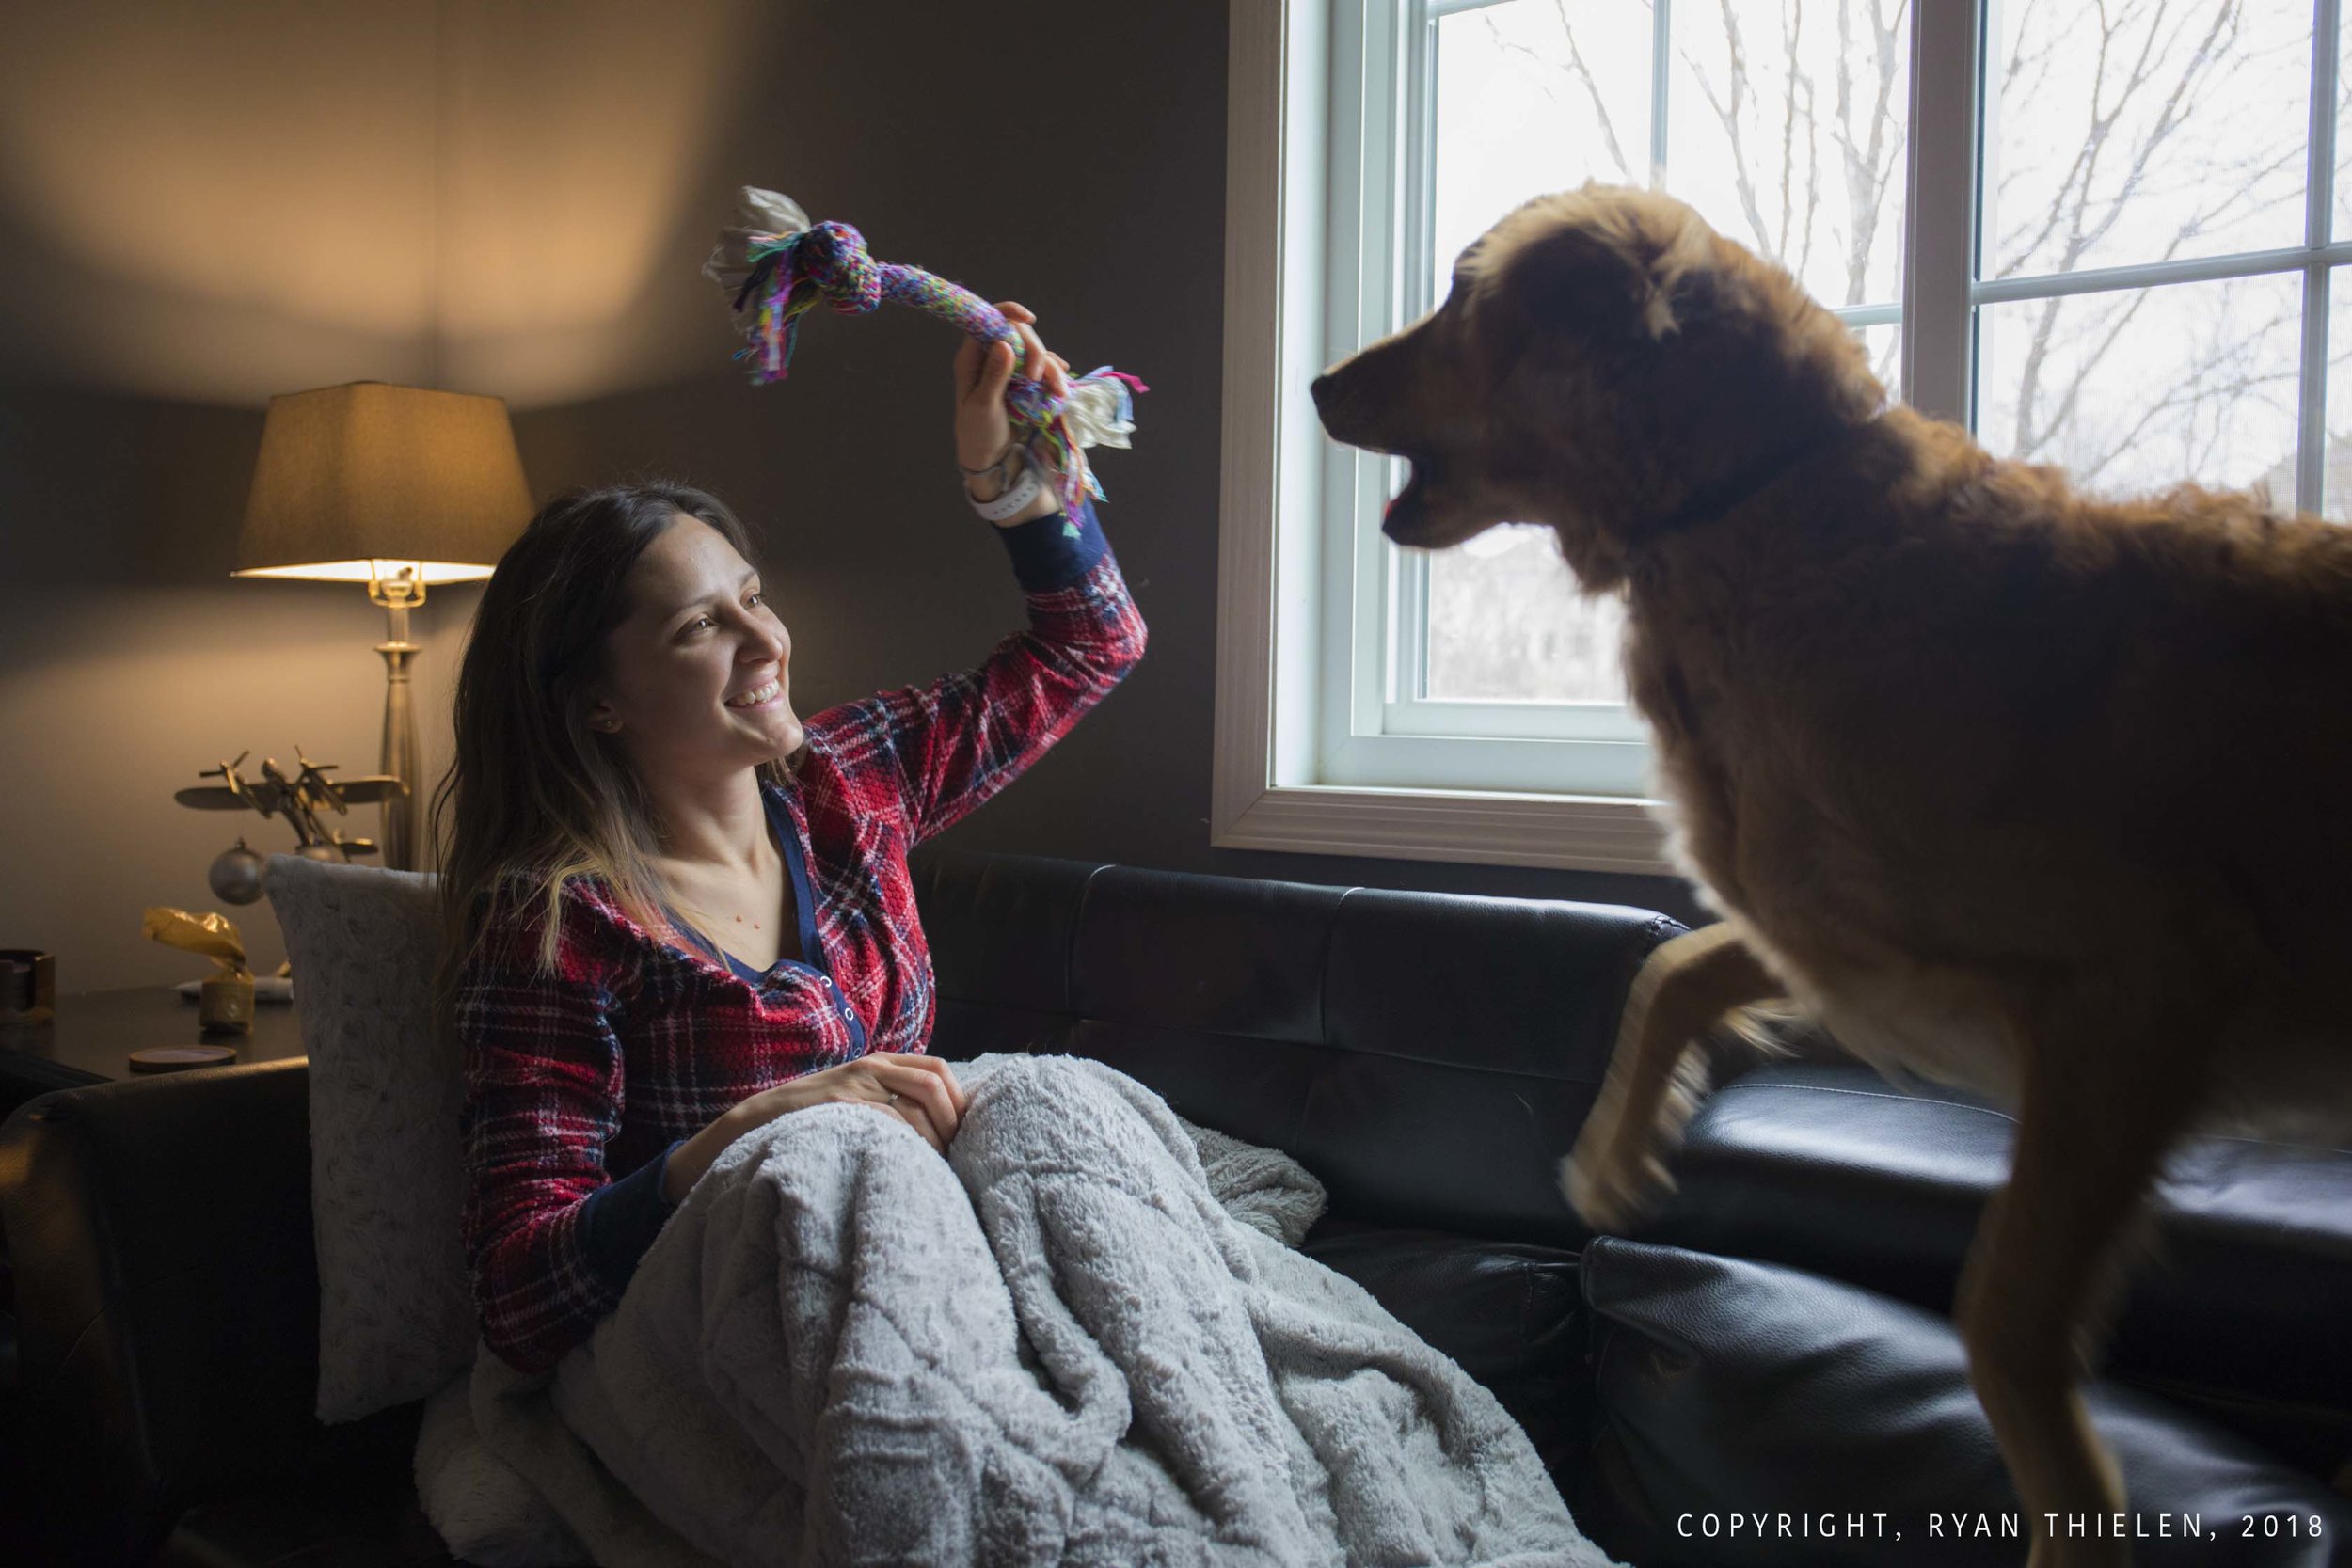
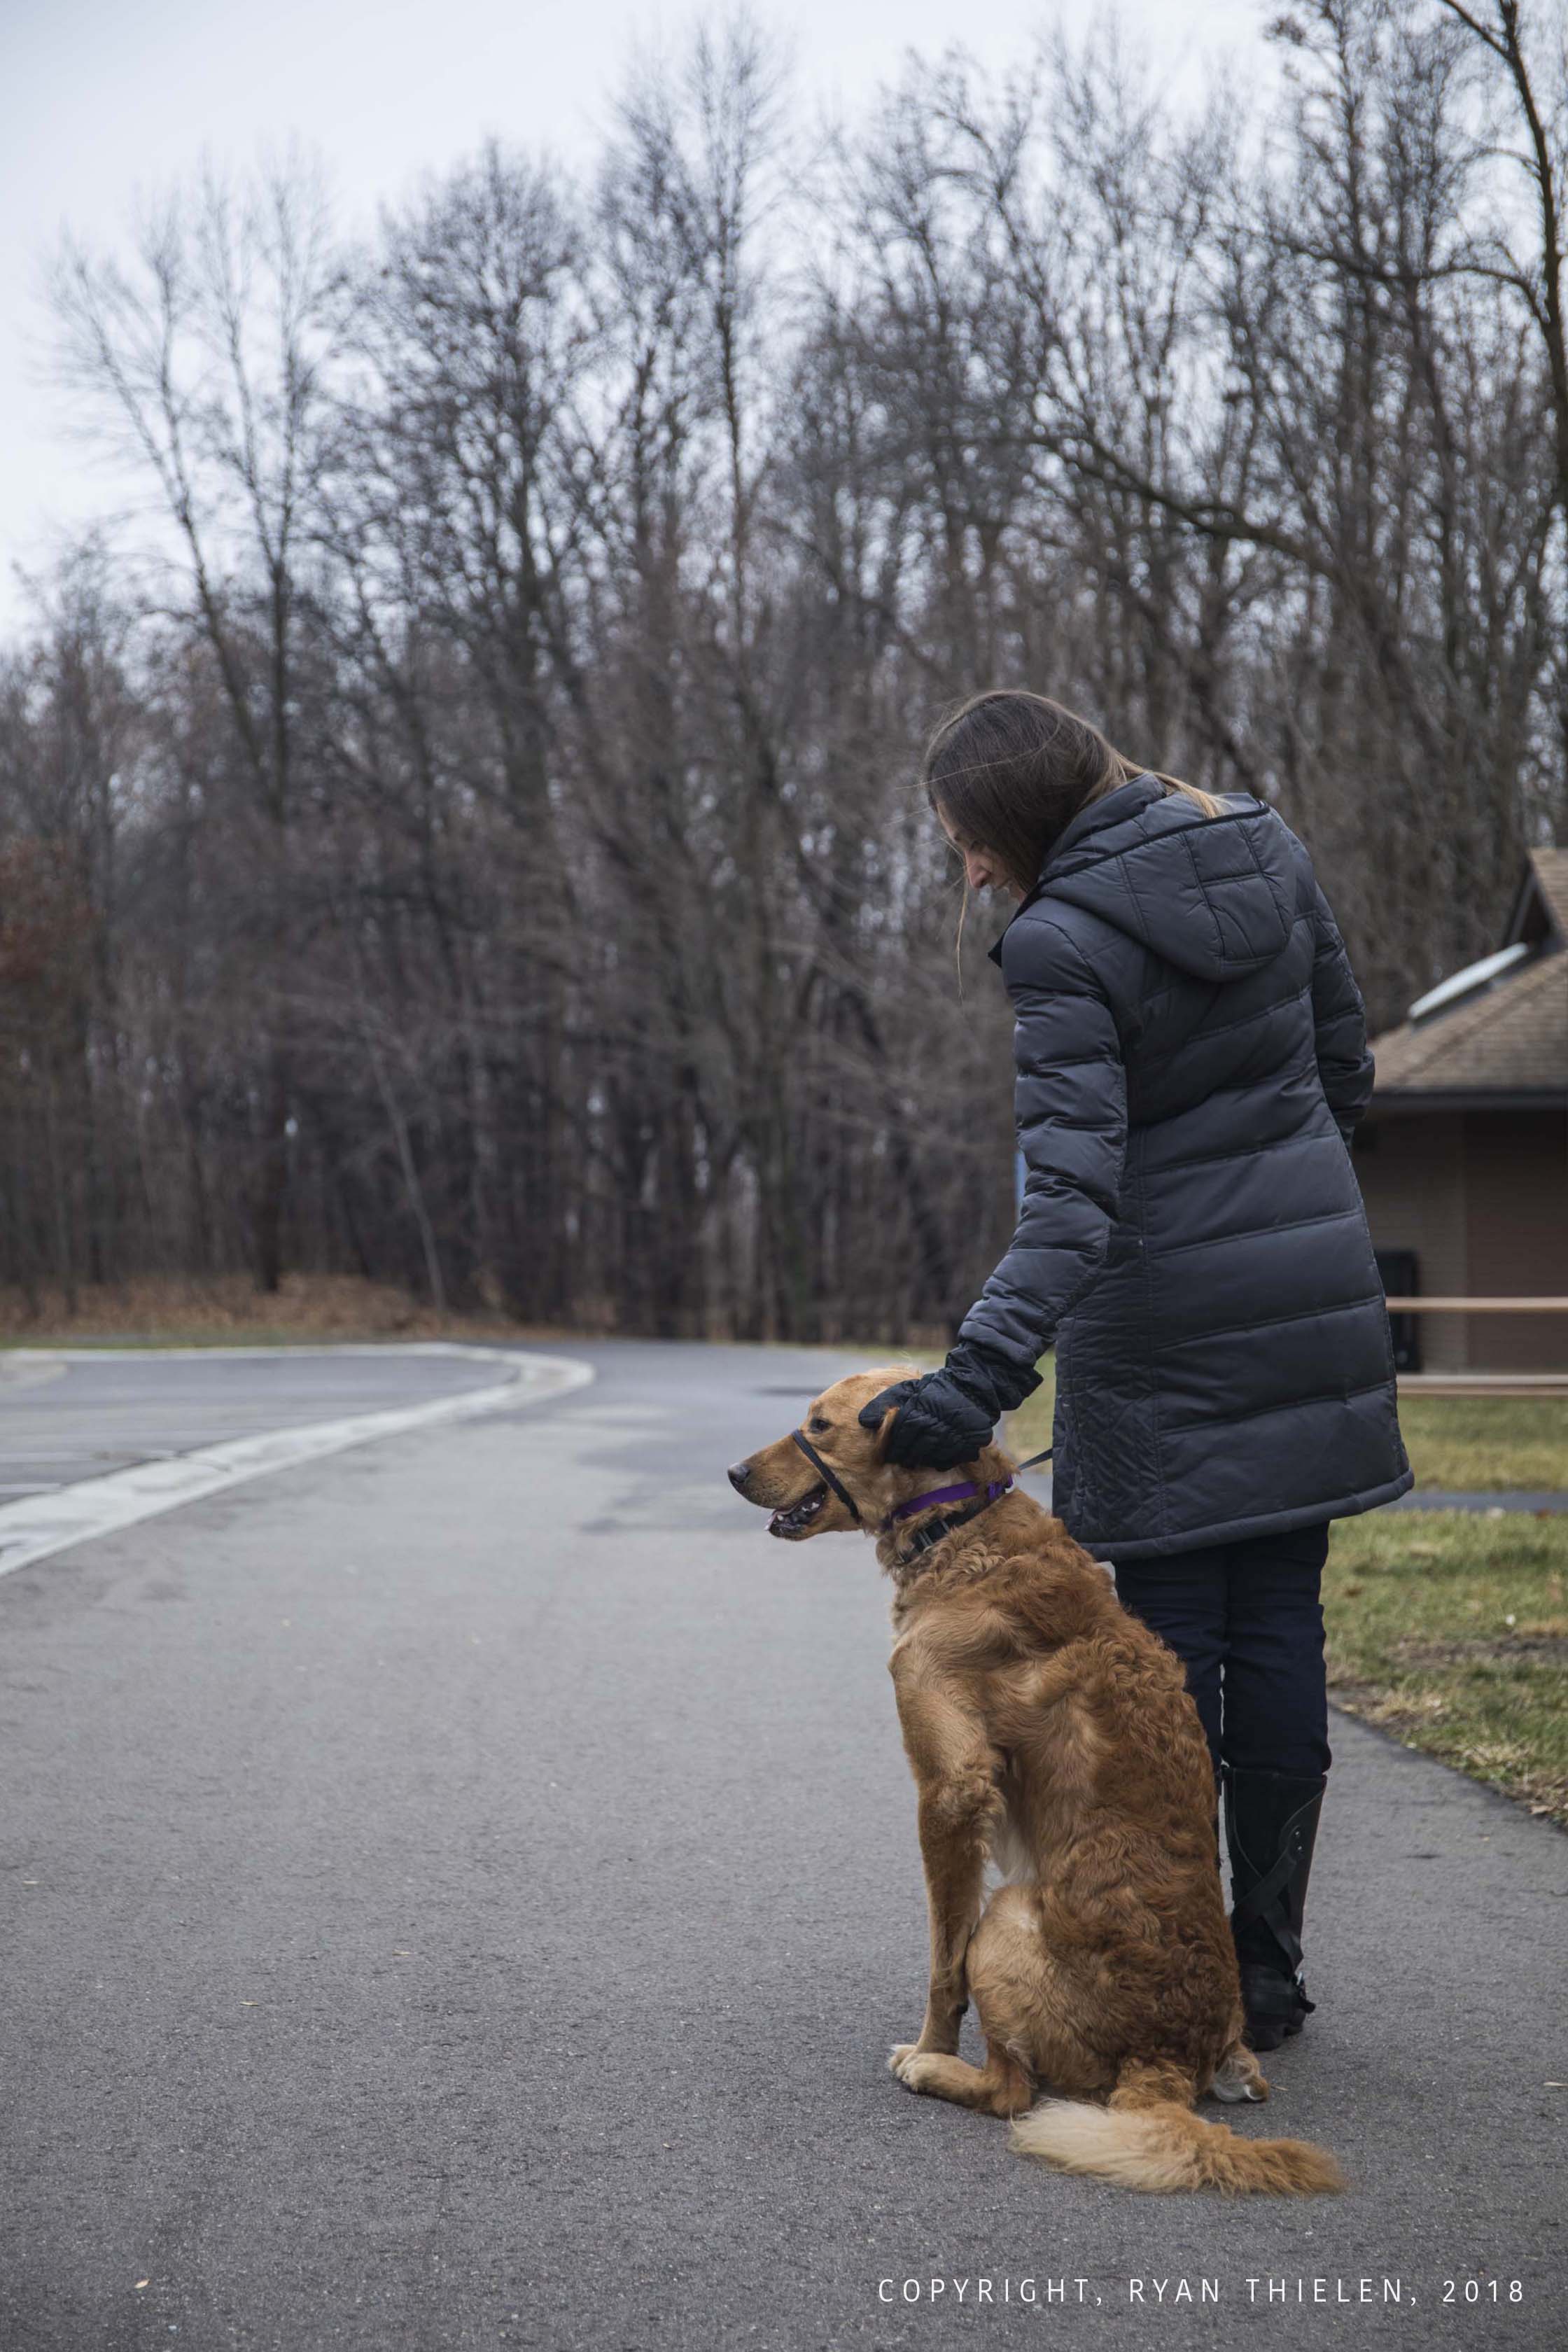
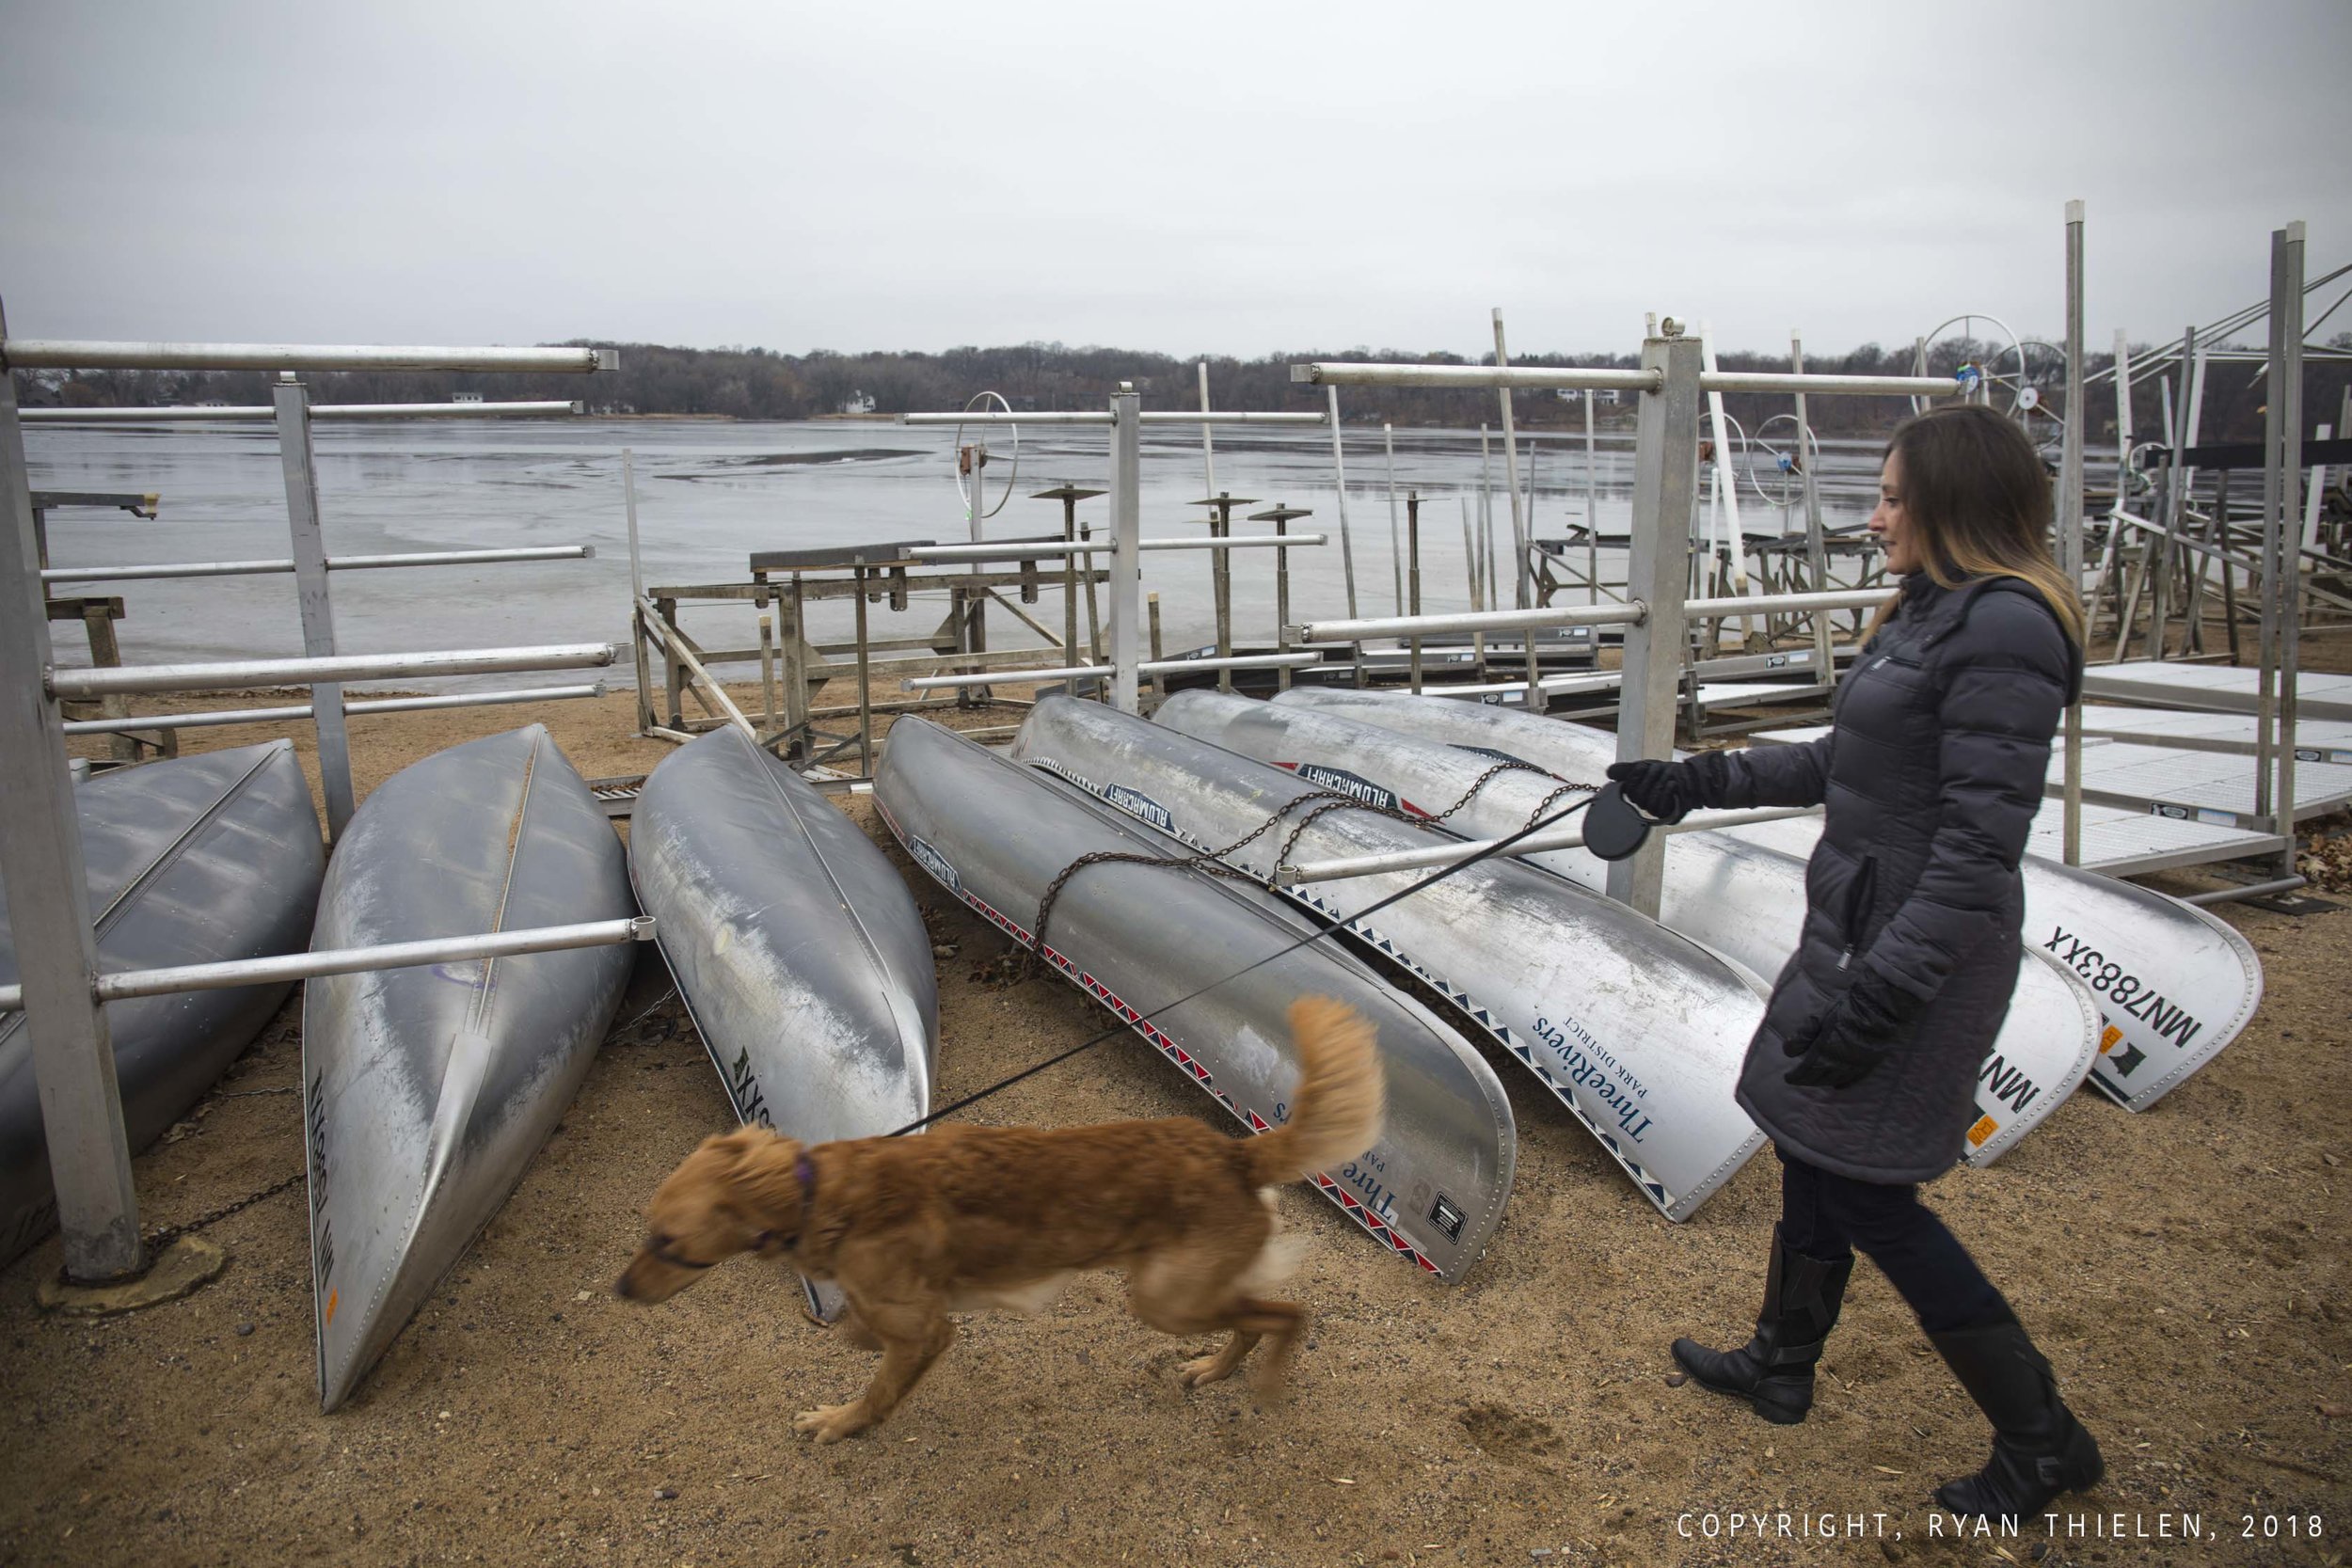
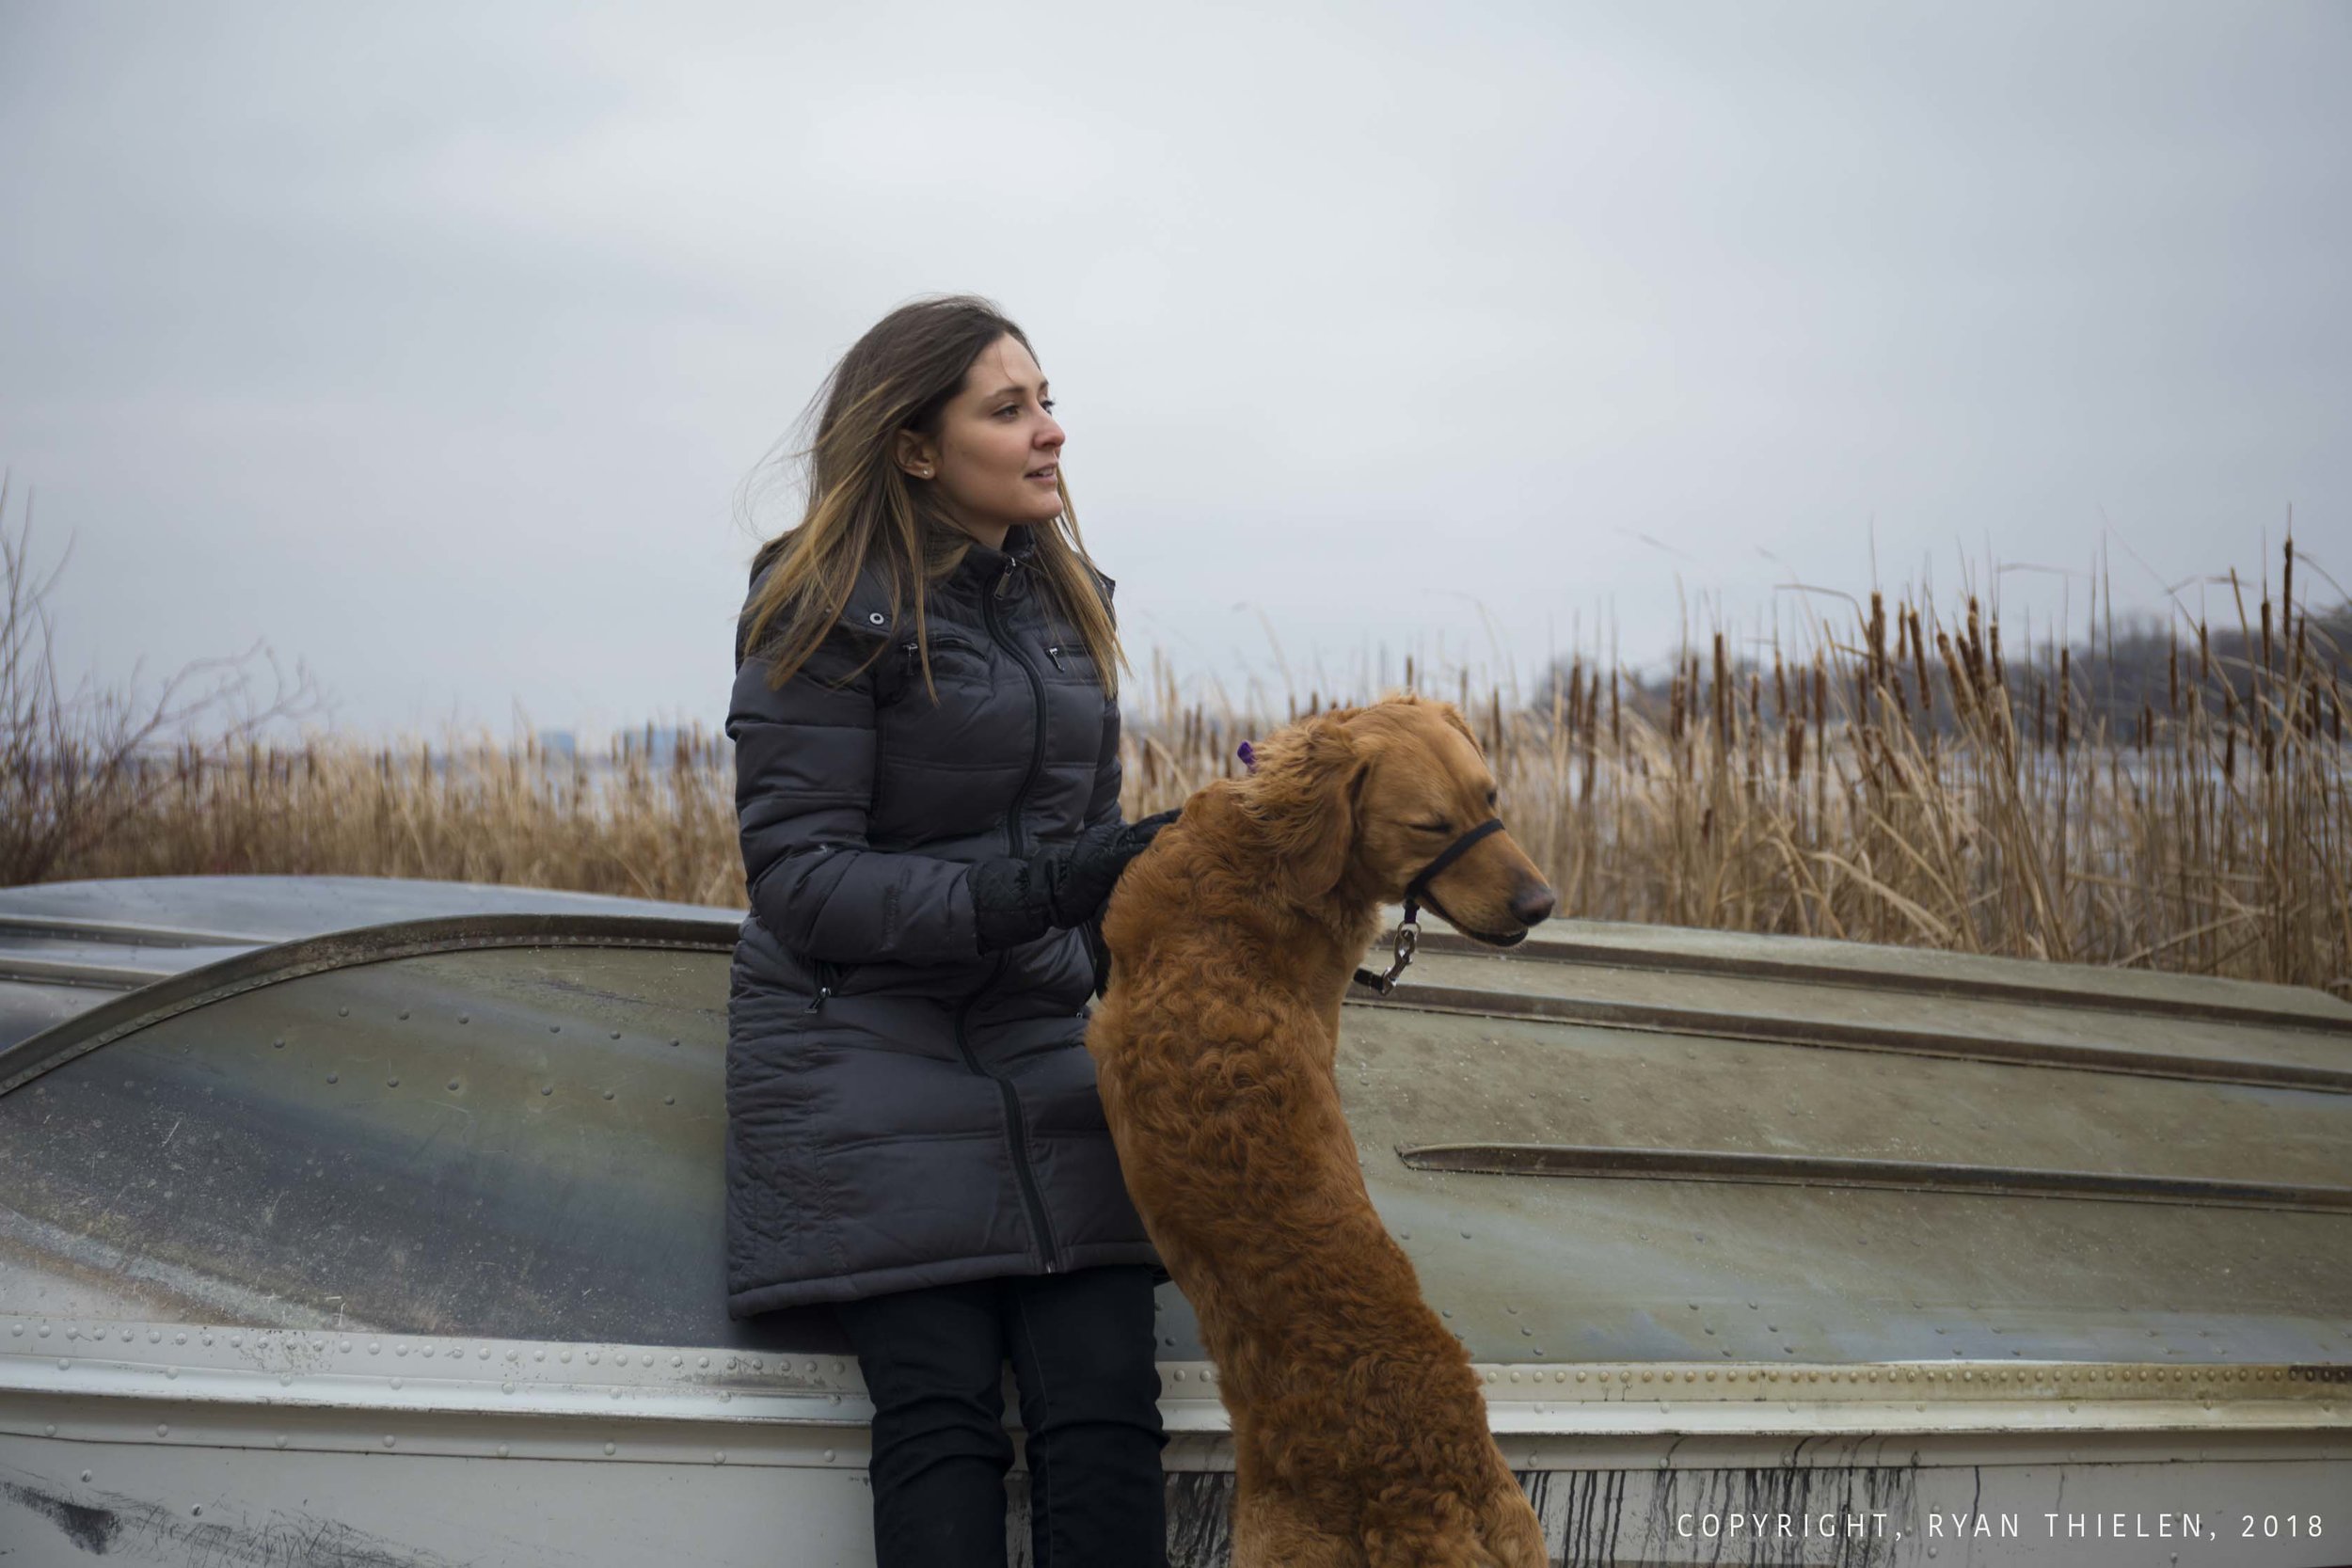
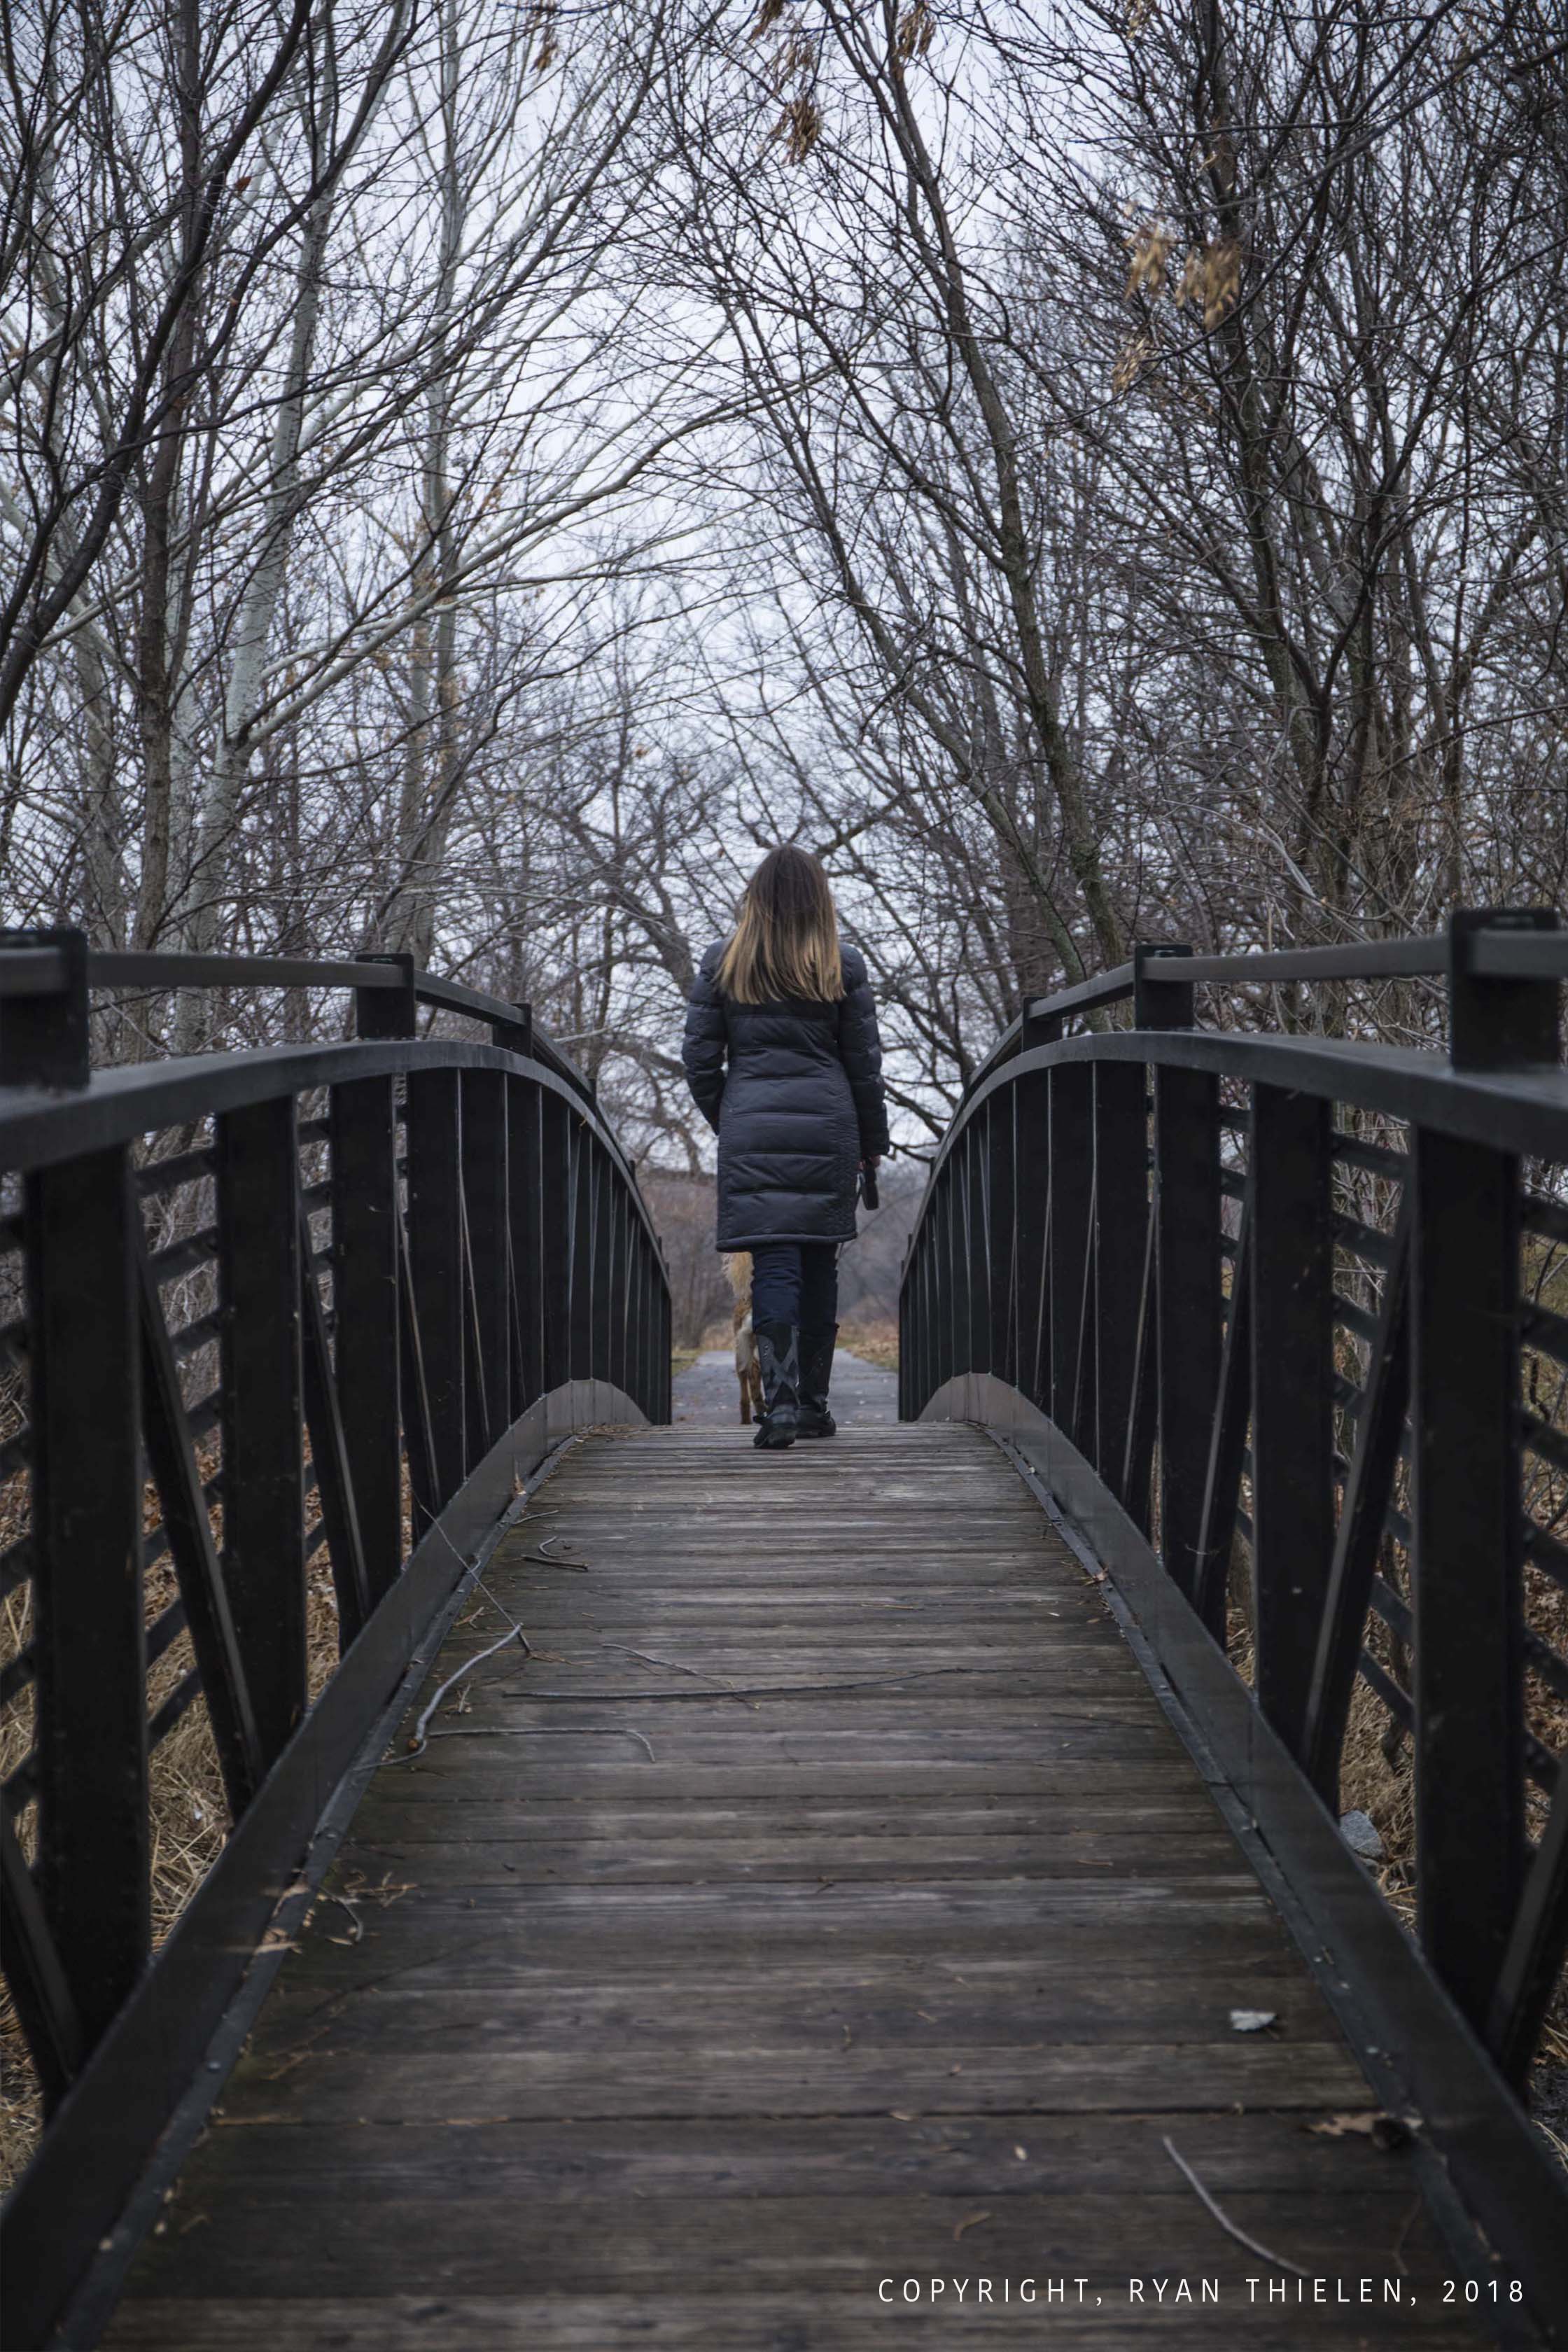
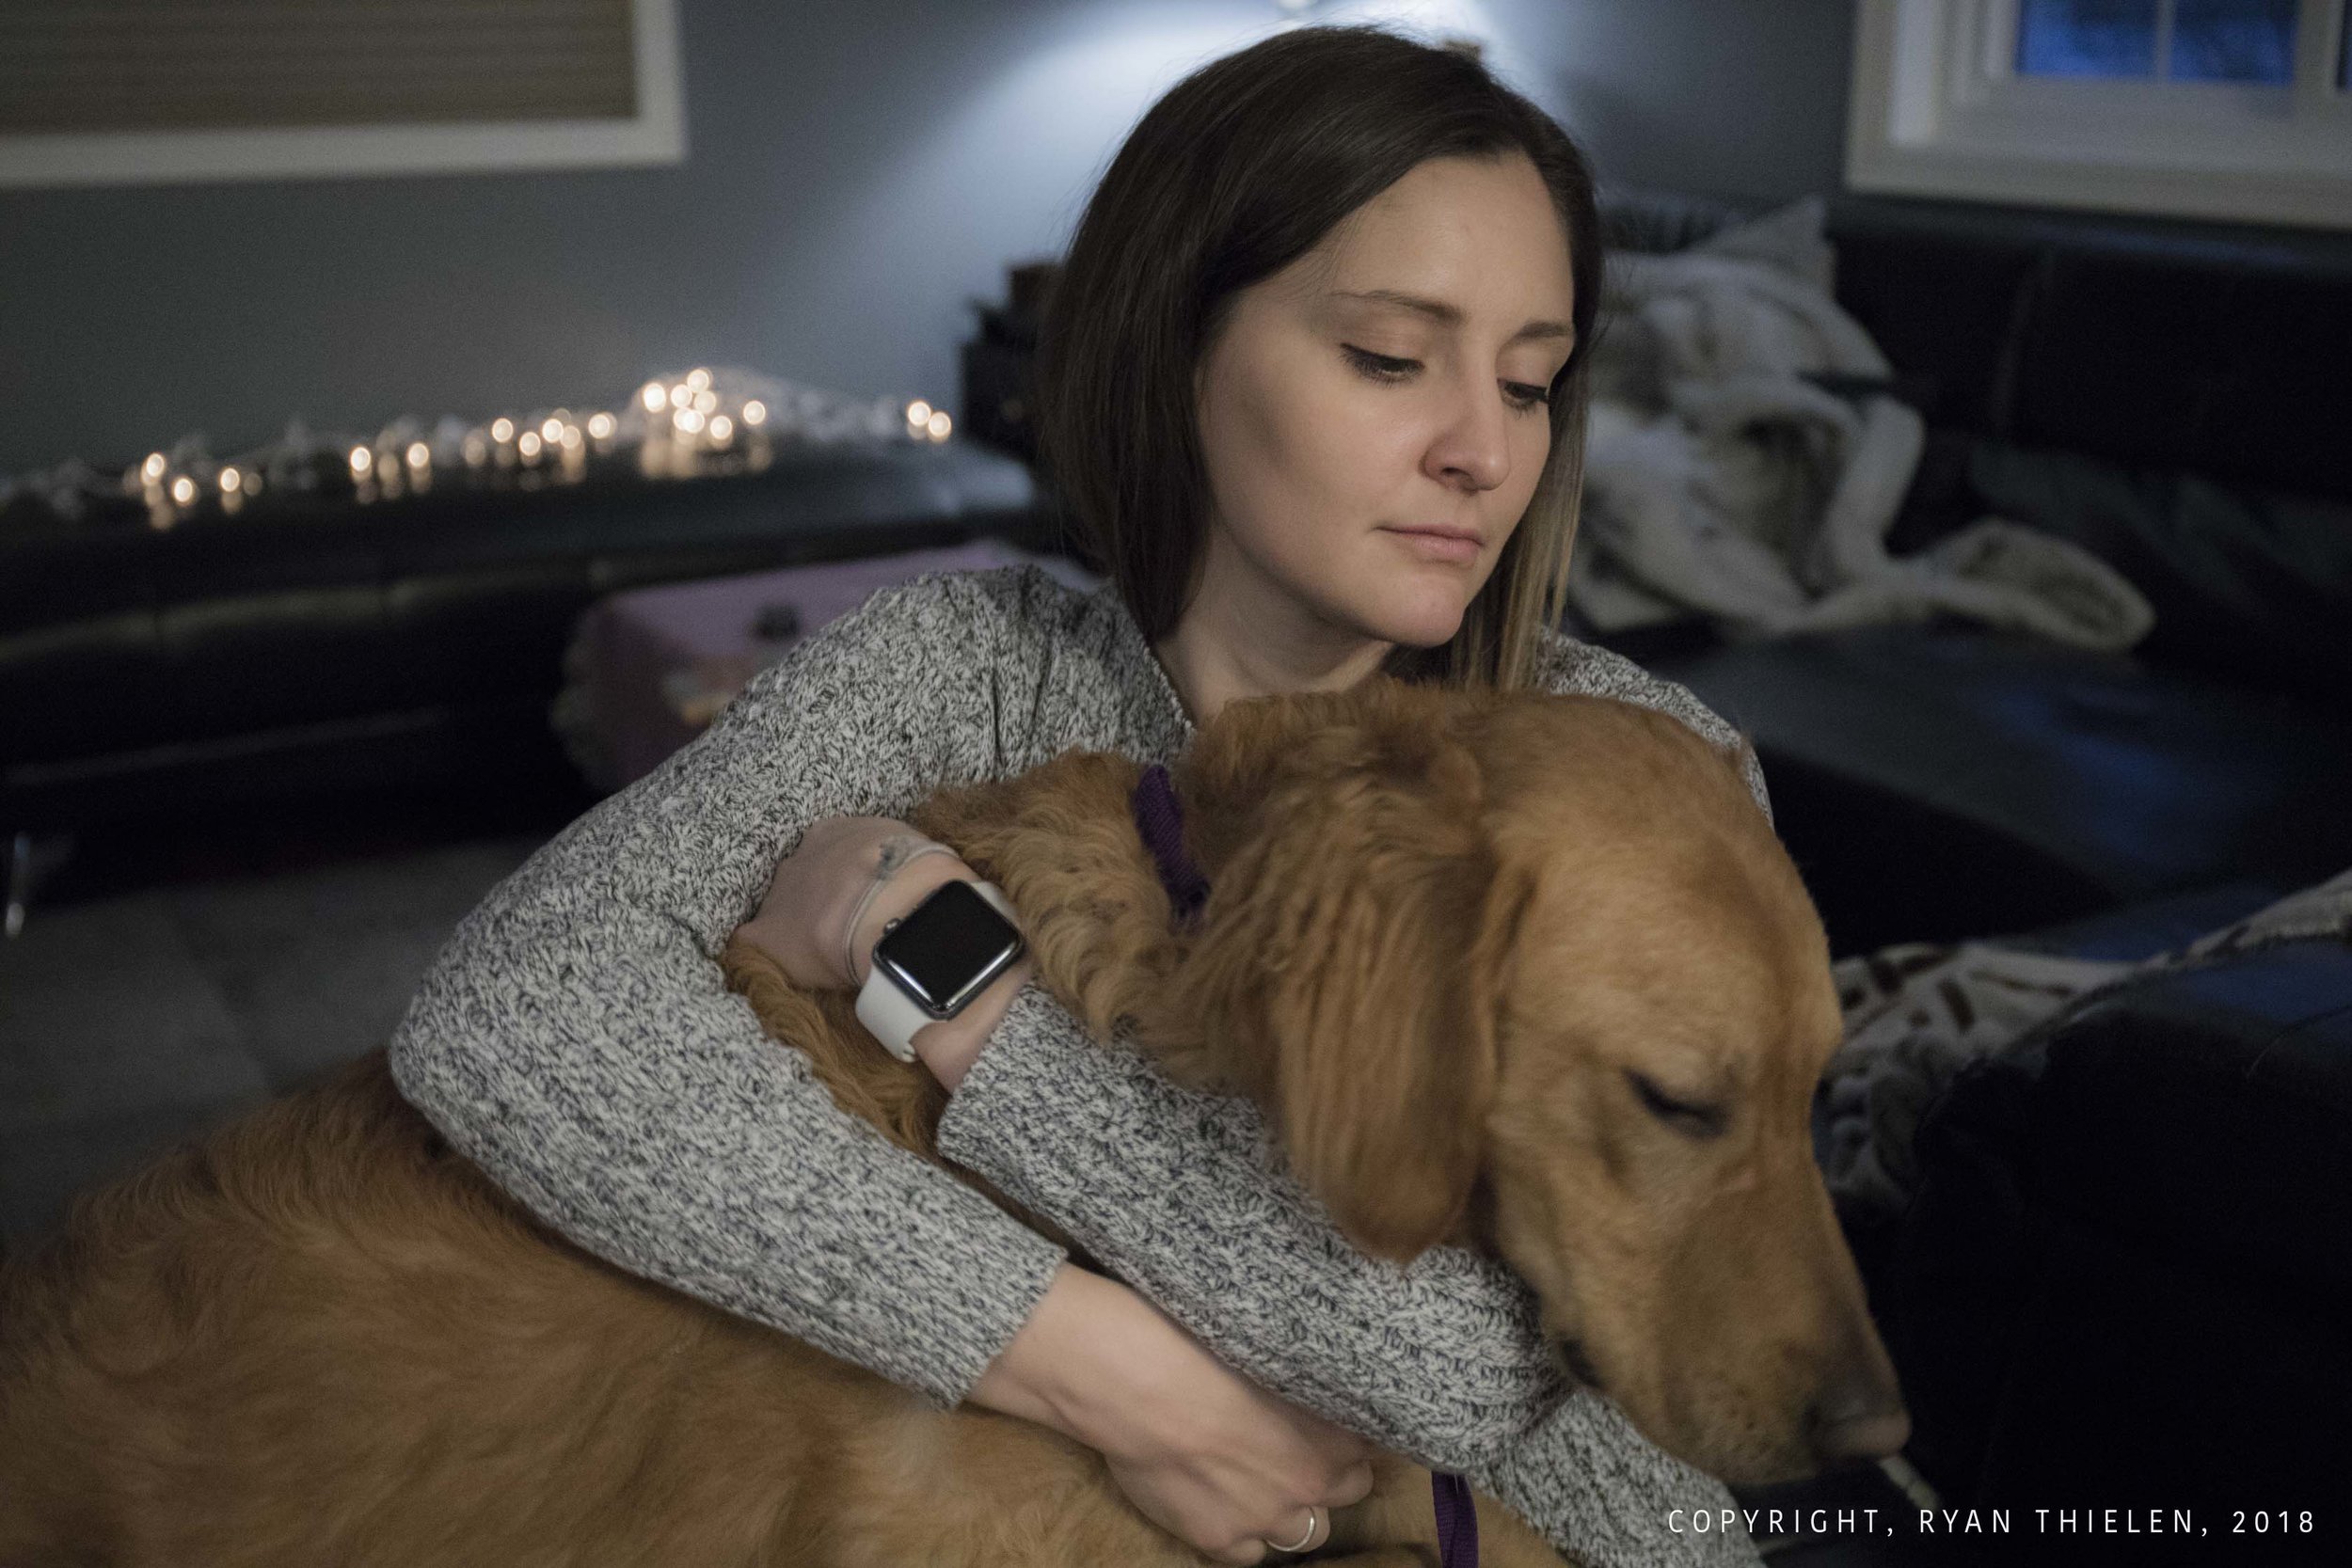
I followed around Rita and Cooper on a Saturday. Typically the day begins with breakfast and hanging out in the living room. From there Rita and Cooper enjoy taking long walks throughout the day - and discovering new places.
Any photos taken inside the house were challenging as there wasn’t a ton of light and Cooper moves unpredictably and quickly making low-shutter speeds a difficult reality.
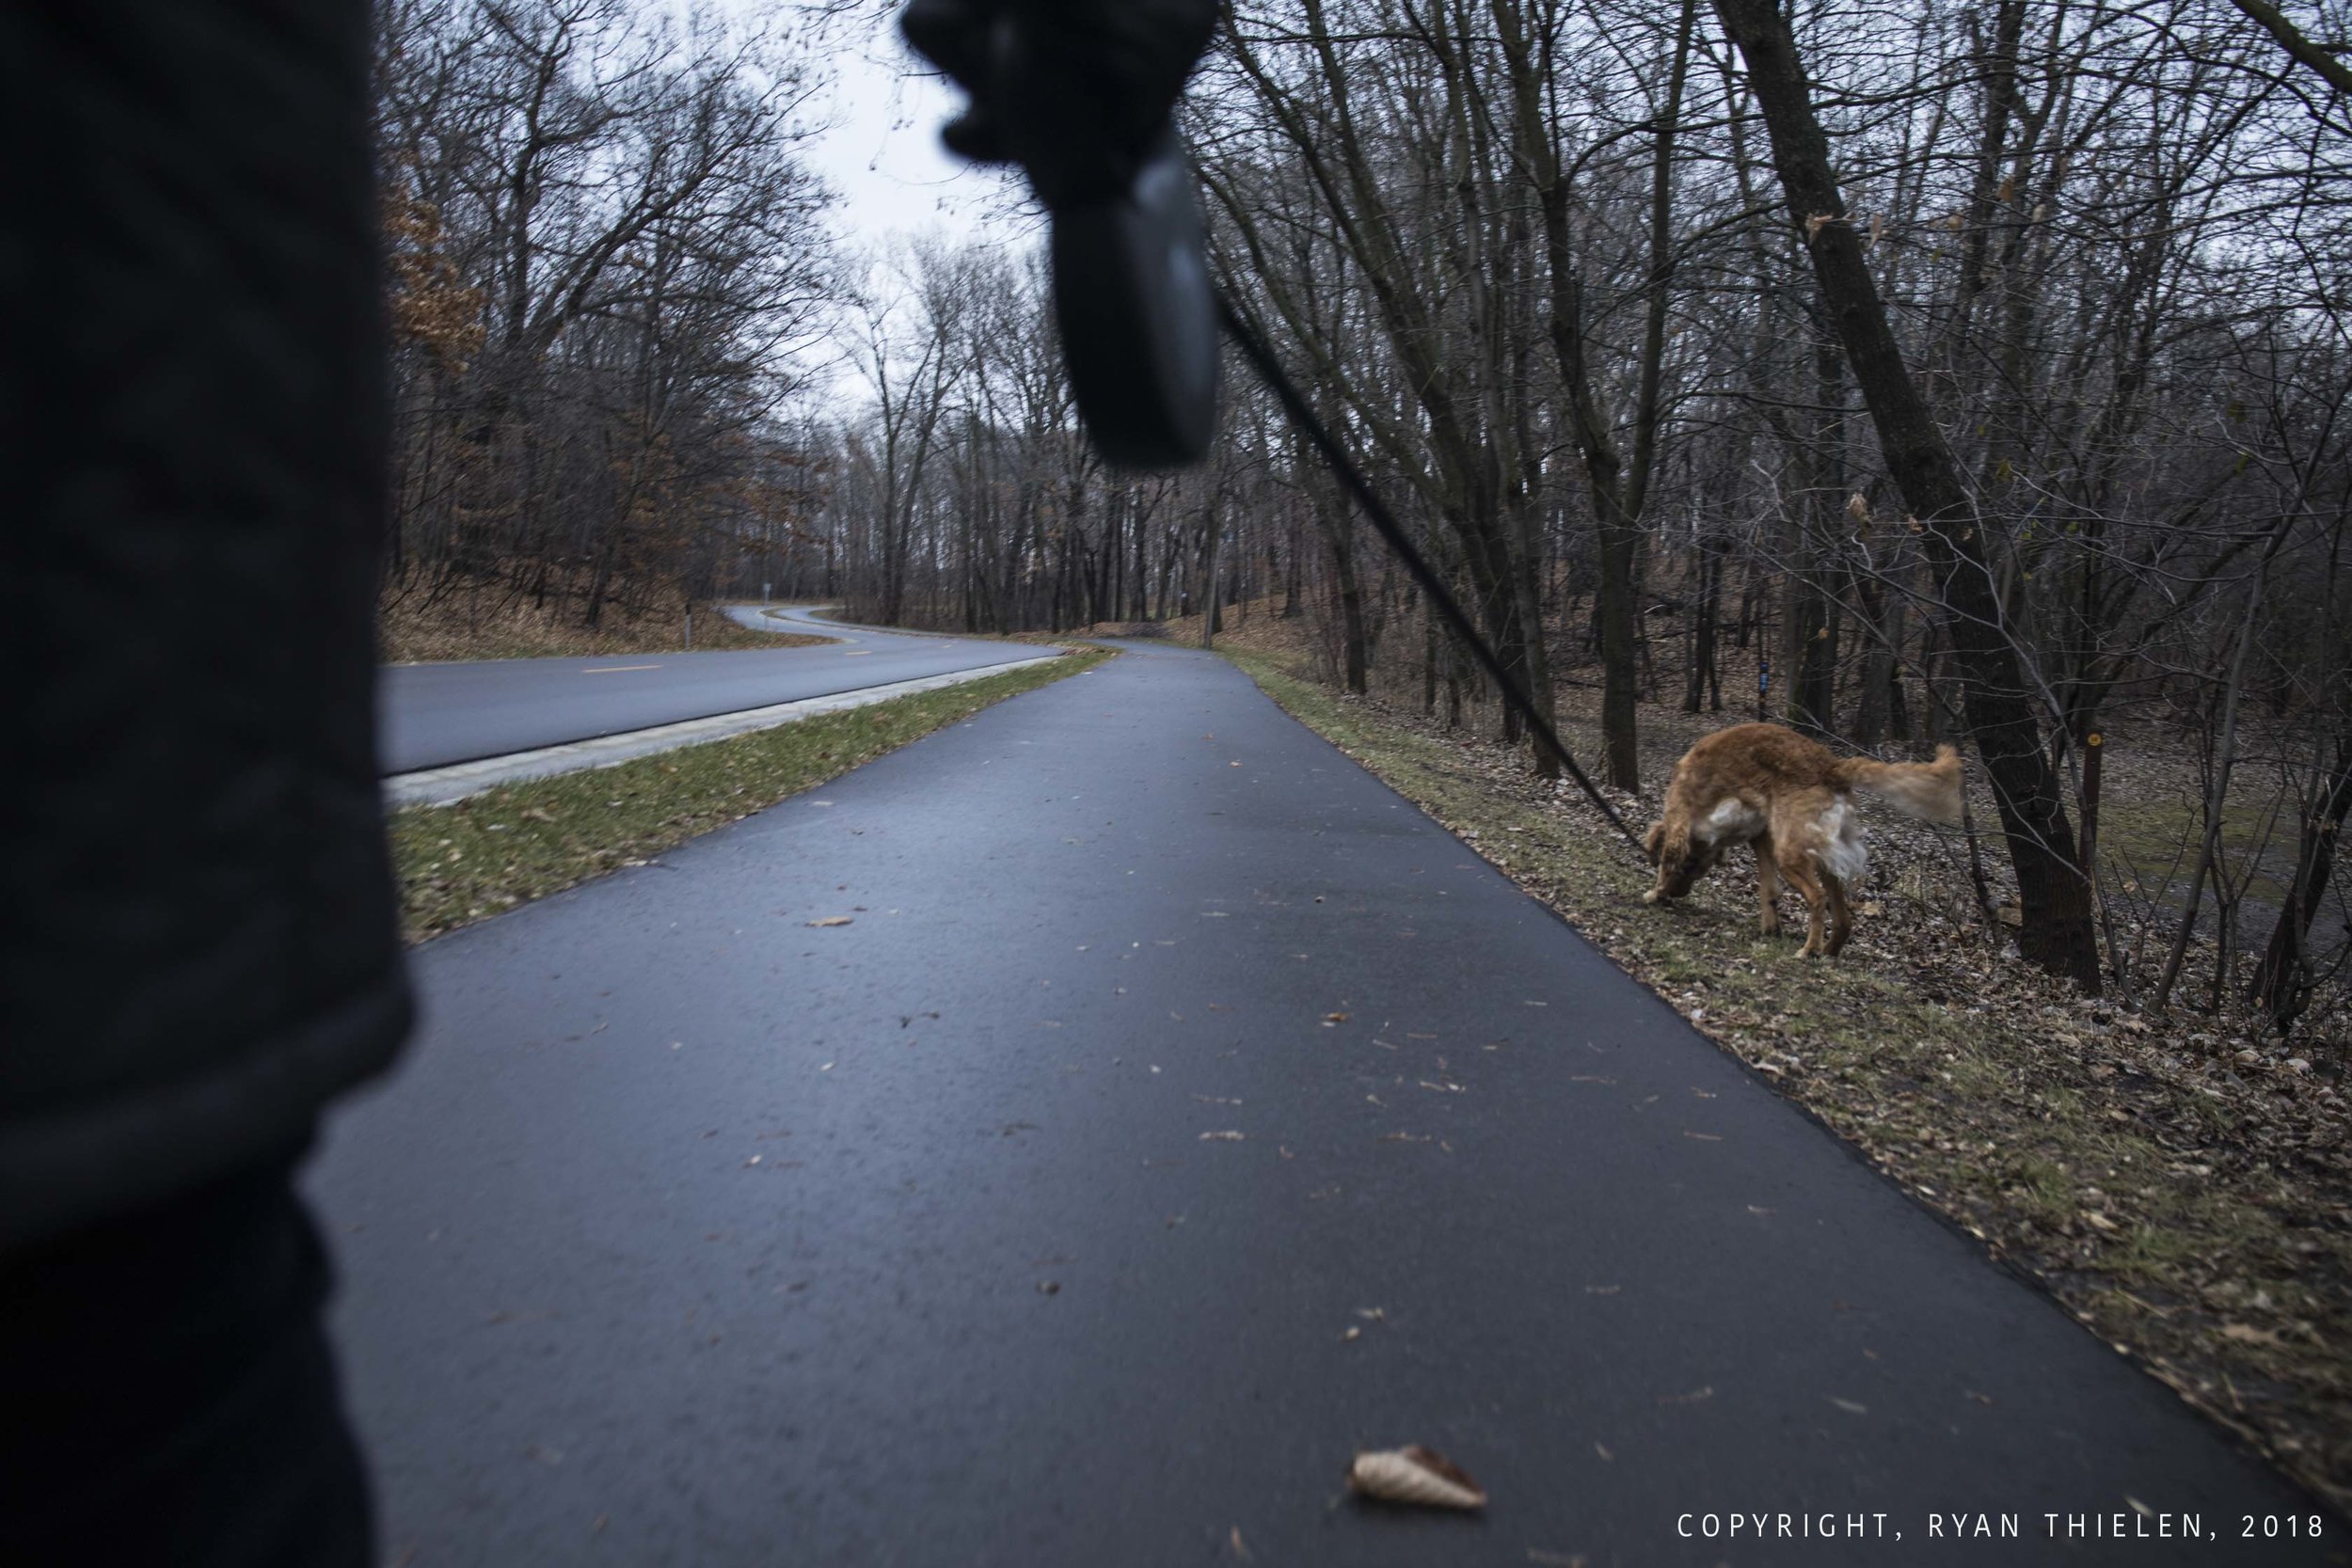
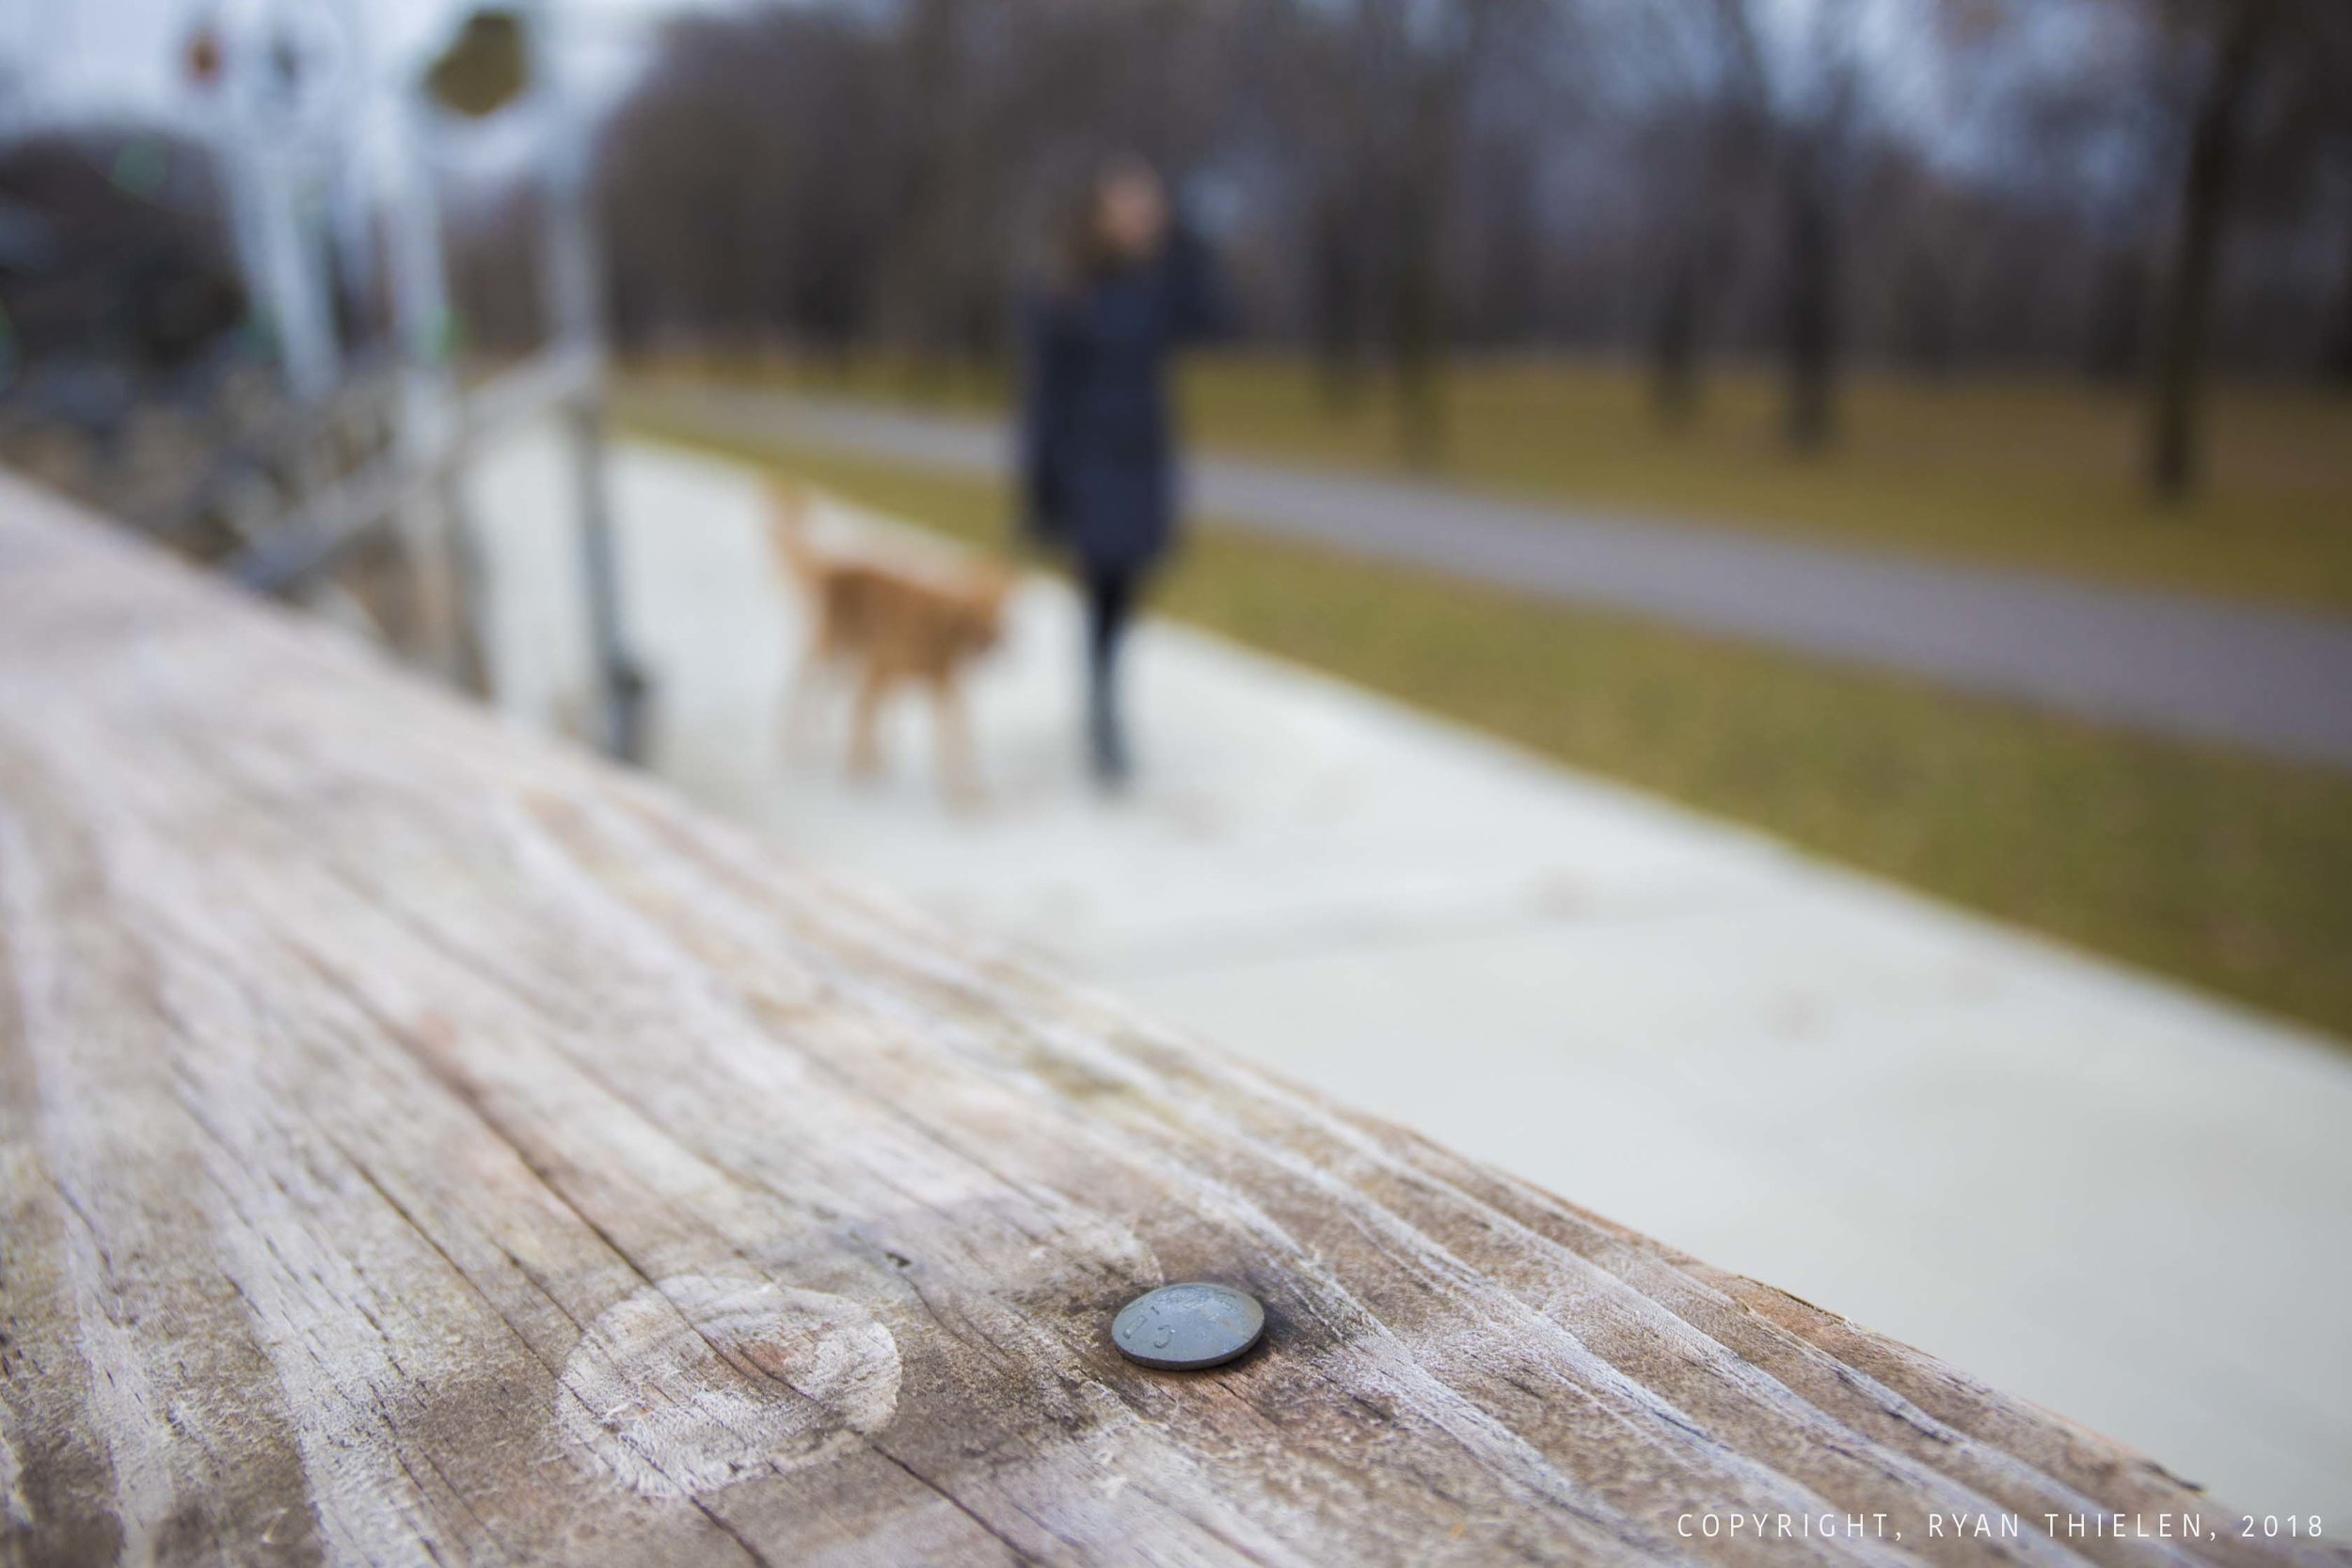
Once we got outside, light was no longer the problem. For some reason I was having a difficult time coming up with unique shots in the park. I found myself taking a lot of pictures that felt similar to one another. Since the scenery wasn’t offering much variety I decided to change my perspective as often as I could - especially to help the story progress. I wish I would have gotten a few more shots from Cooper’s POV which would have added an interesting look, but none of the Cooper POV’s worked out.
Overall it was a fun experience and highlighted an important lesson that photos tell a story. It’s crucial to think about what story you’re trying to tell and apply that to the photo appropriately - not just worrying about generating a pretty image.


Portraits and Self Portraits
Reflection
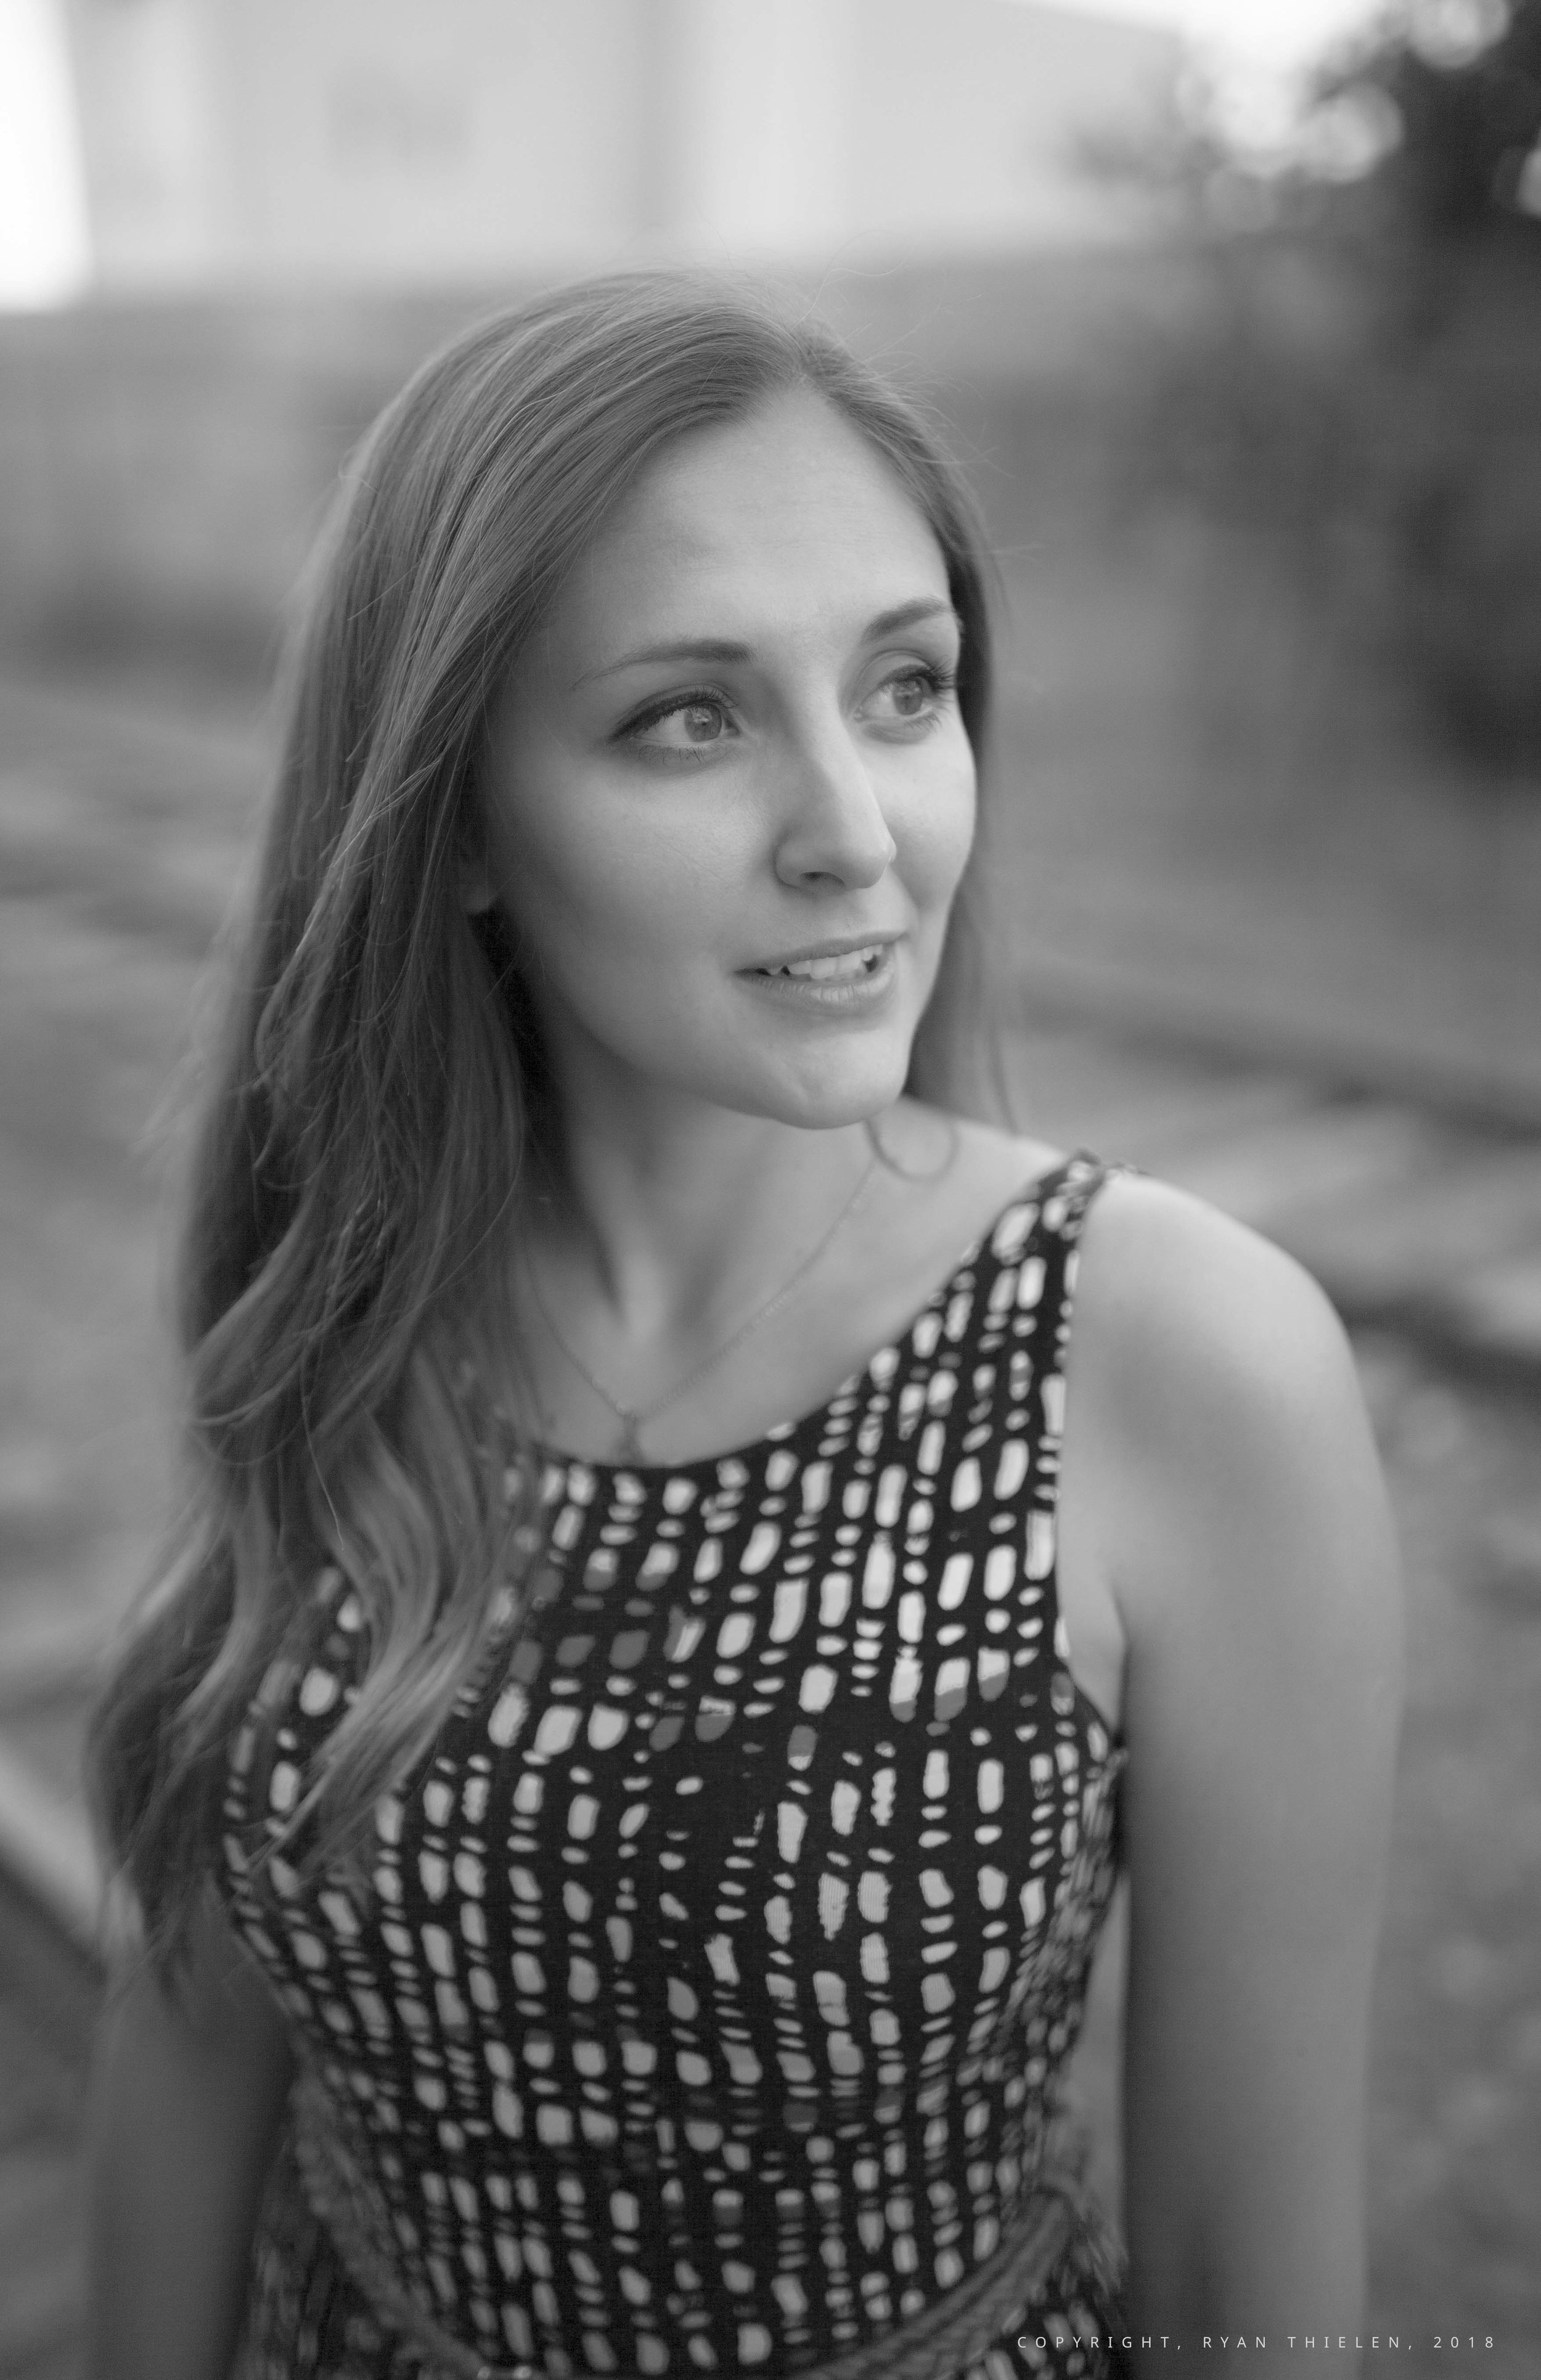
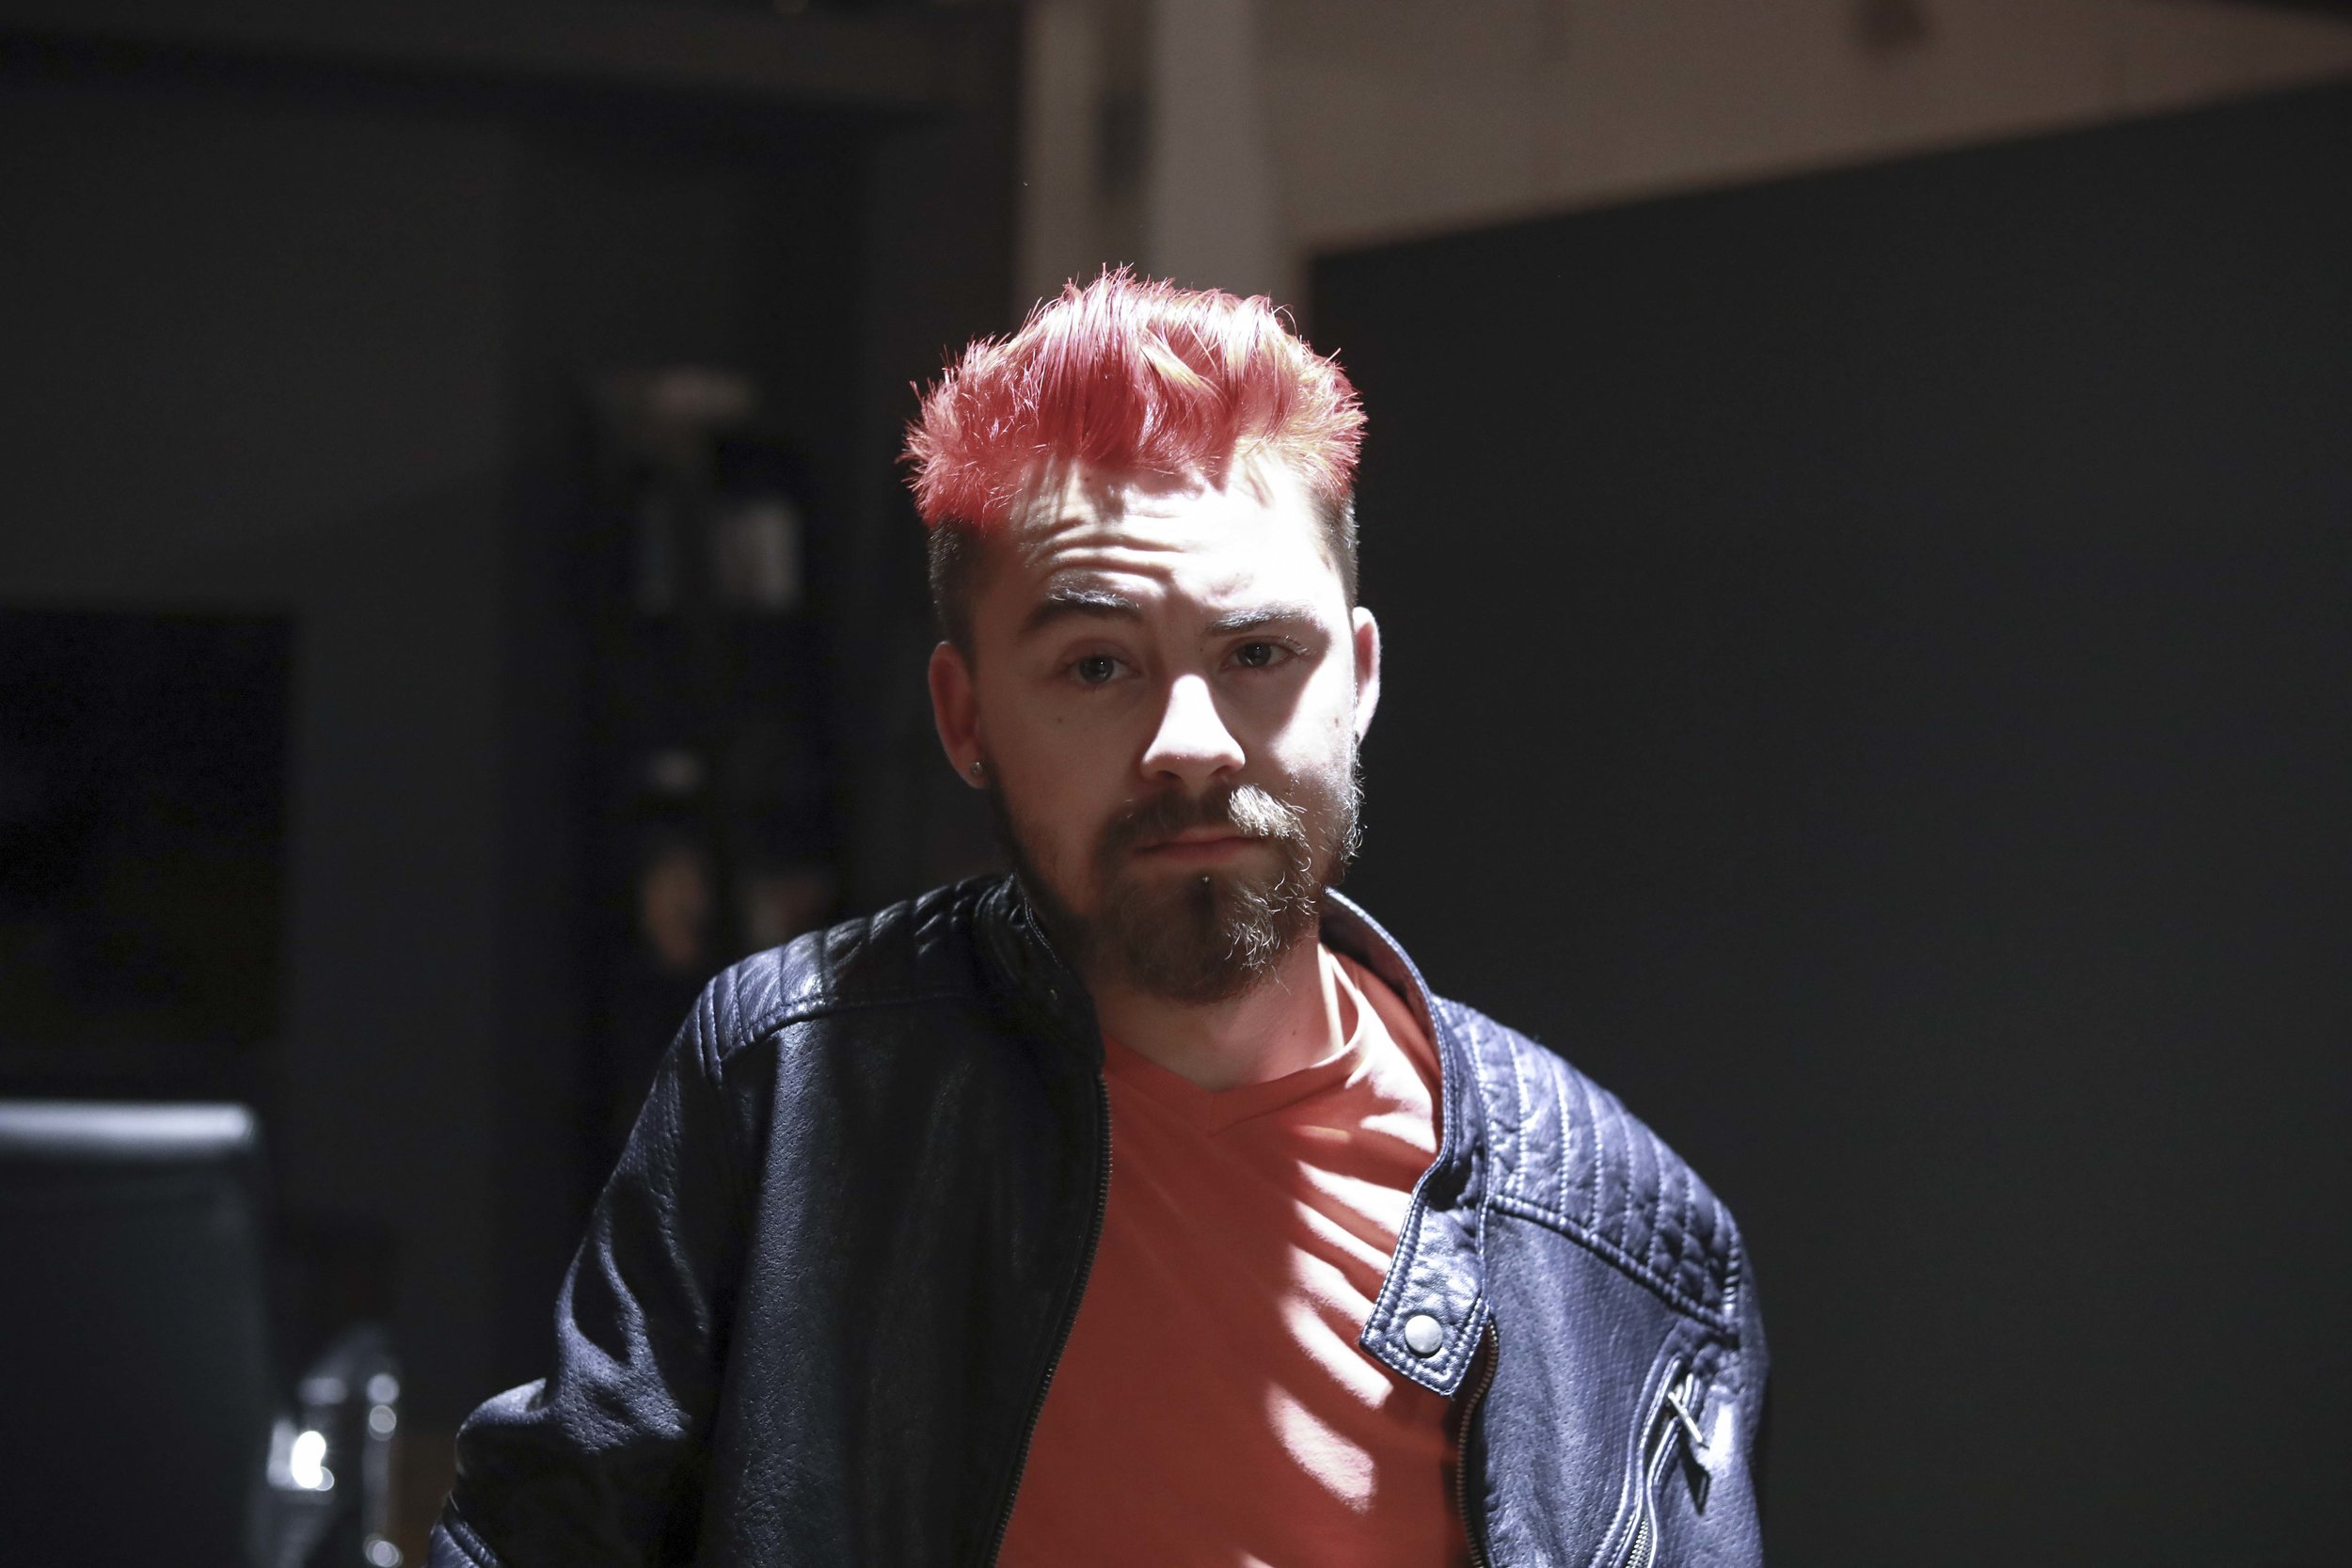
This assignment was a lot of fun - I tried to use the different prime lenses I have to my advantage to get different looks. (35mm, 50mm, 85mm). Of course I roped in my friends (David & Spencer) and girlfriend (Rita) to get these pictures last week.
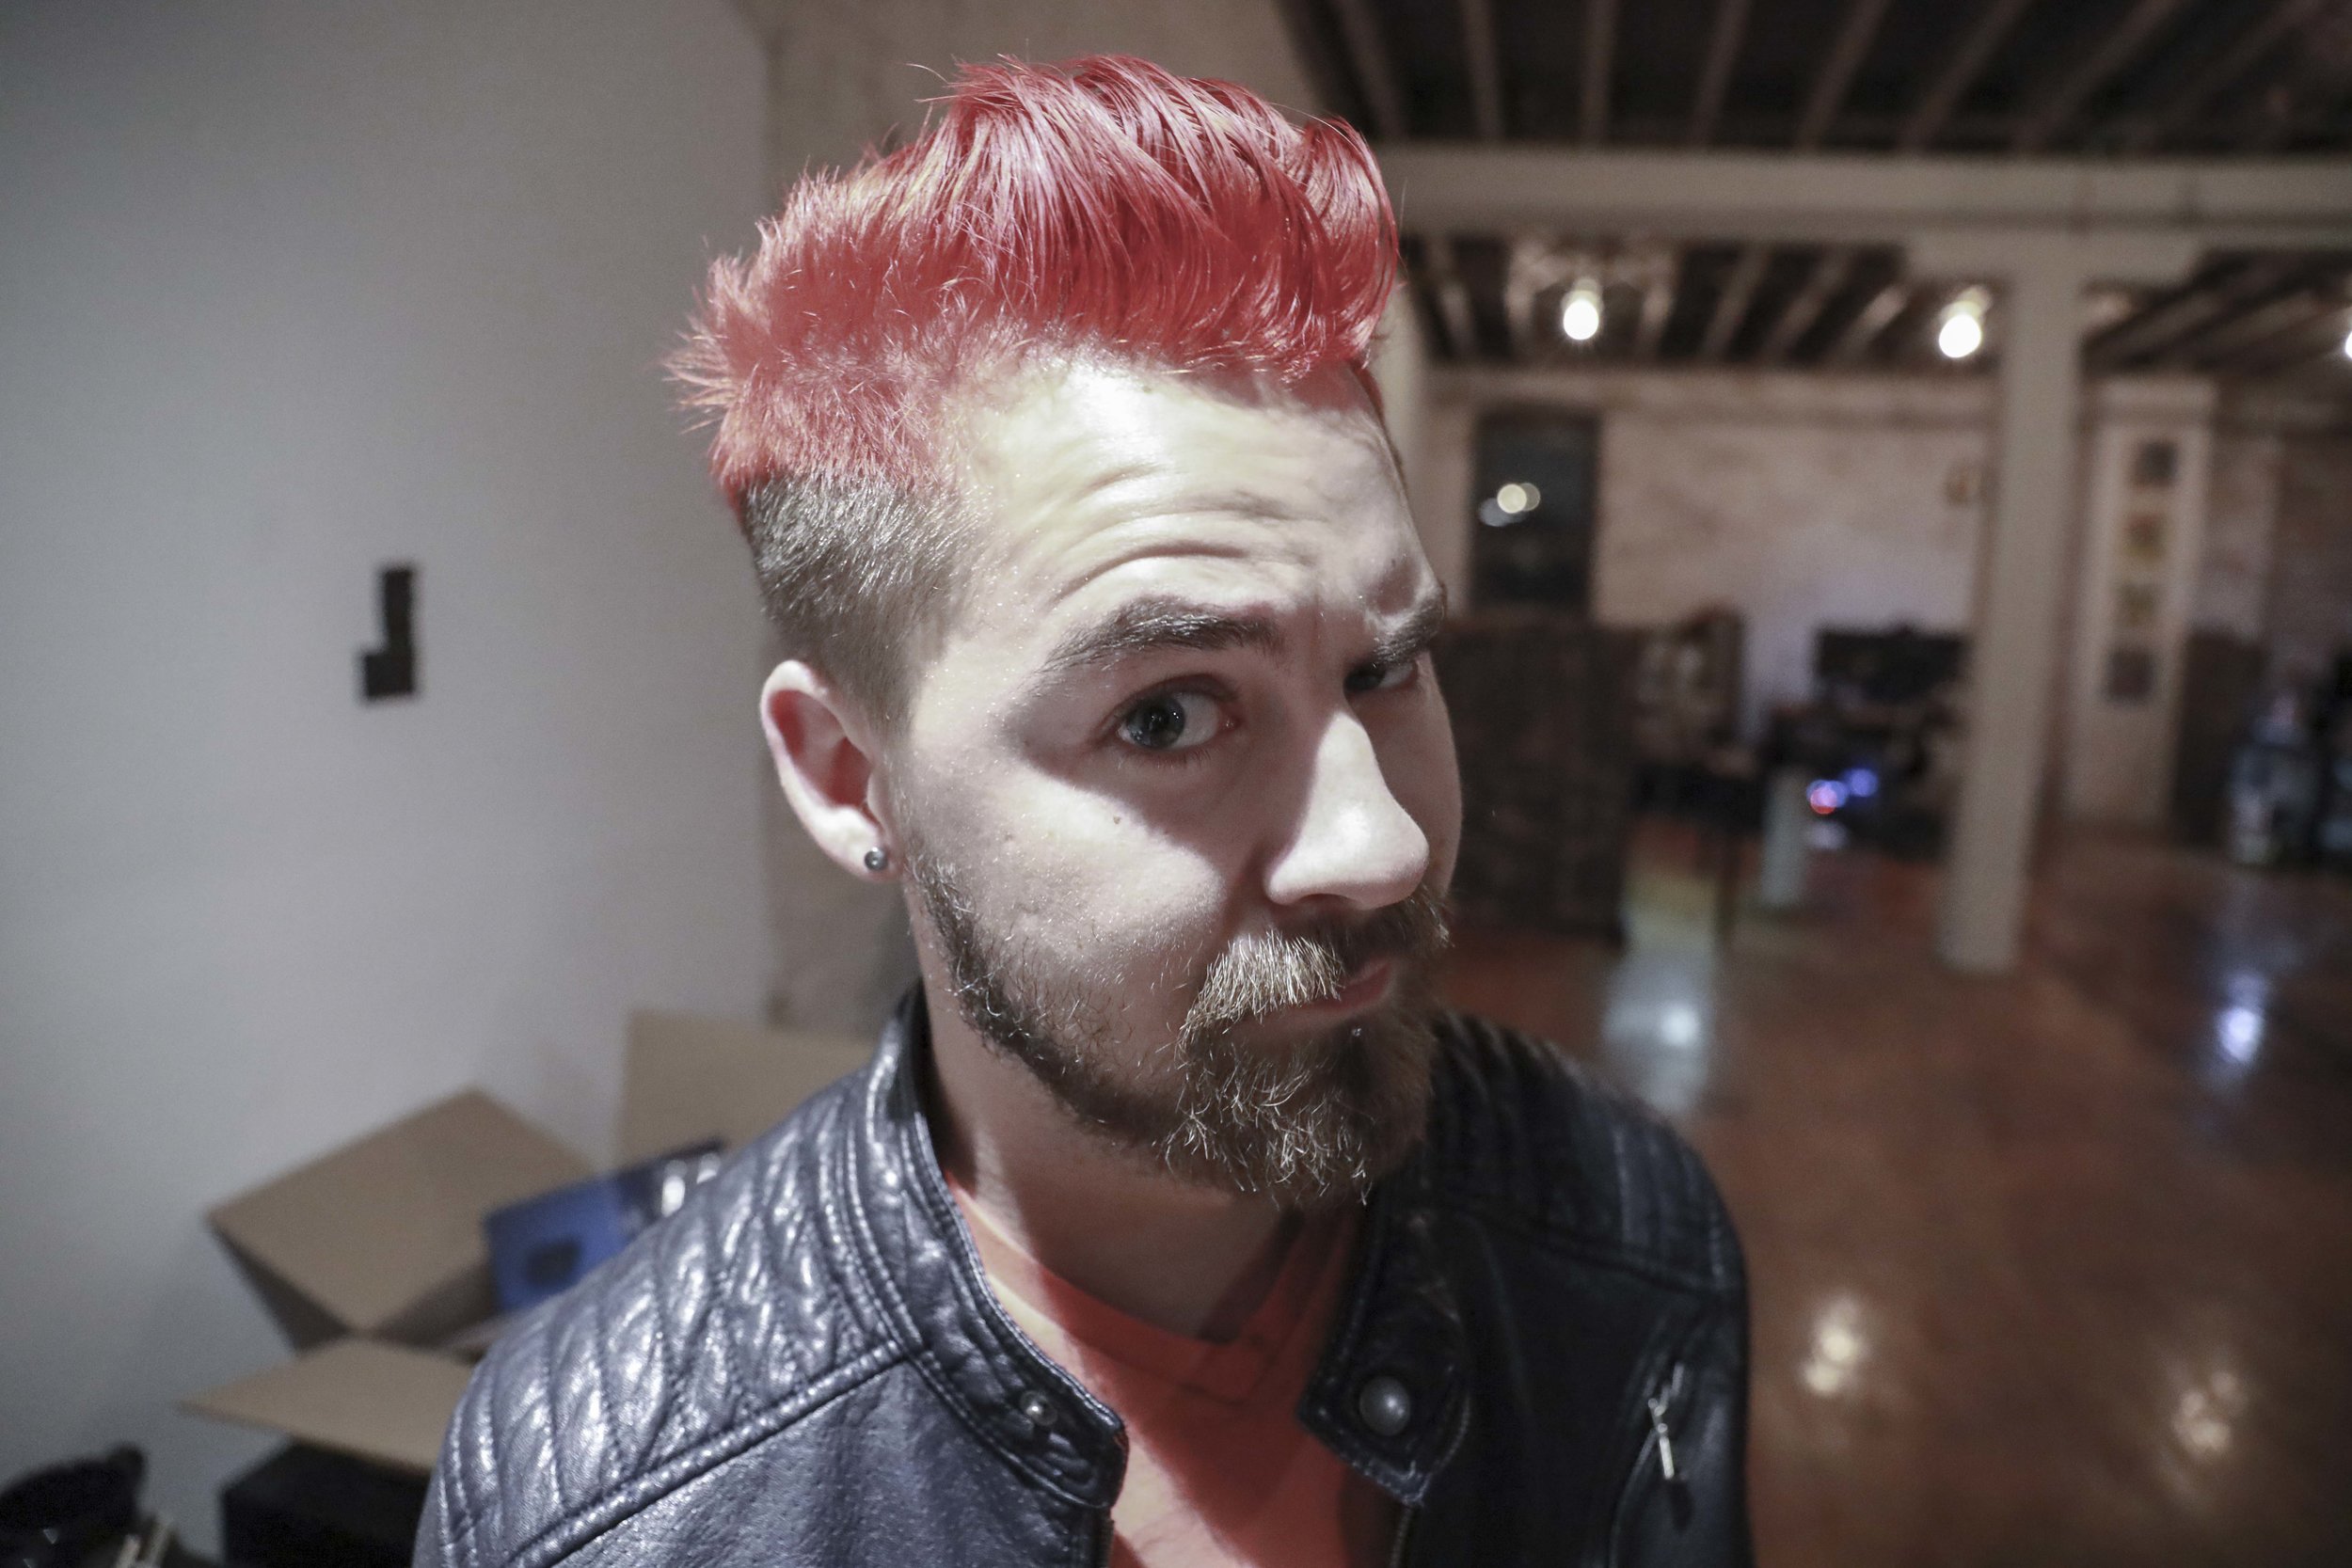
The Candid Portrait was taken on a 35mm wide open (at f1.4) which gave me some amazing results. It might be unconventional for portraits - but this lens really shined in that setting. It gave extra emphasis to the depth in the image while making the subject feel very close and intimate.
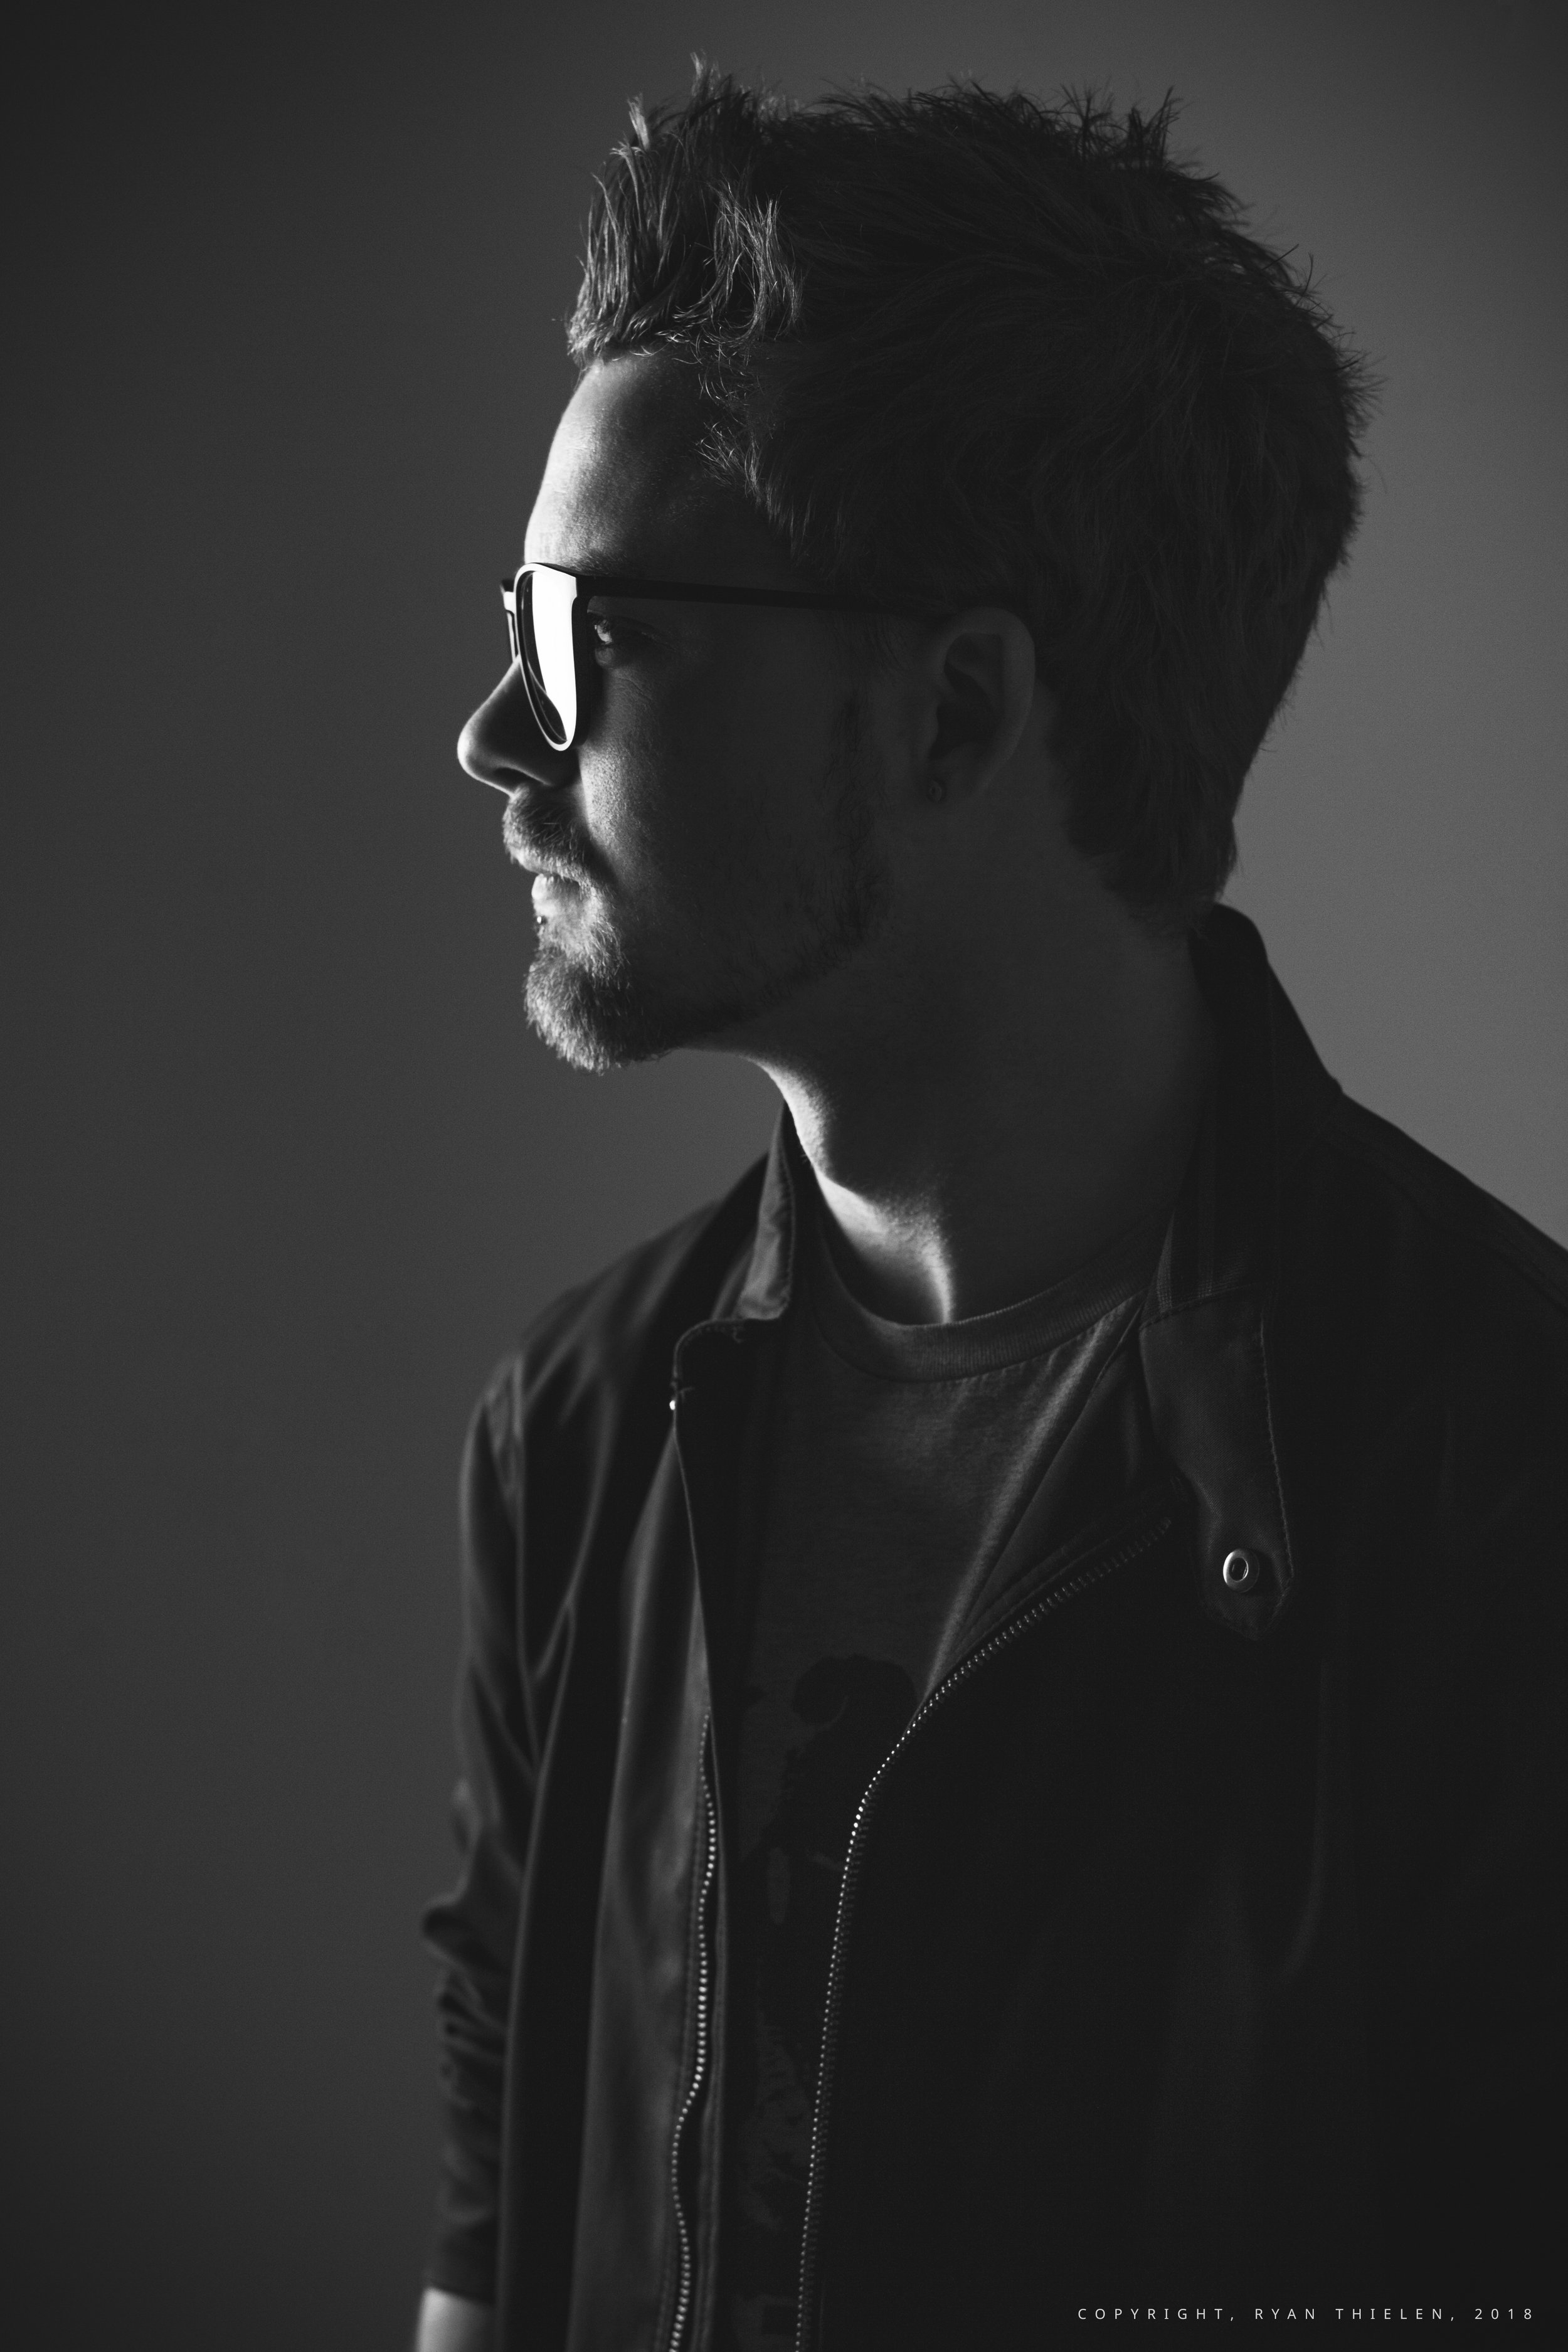
The Formal Portrait - I shot it on an 85mm prime lens and was achieved ambient lighting (one source from the side) and is one of my favorite black and white pictures I’ve ever taken.
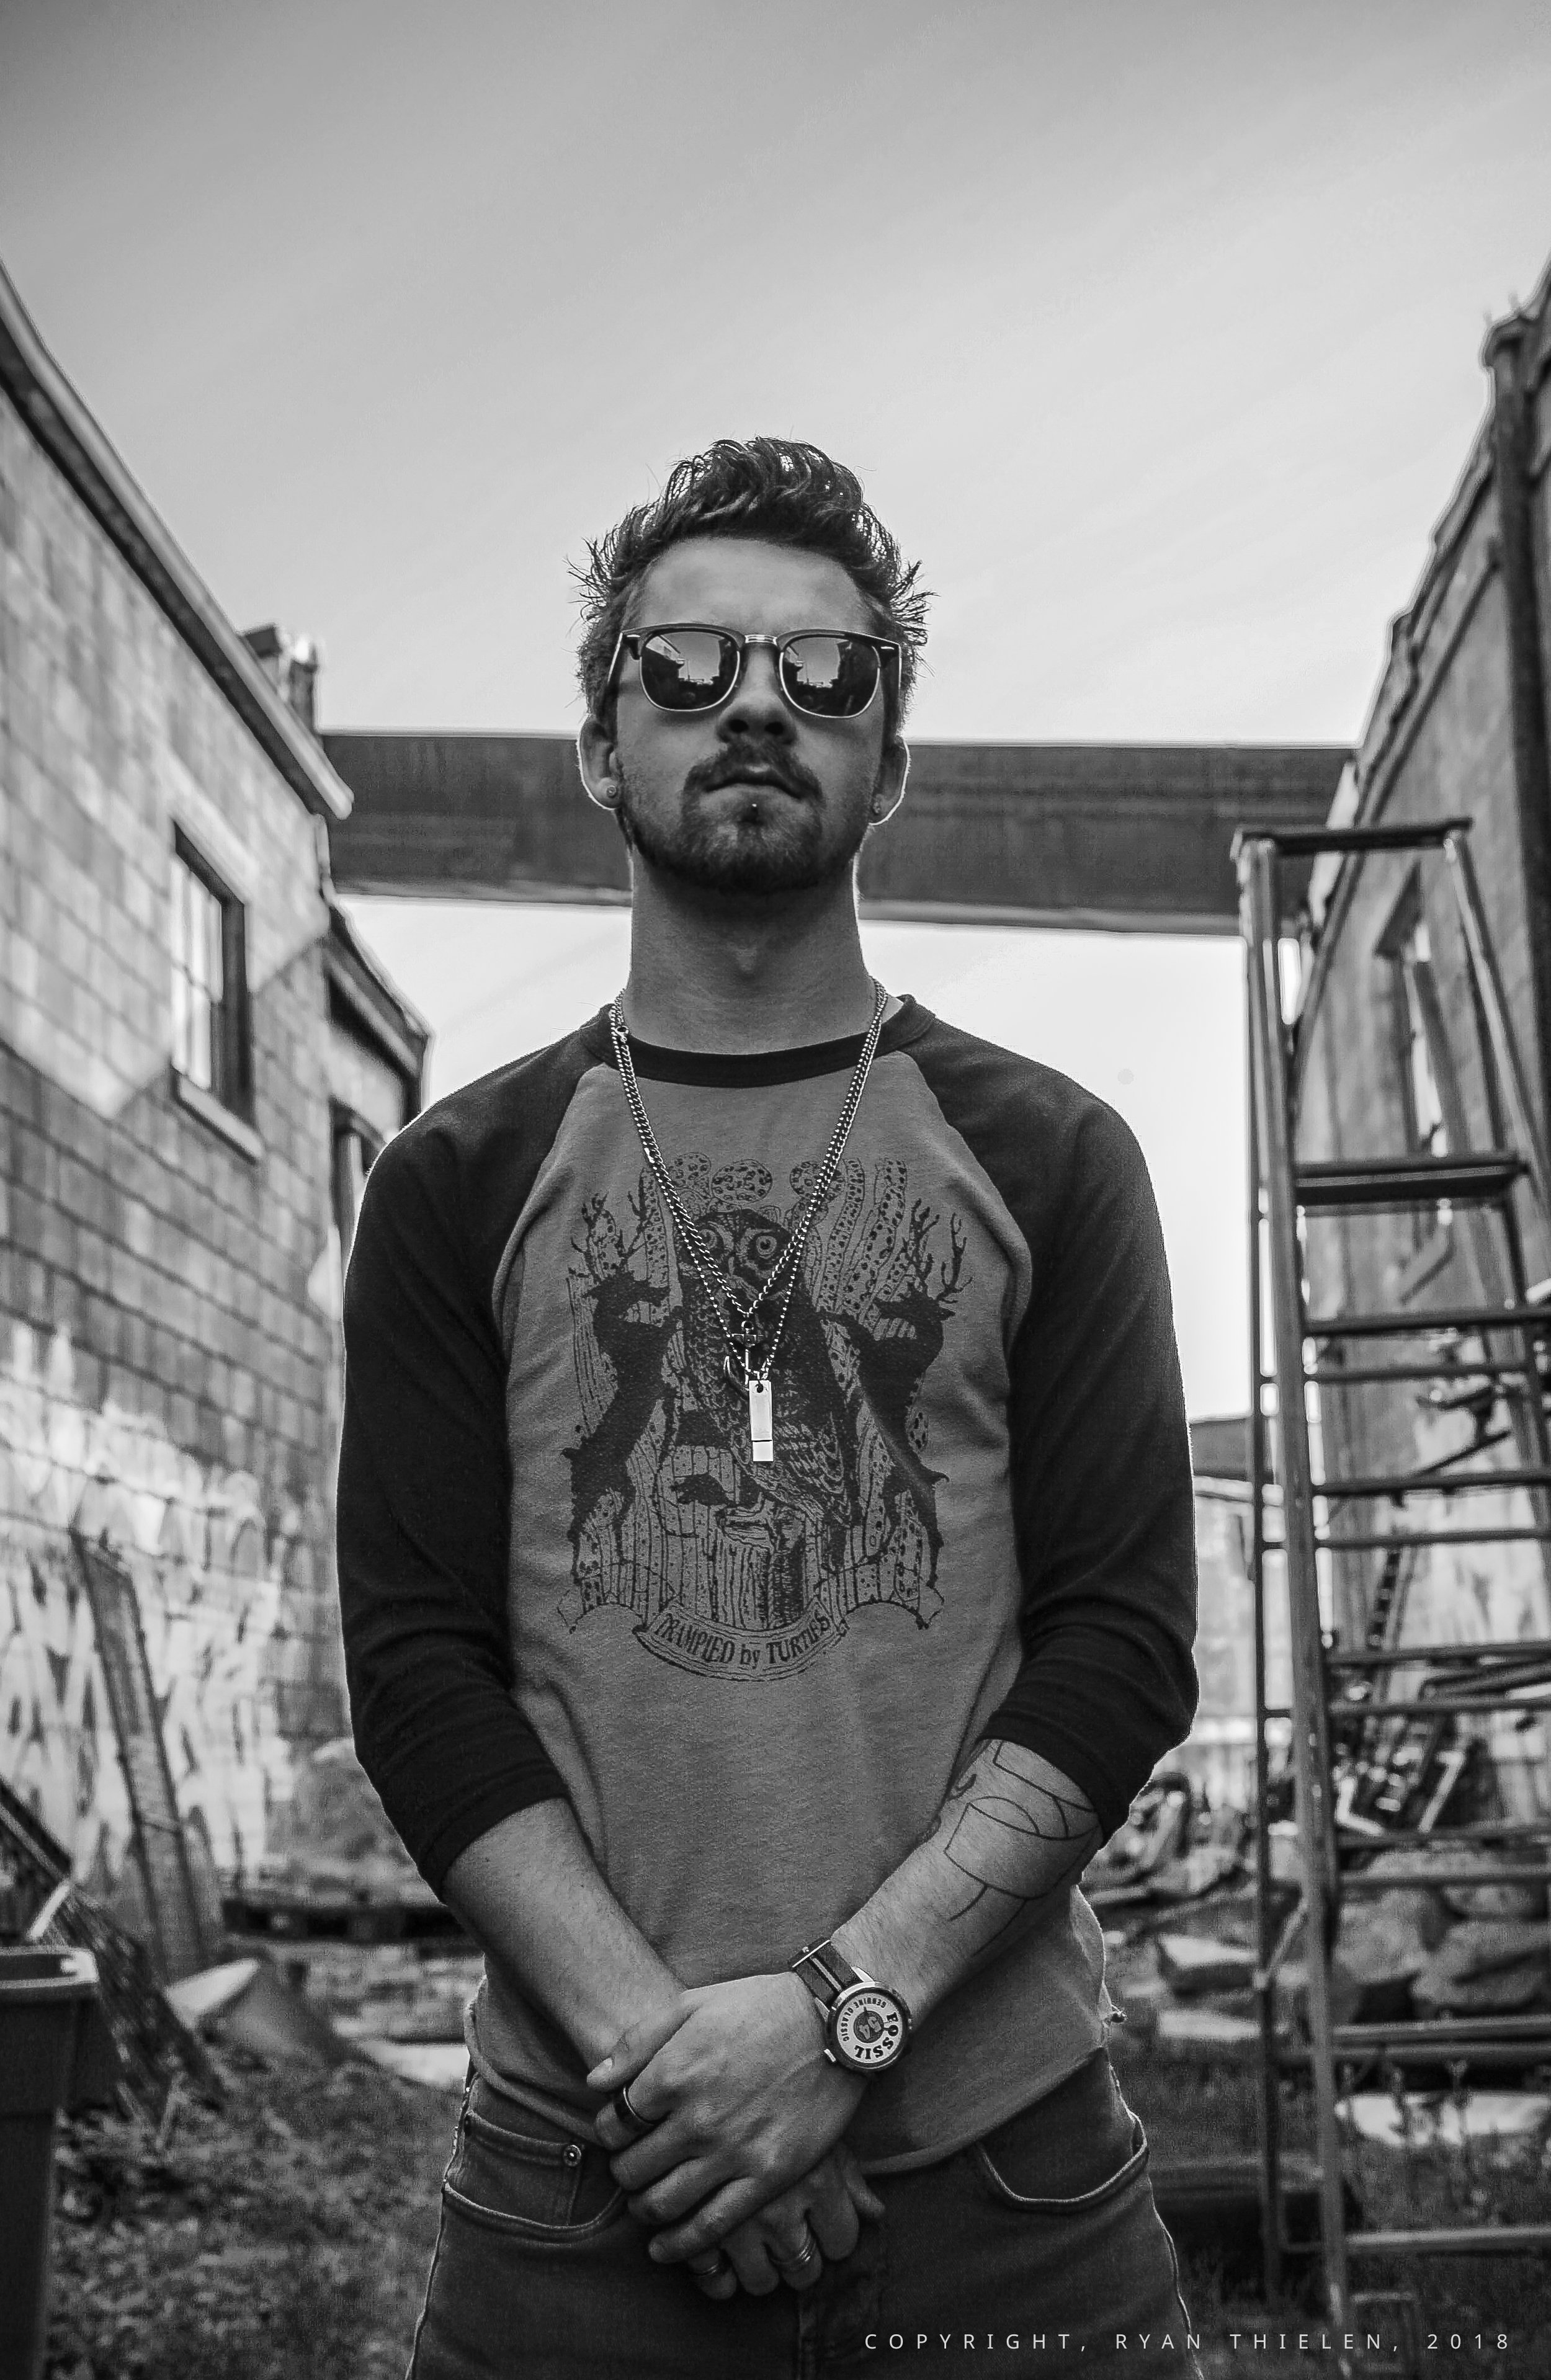
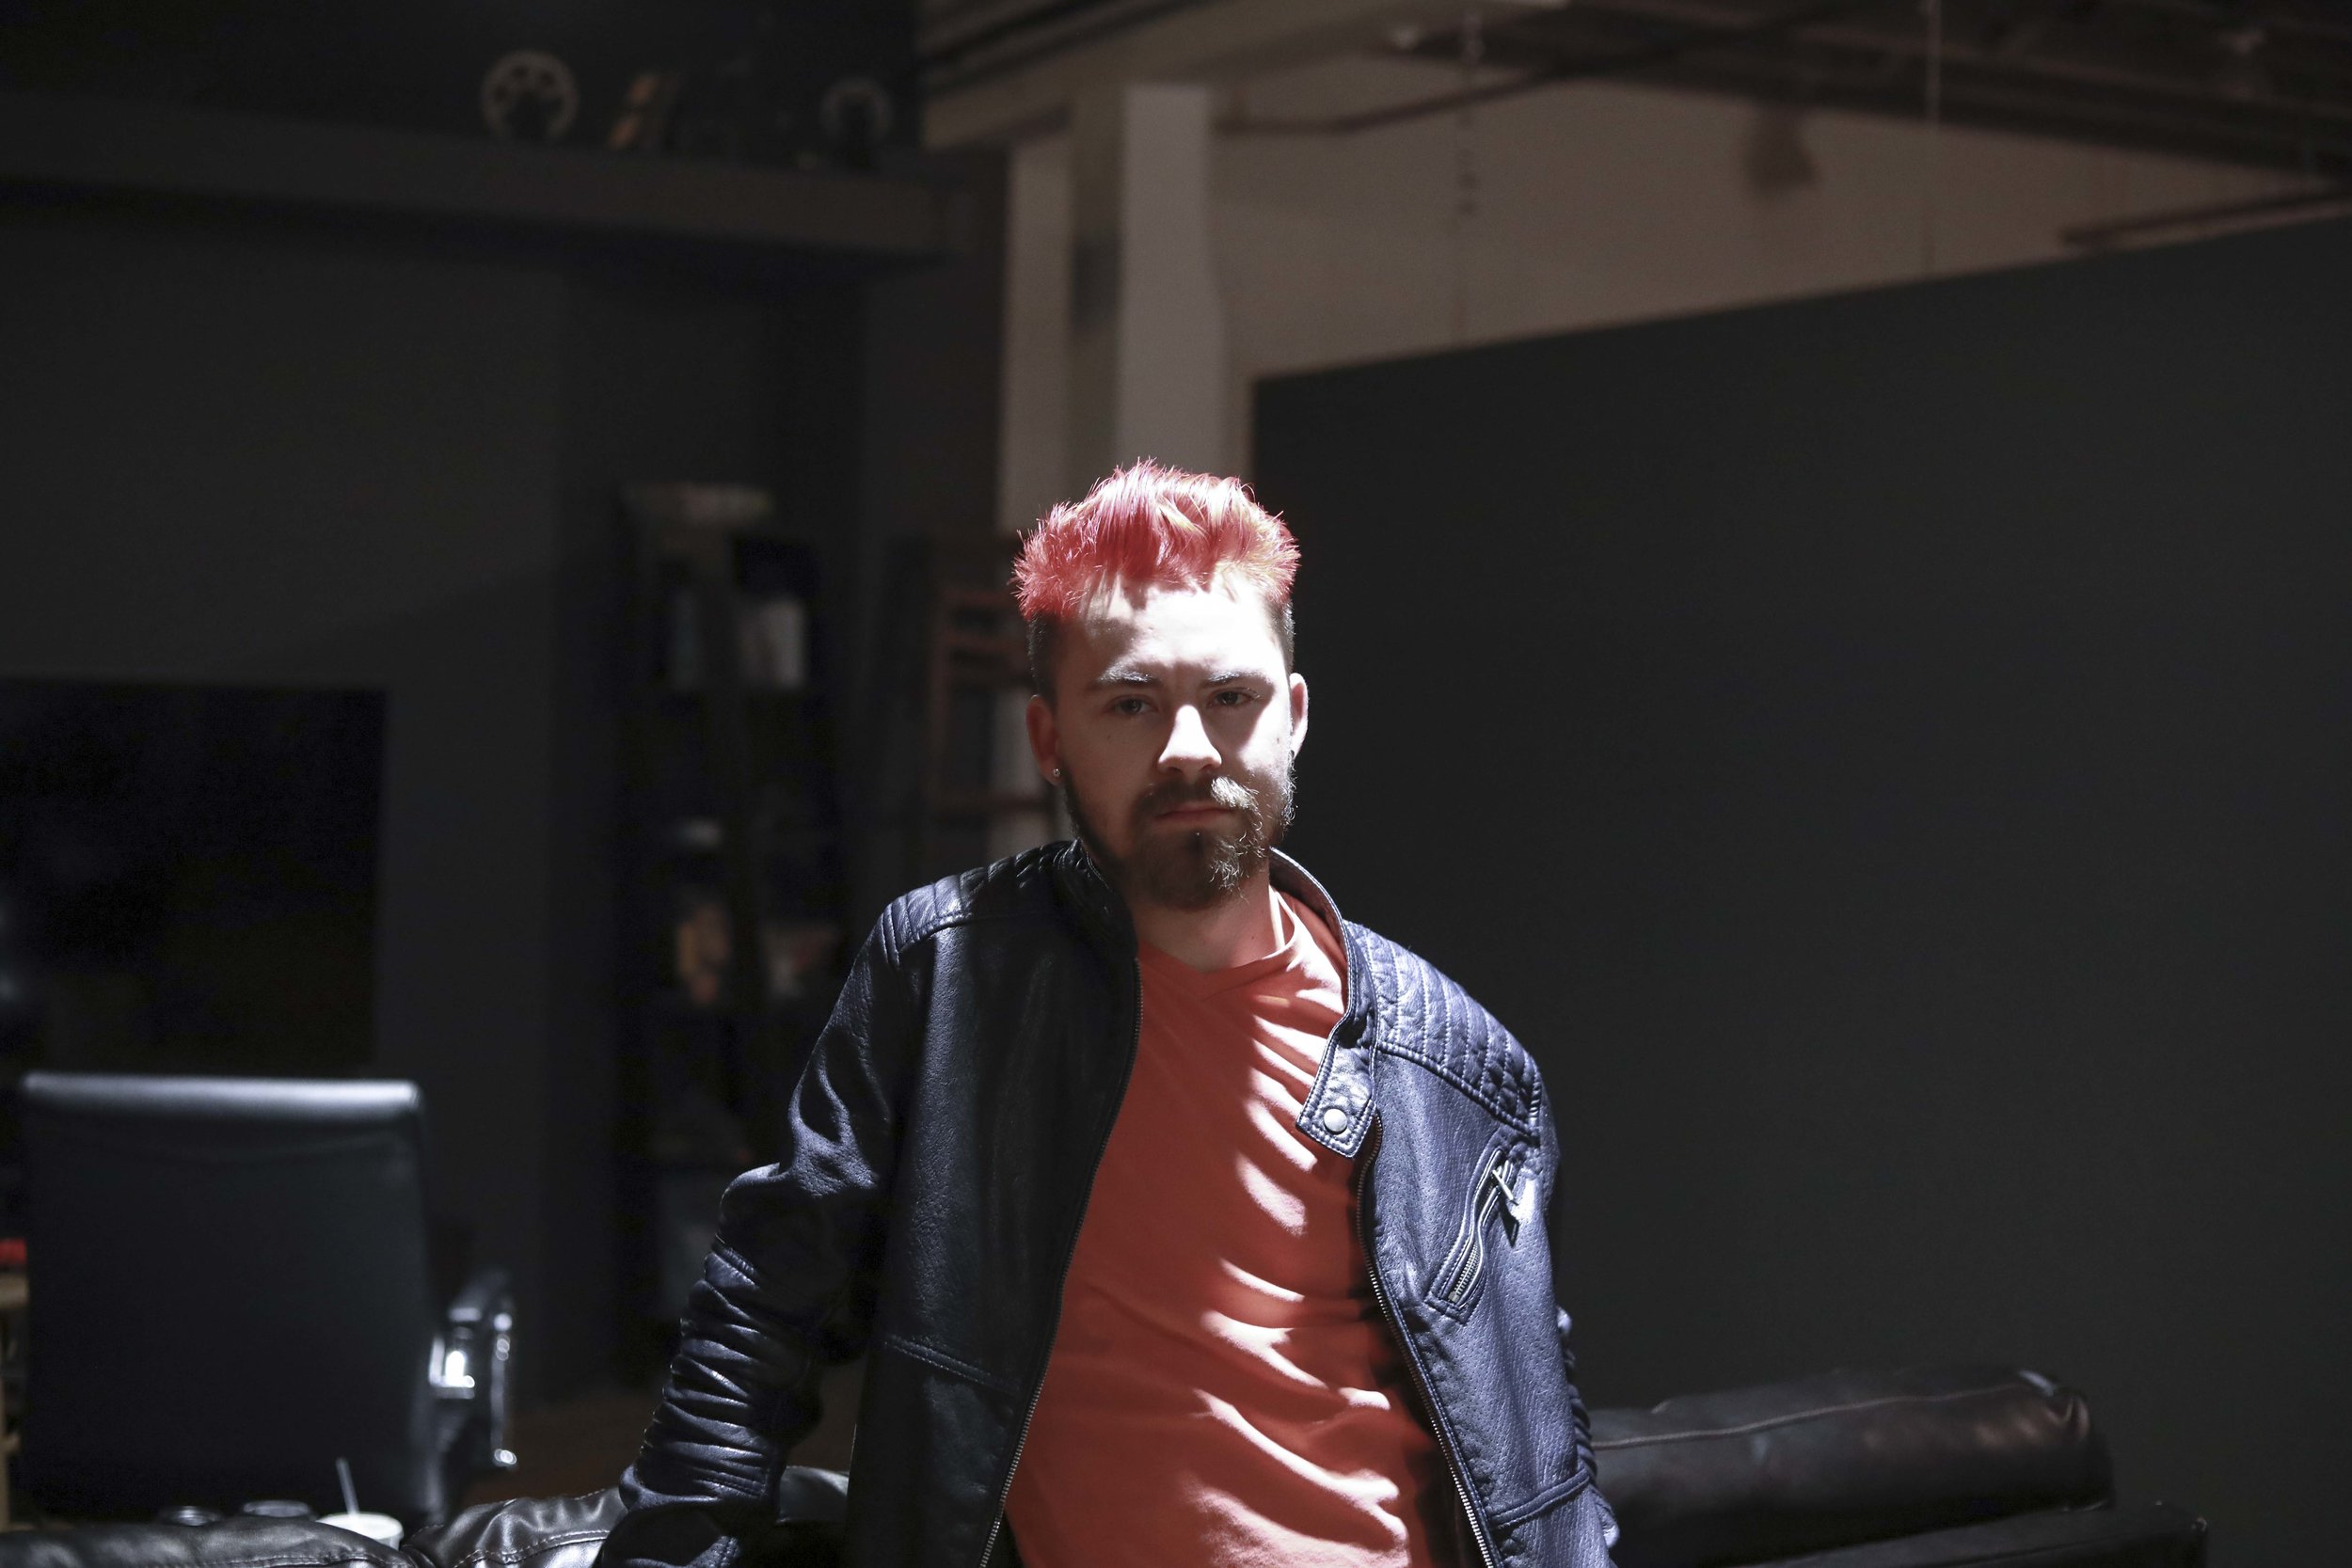
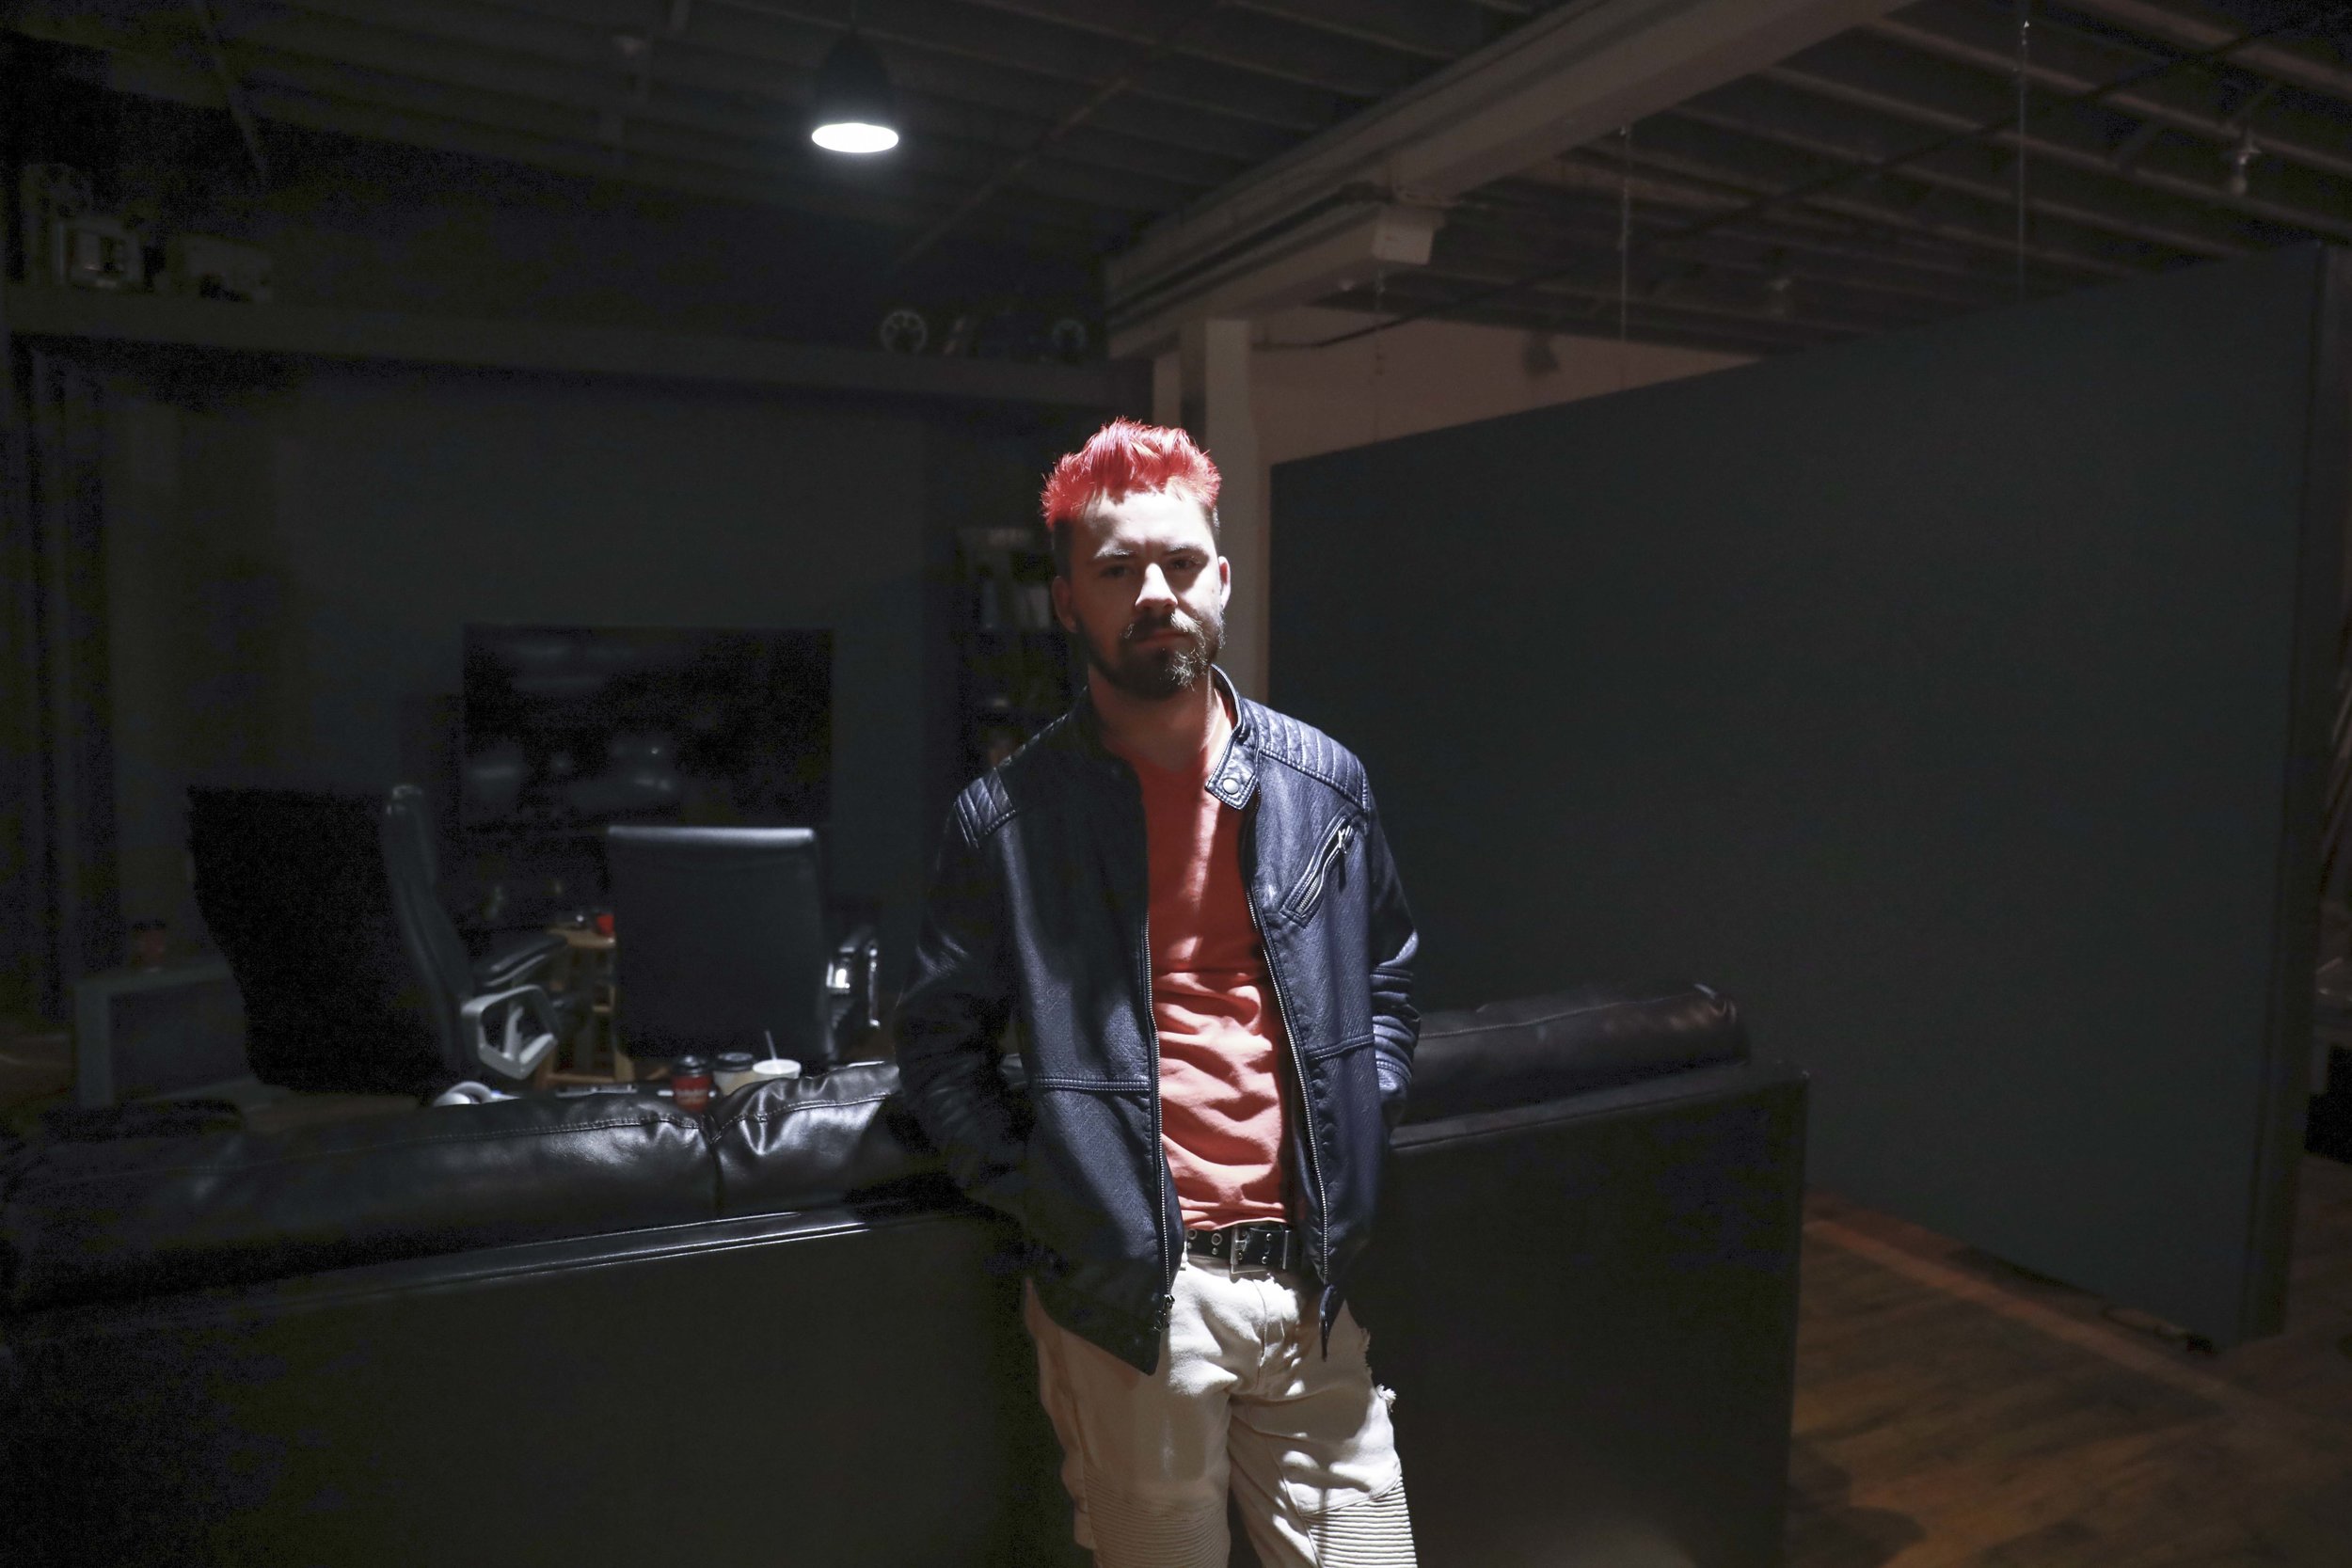
The Environmental Portrait I kept the aperture closed down at f/8 to help keep some of the texture in the background available to see. I think it does a nice job of bringing out Spencer’s attitude.
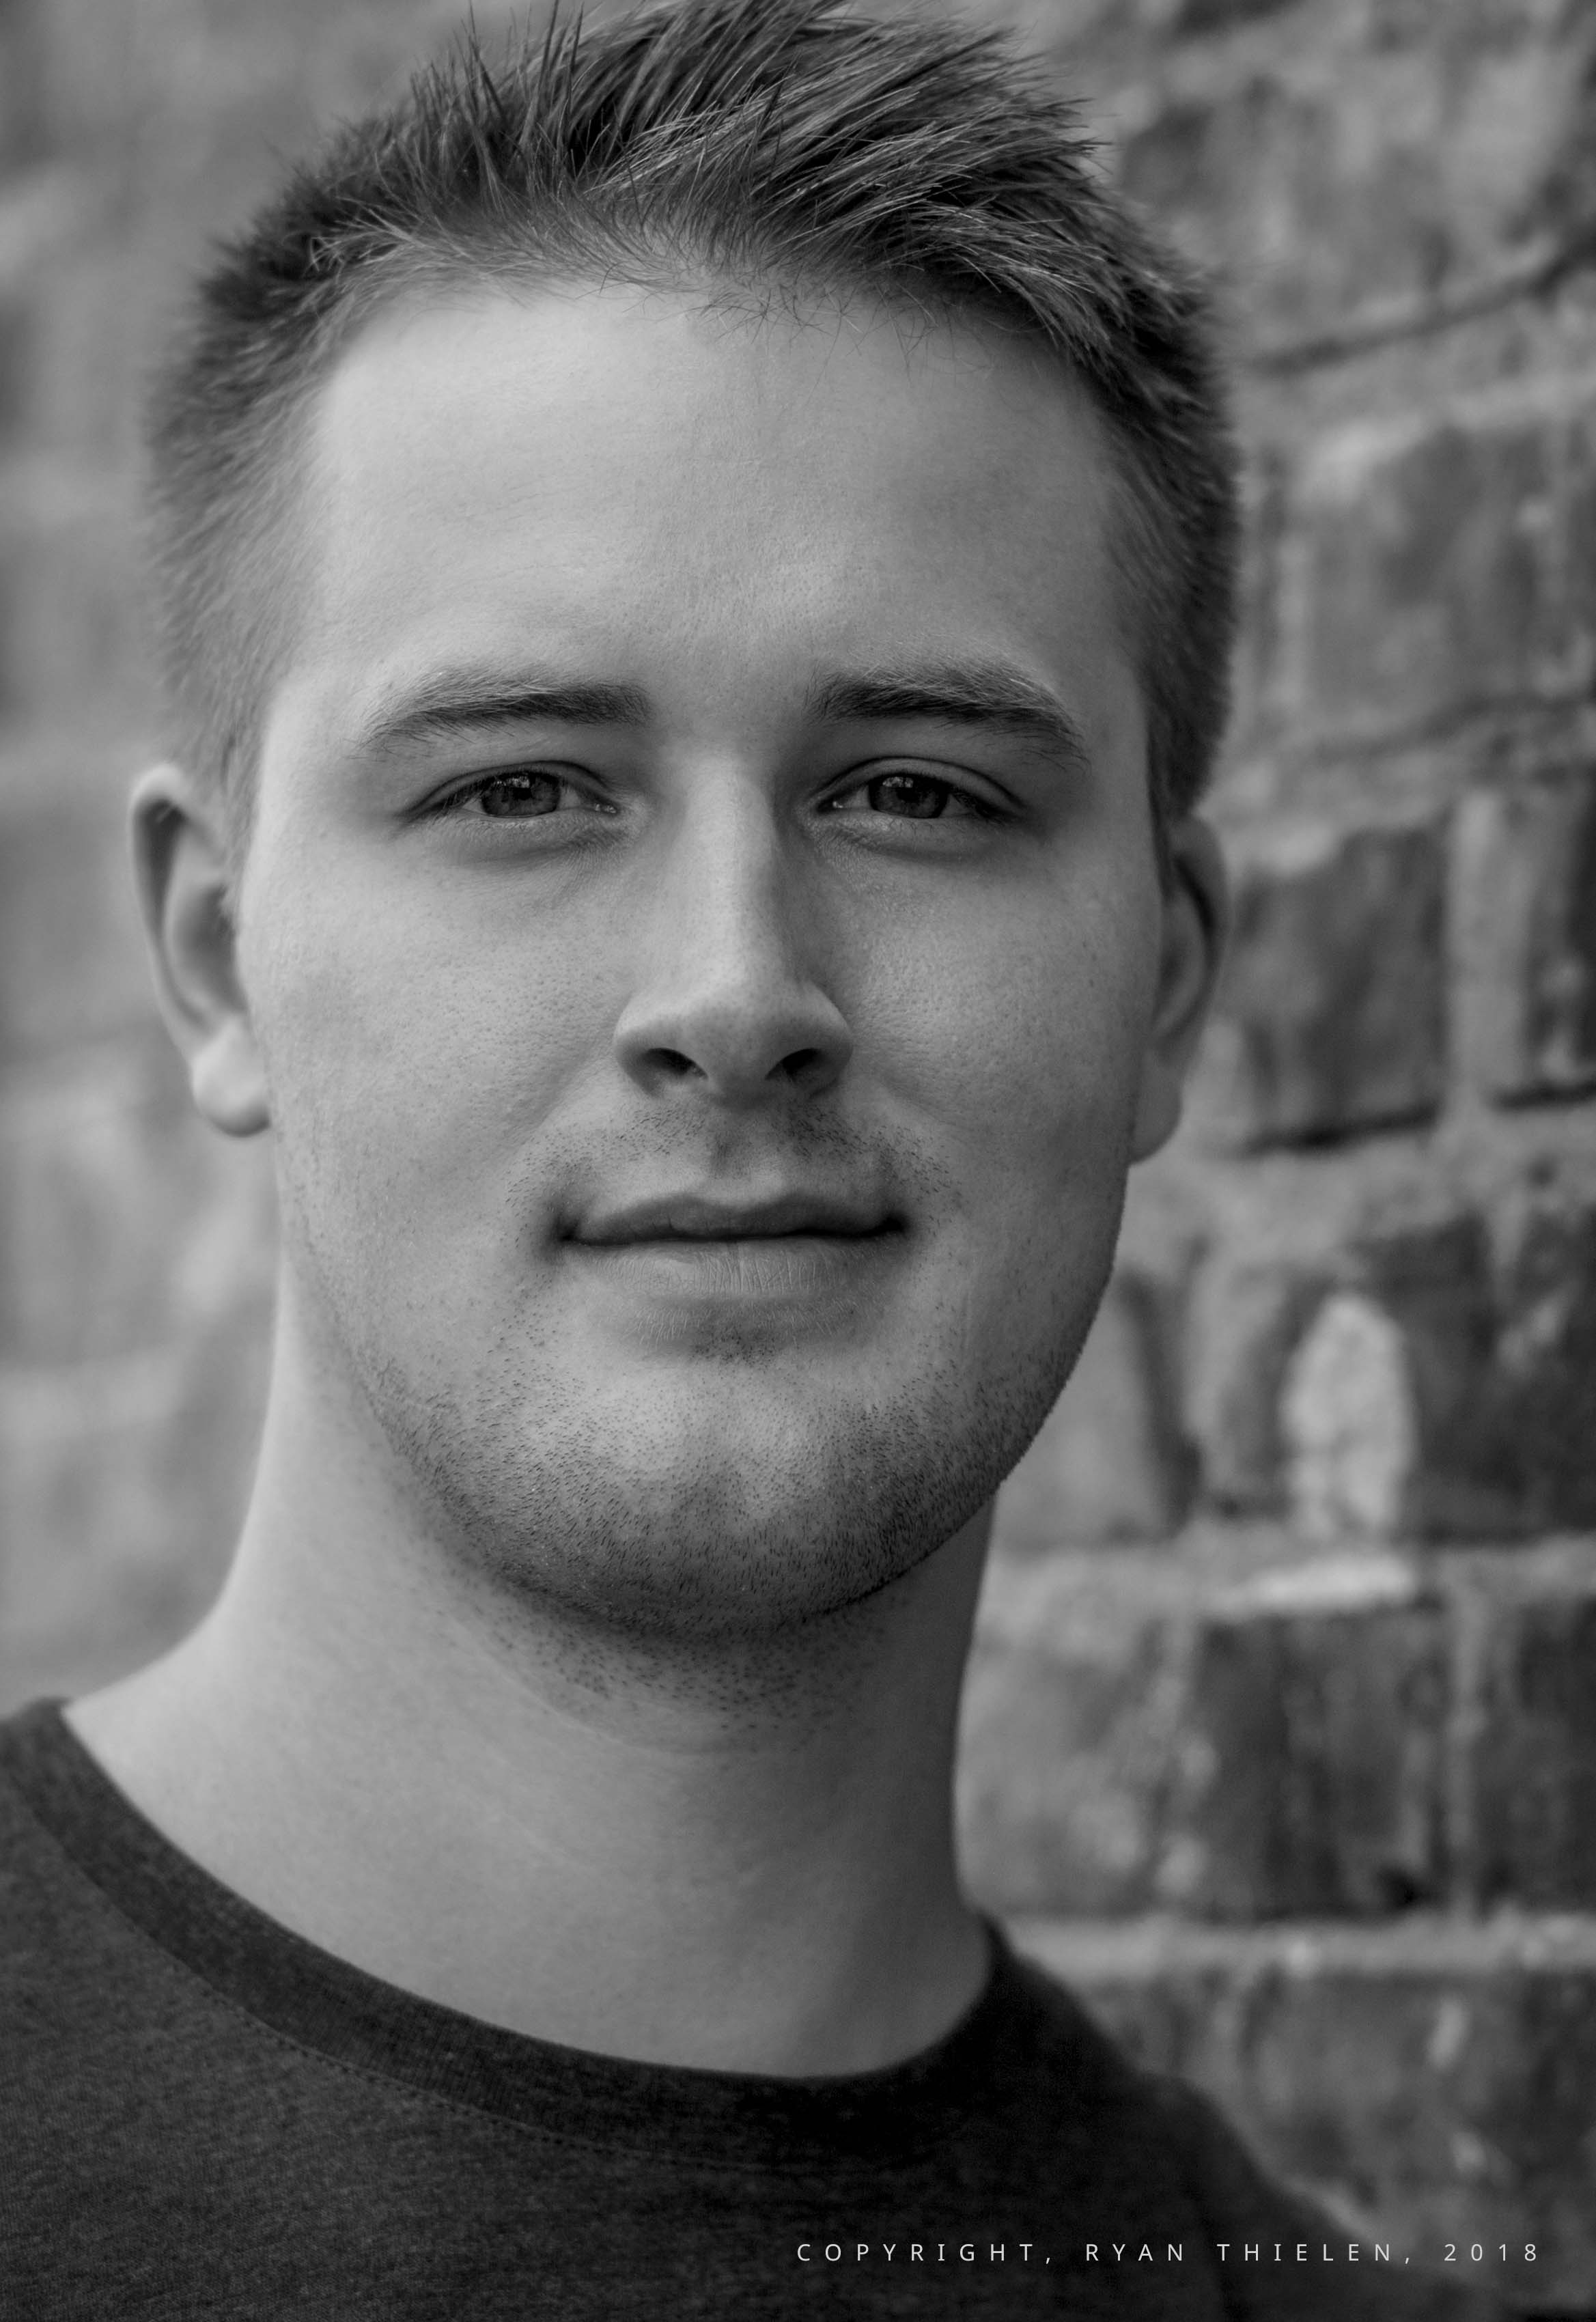
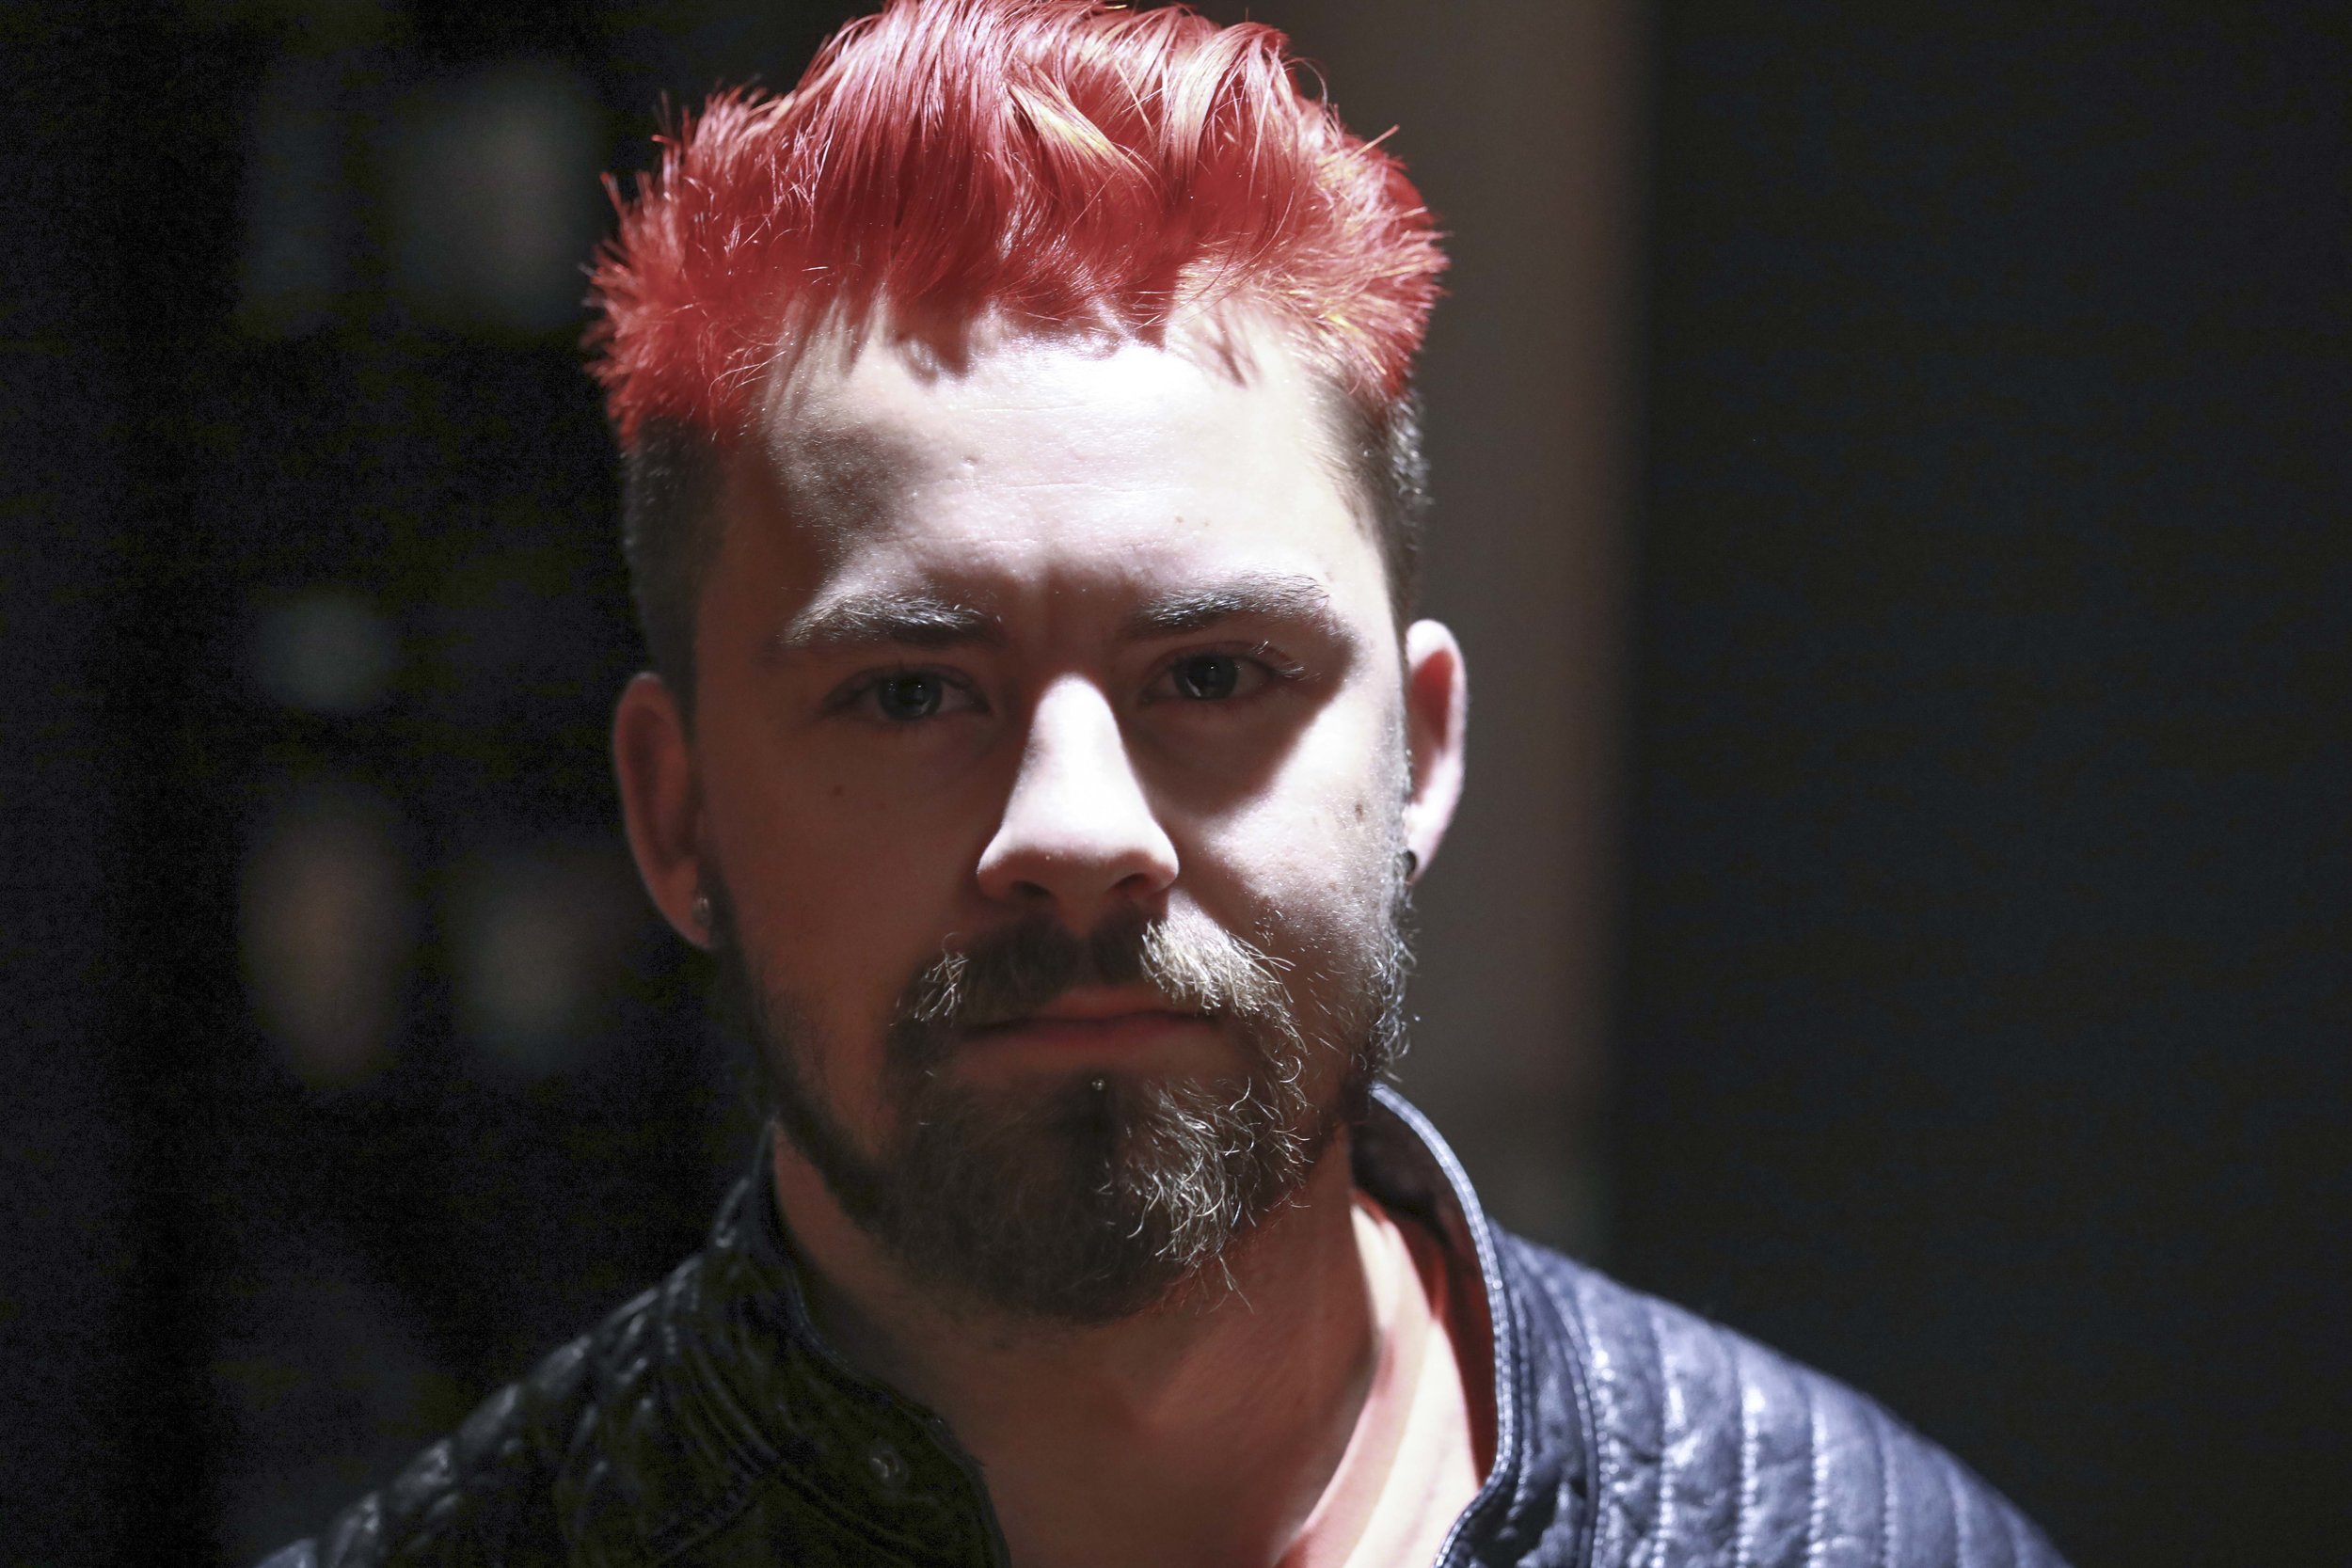
The Self Portrait was the most difficult one and this was the best I could do. I put the camera on a tripod and shot it at 85mm. I think I could do better here - but I have very little experience shooting myself. Next time I might try for a wider lens and an environment with more depth.
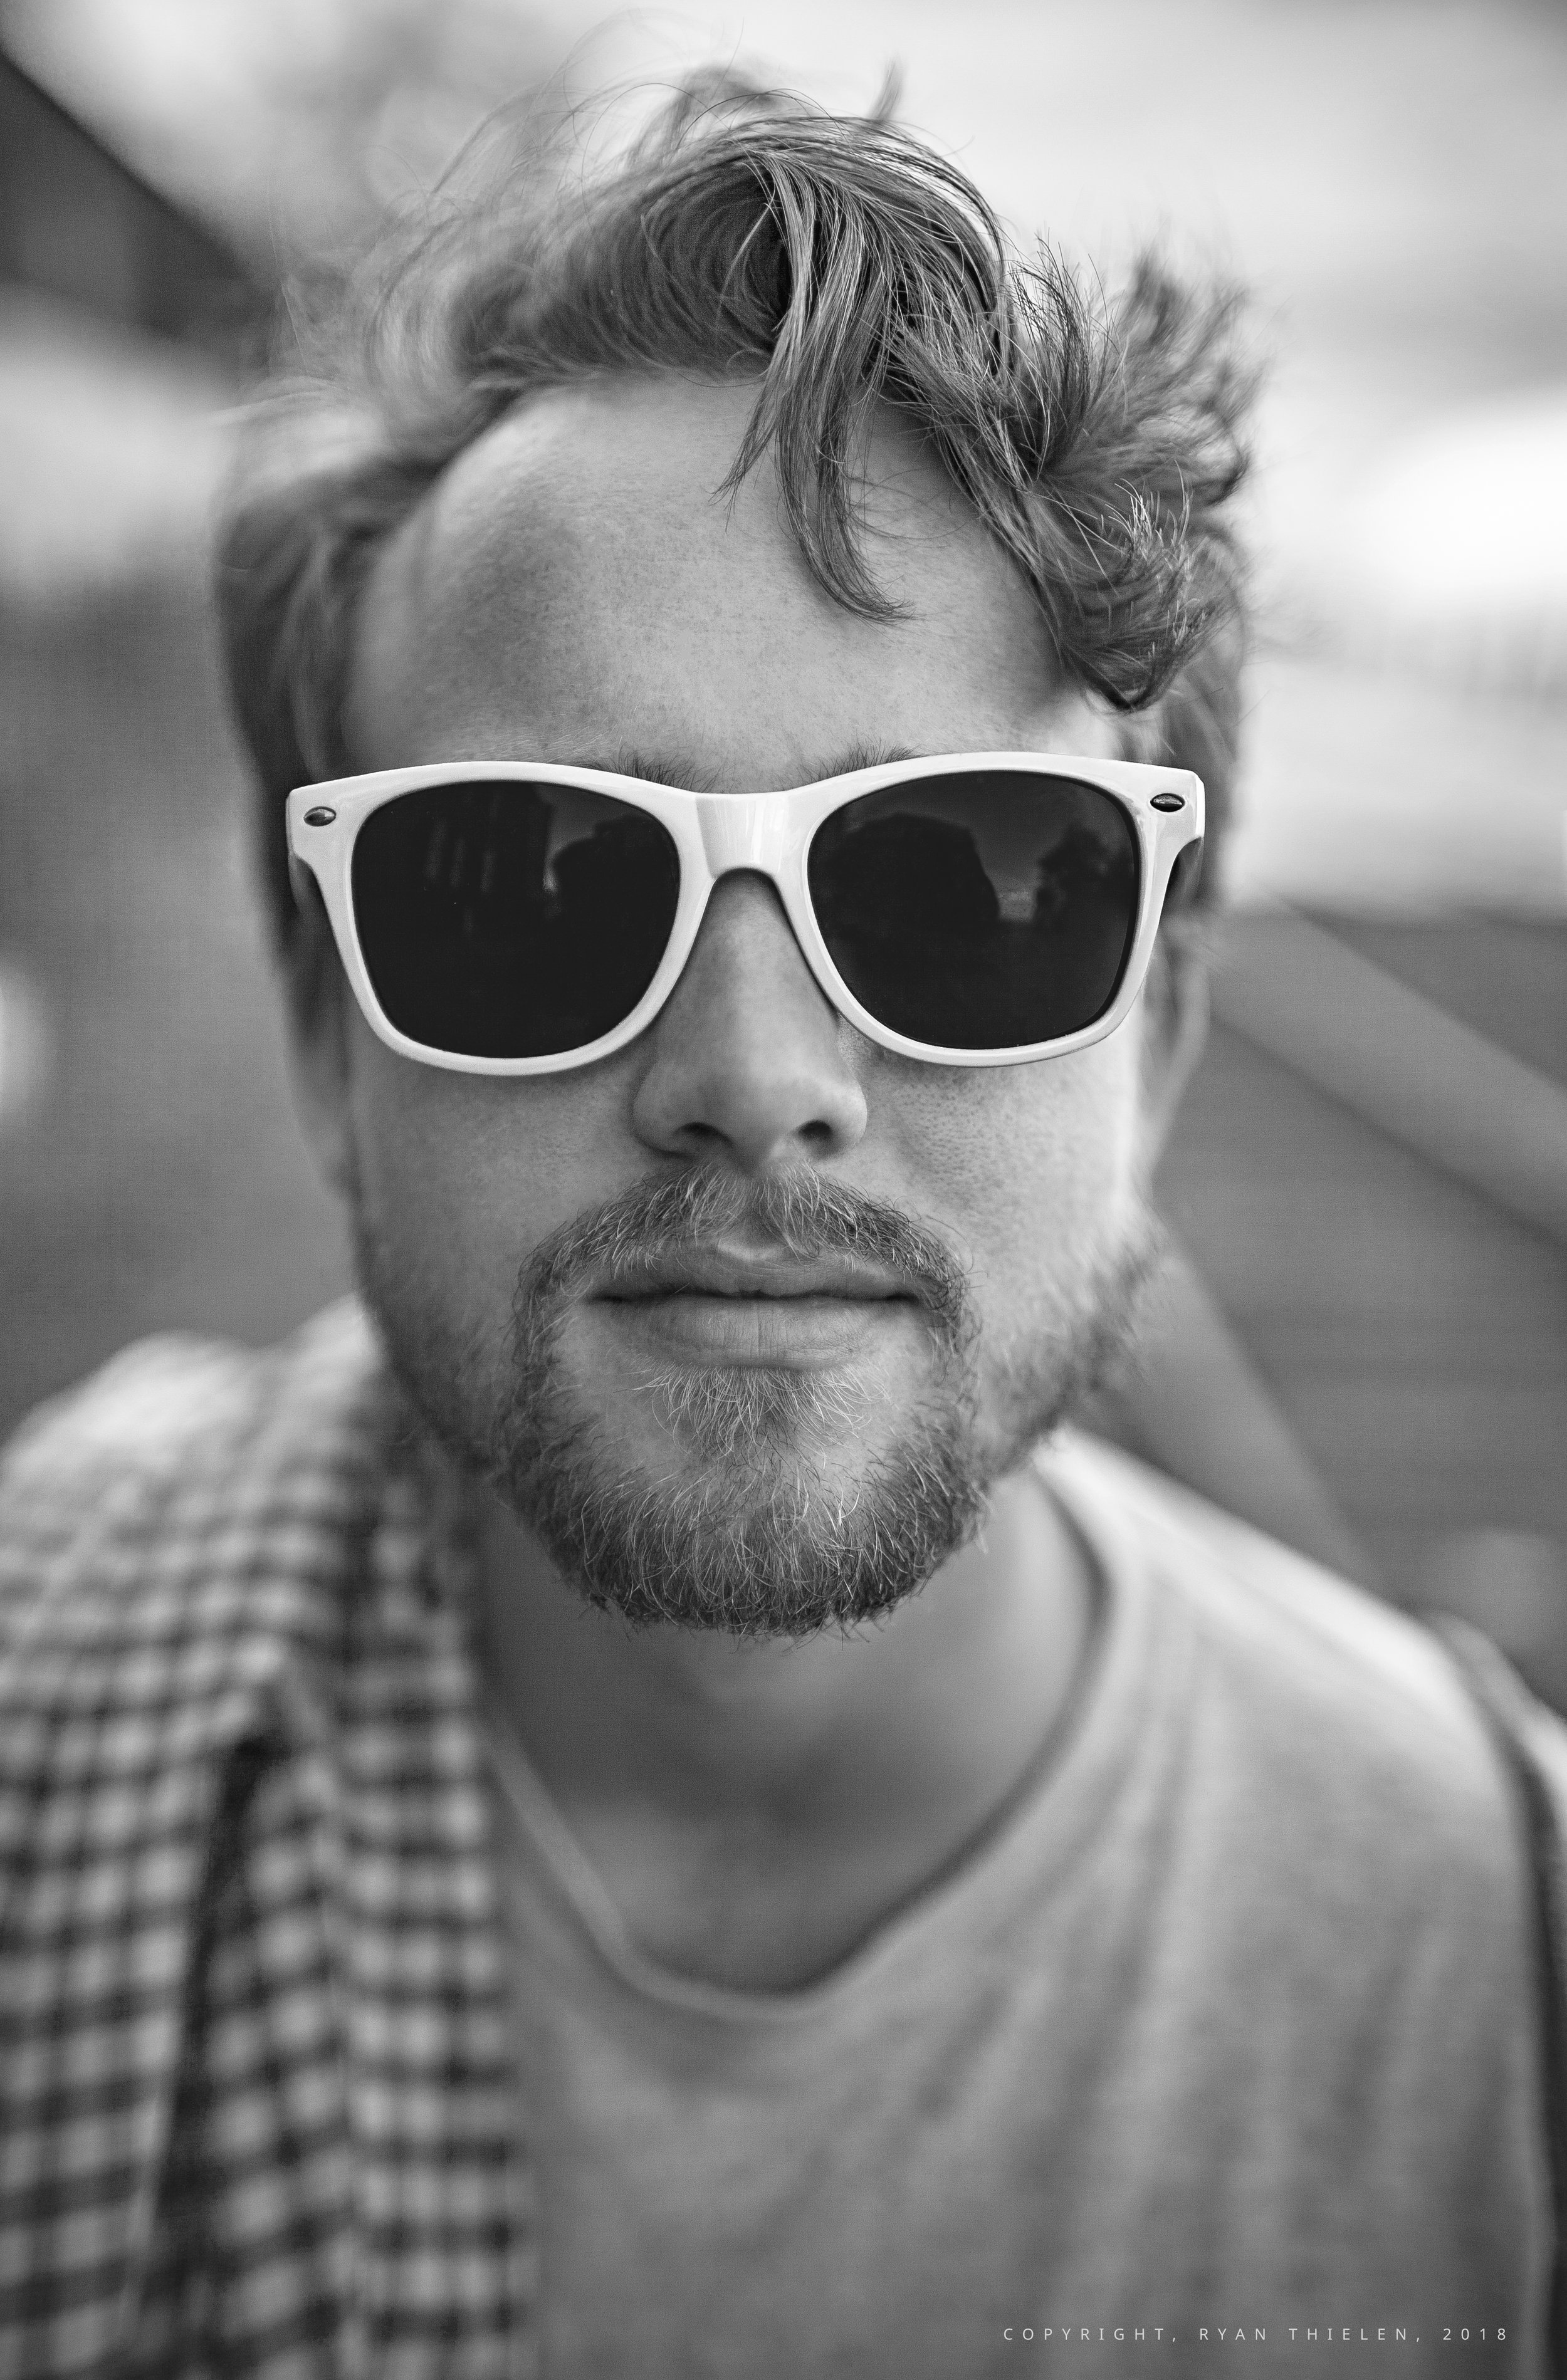
I added another shot for fun because I liked it so much - again shot at 35mm Full Frame of David looking into the lens with his sunglasses on. Typically I wouldn’t shoot portraits at 35mm but this lens wide open just looks too good to not try it.
I think this exercise really helping me understand lighting and seeing the world through a monochrome lens. The focus is more on contrast rather than color and makes for some interesting choices while filming.
Still Life
November 10th, 2018
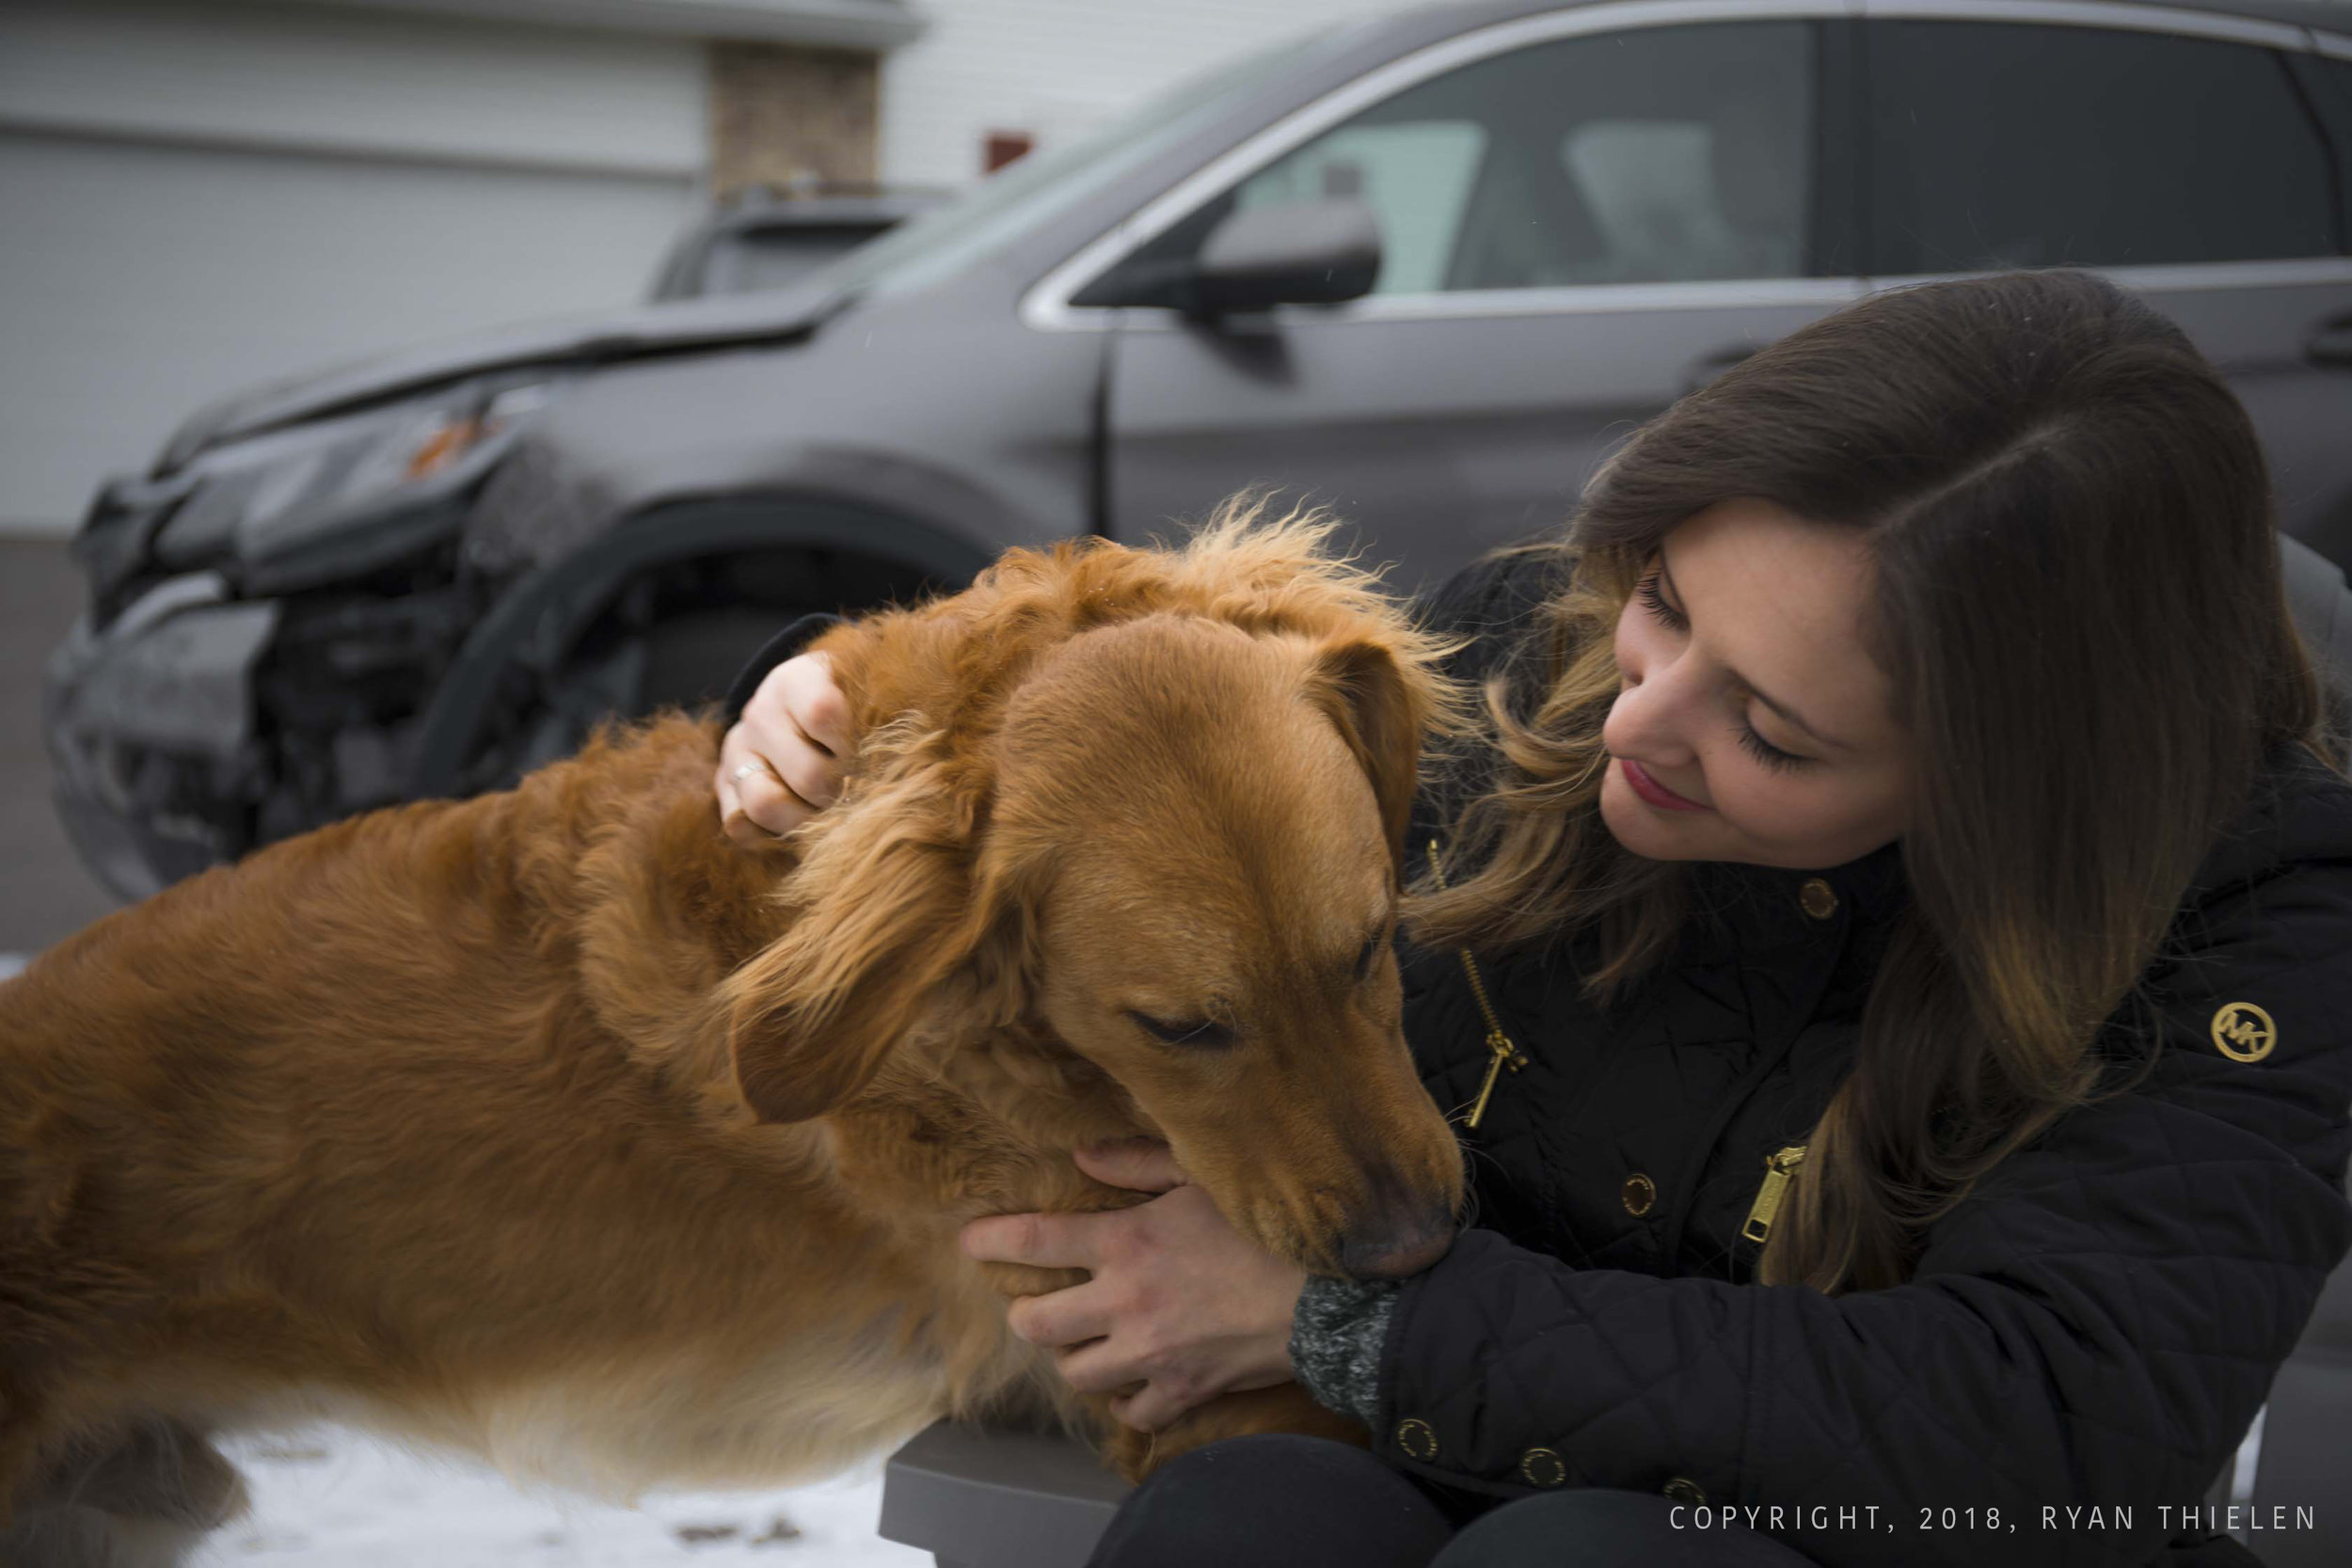
For this project I decided to take a photo that represented something significant in my life. I wasn’t able to attend class - so I hope that I am interpreting this project correctly. The photo below is a reflection of things that matter in my life as well as a reminder of how they should not be taken for granted.
In the photo you see my girlfriend Rita, our dog Cooper, and the first house we’ve purchased together. Behind Rita and Cooper is Rita’s car that had been recently struck by another car. The last few months have been long and stressful with work, school, and personal obligations. This photo reflects my most current mindset on what is actually important in life - my family and our shared lives together.
The totaled car in the background (and fittingly between our family and the house where we live) is a reminder of how important it is to keep everything in perspective. A reminder that work, stressful days, clients, and everything else is secondary to the lives and wellbeing of those you share your life with.
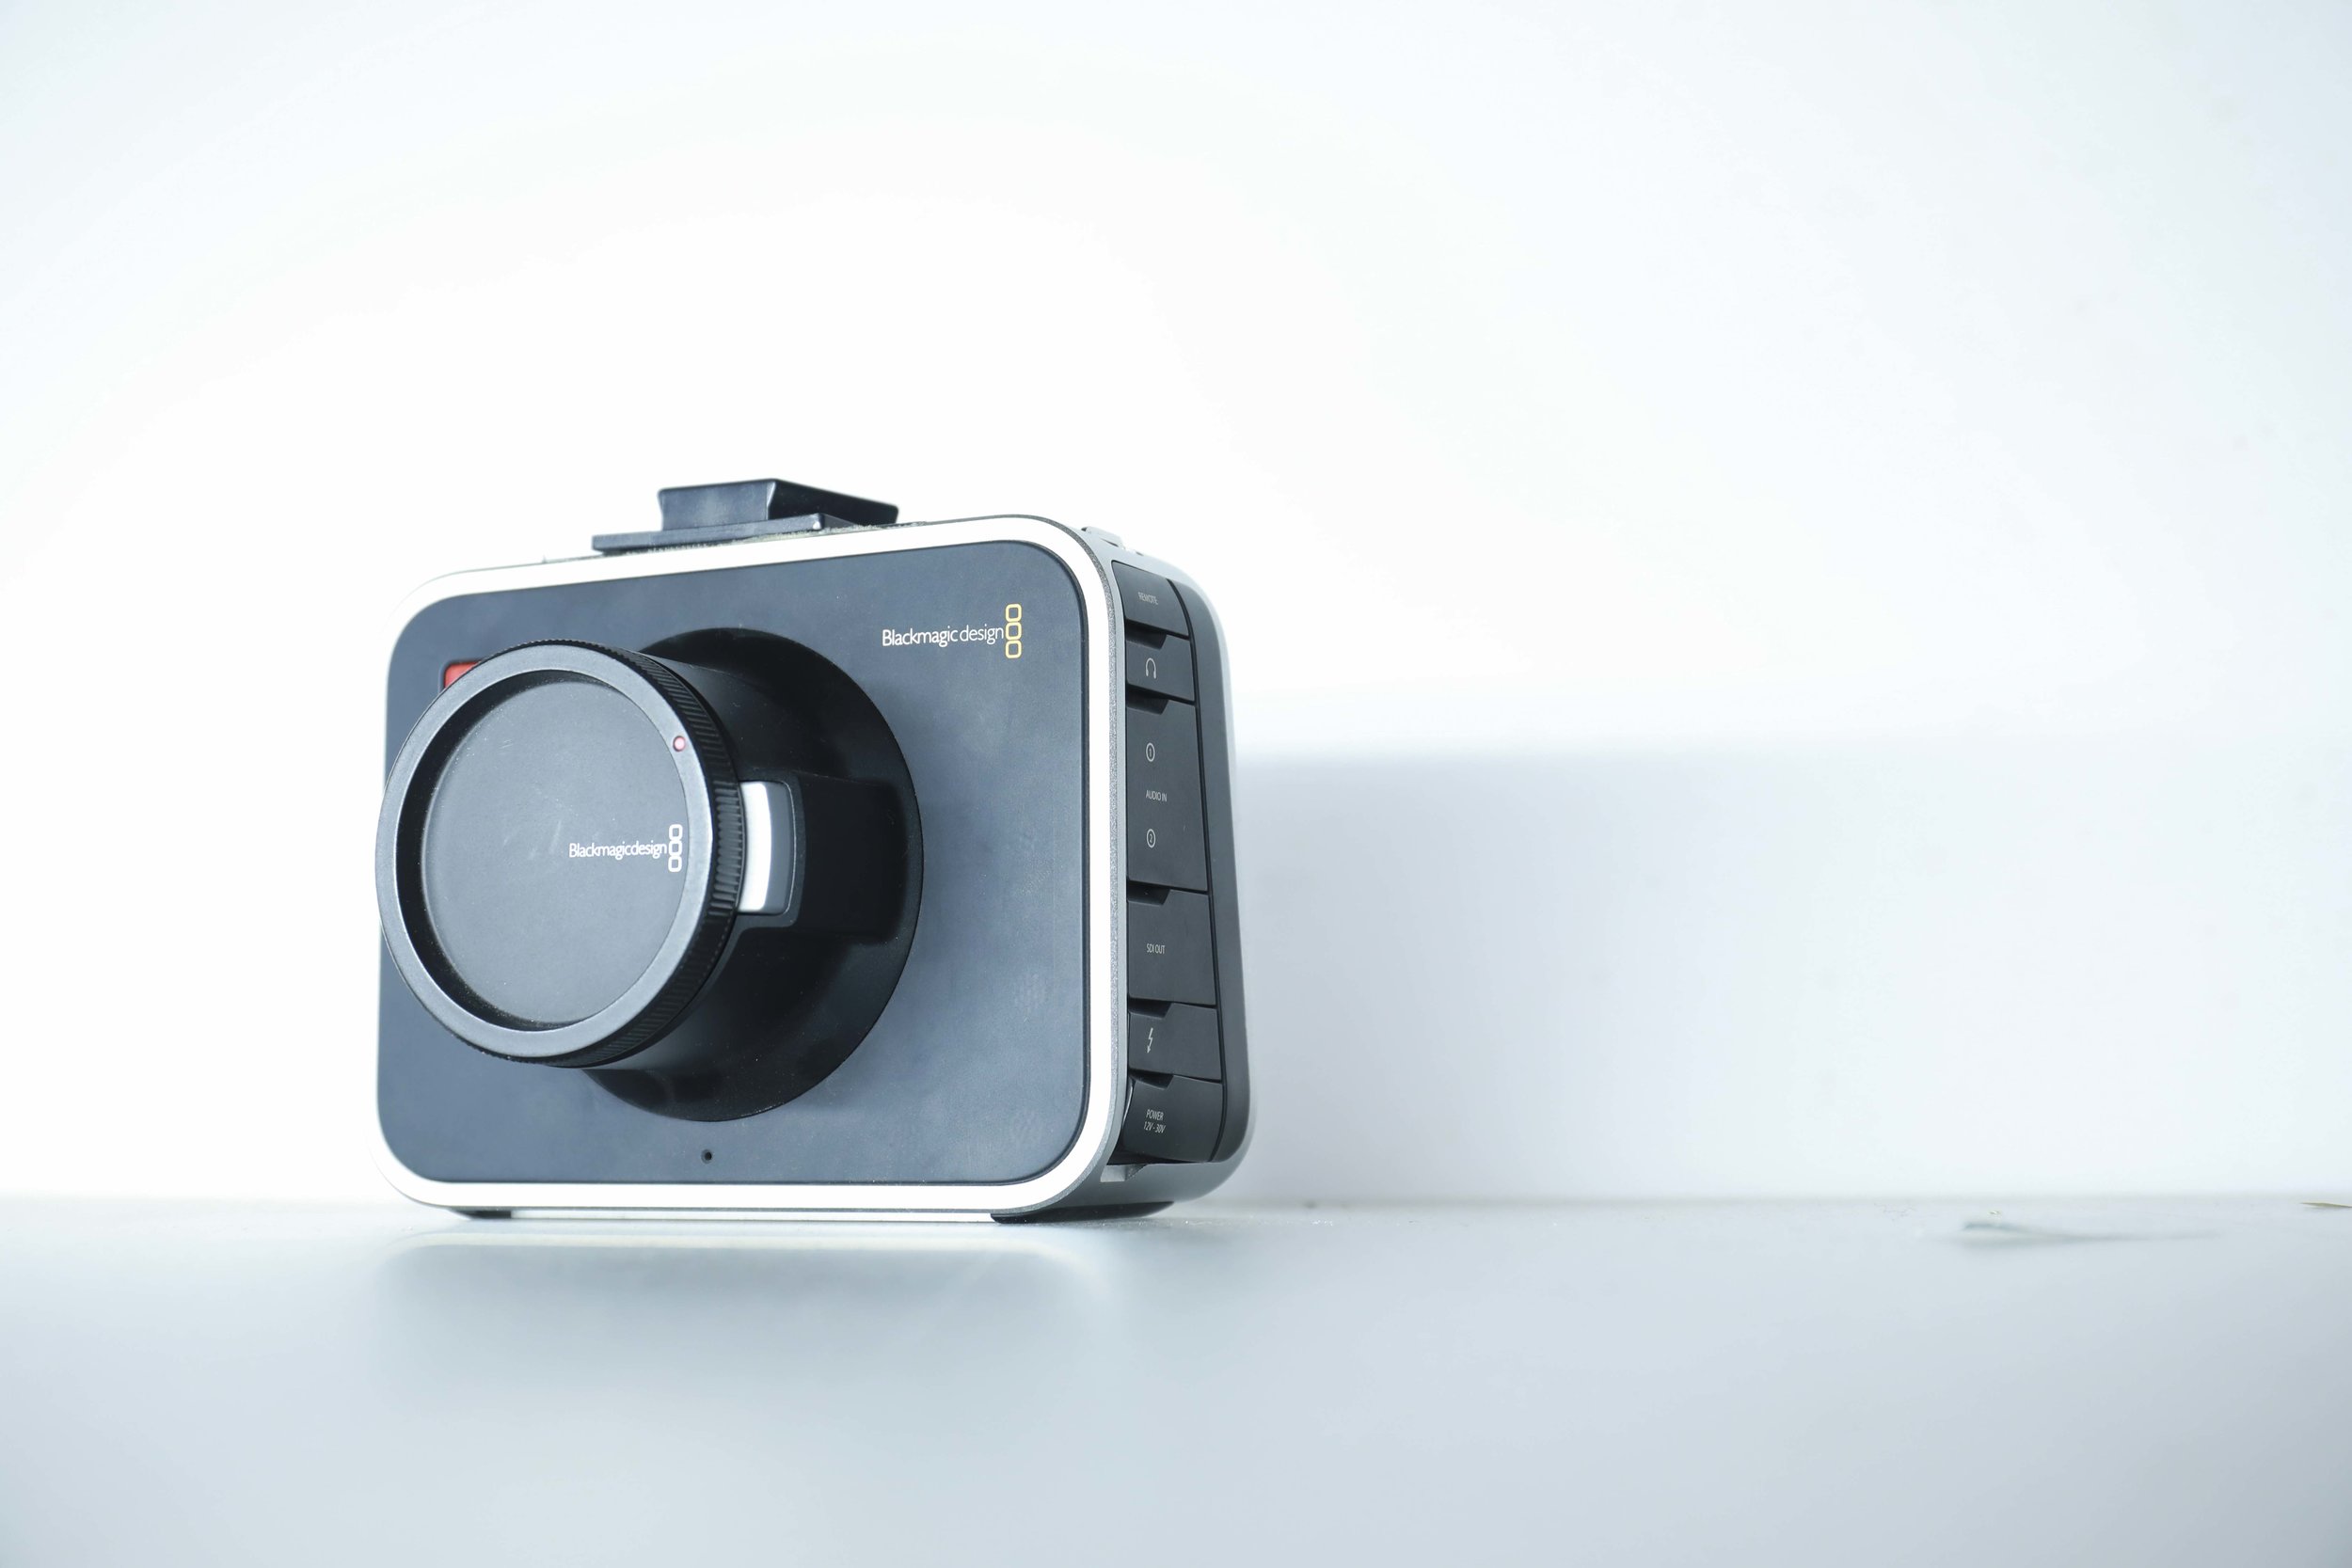
Discovering Light
High Key Image (Left) - Low Key Image (Right)

From Left to Right - Front Lighting, Top Lighting, Side Lighting, and Back Lighting
Emphasis on Texture
This shot is top-lit and I believe shows great texture. If you look at horror movies that have monsters underlit or toplit - you’ll notice they look intimidating and ugly. This lighting technique helps bring out the texture in the skin and clothes - as heavy shadows help extenuate every imperfection in the character.

Concentrated Light (left) vs Diffused Light (right)
As you can see the concentrated light from a flashlight resulted in a very hard-edged shadow and accentuated the texture in the object. The diffused light (using a white silk) softened the shadows up and put less emphasis on the texture of the object.
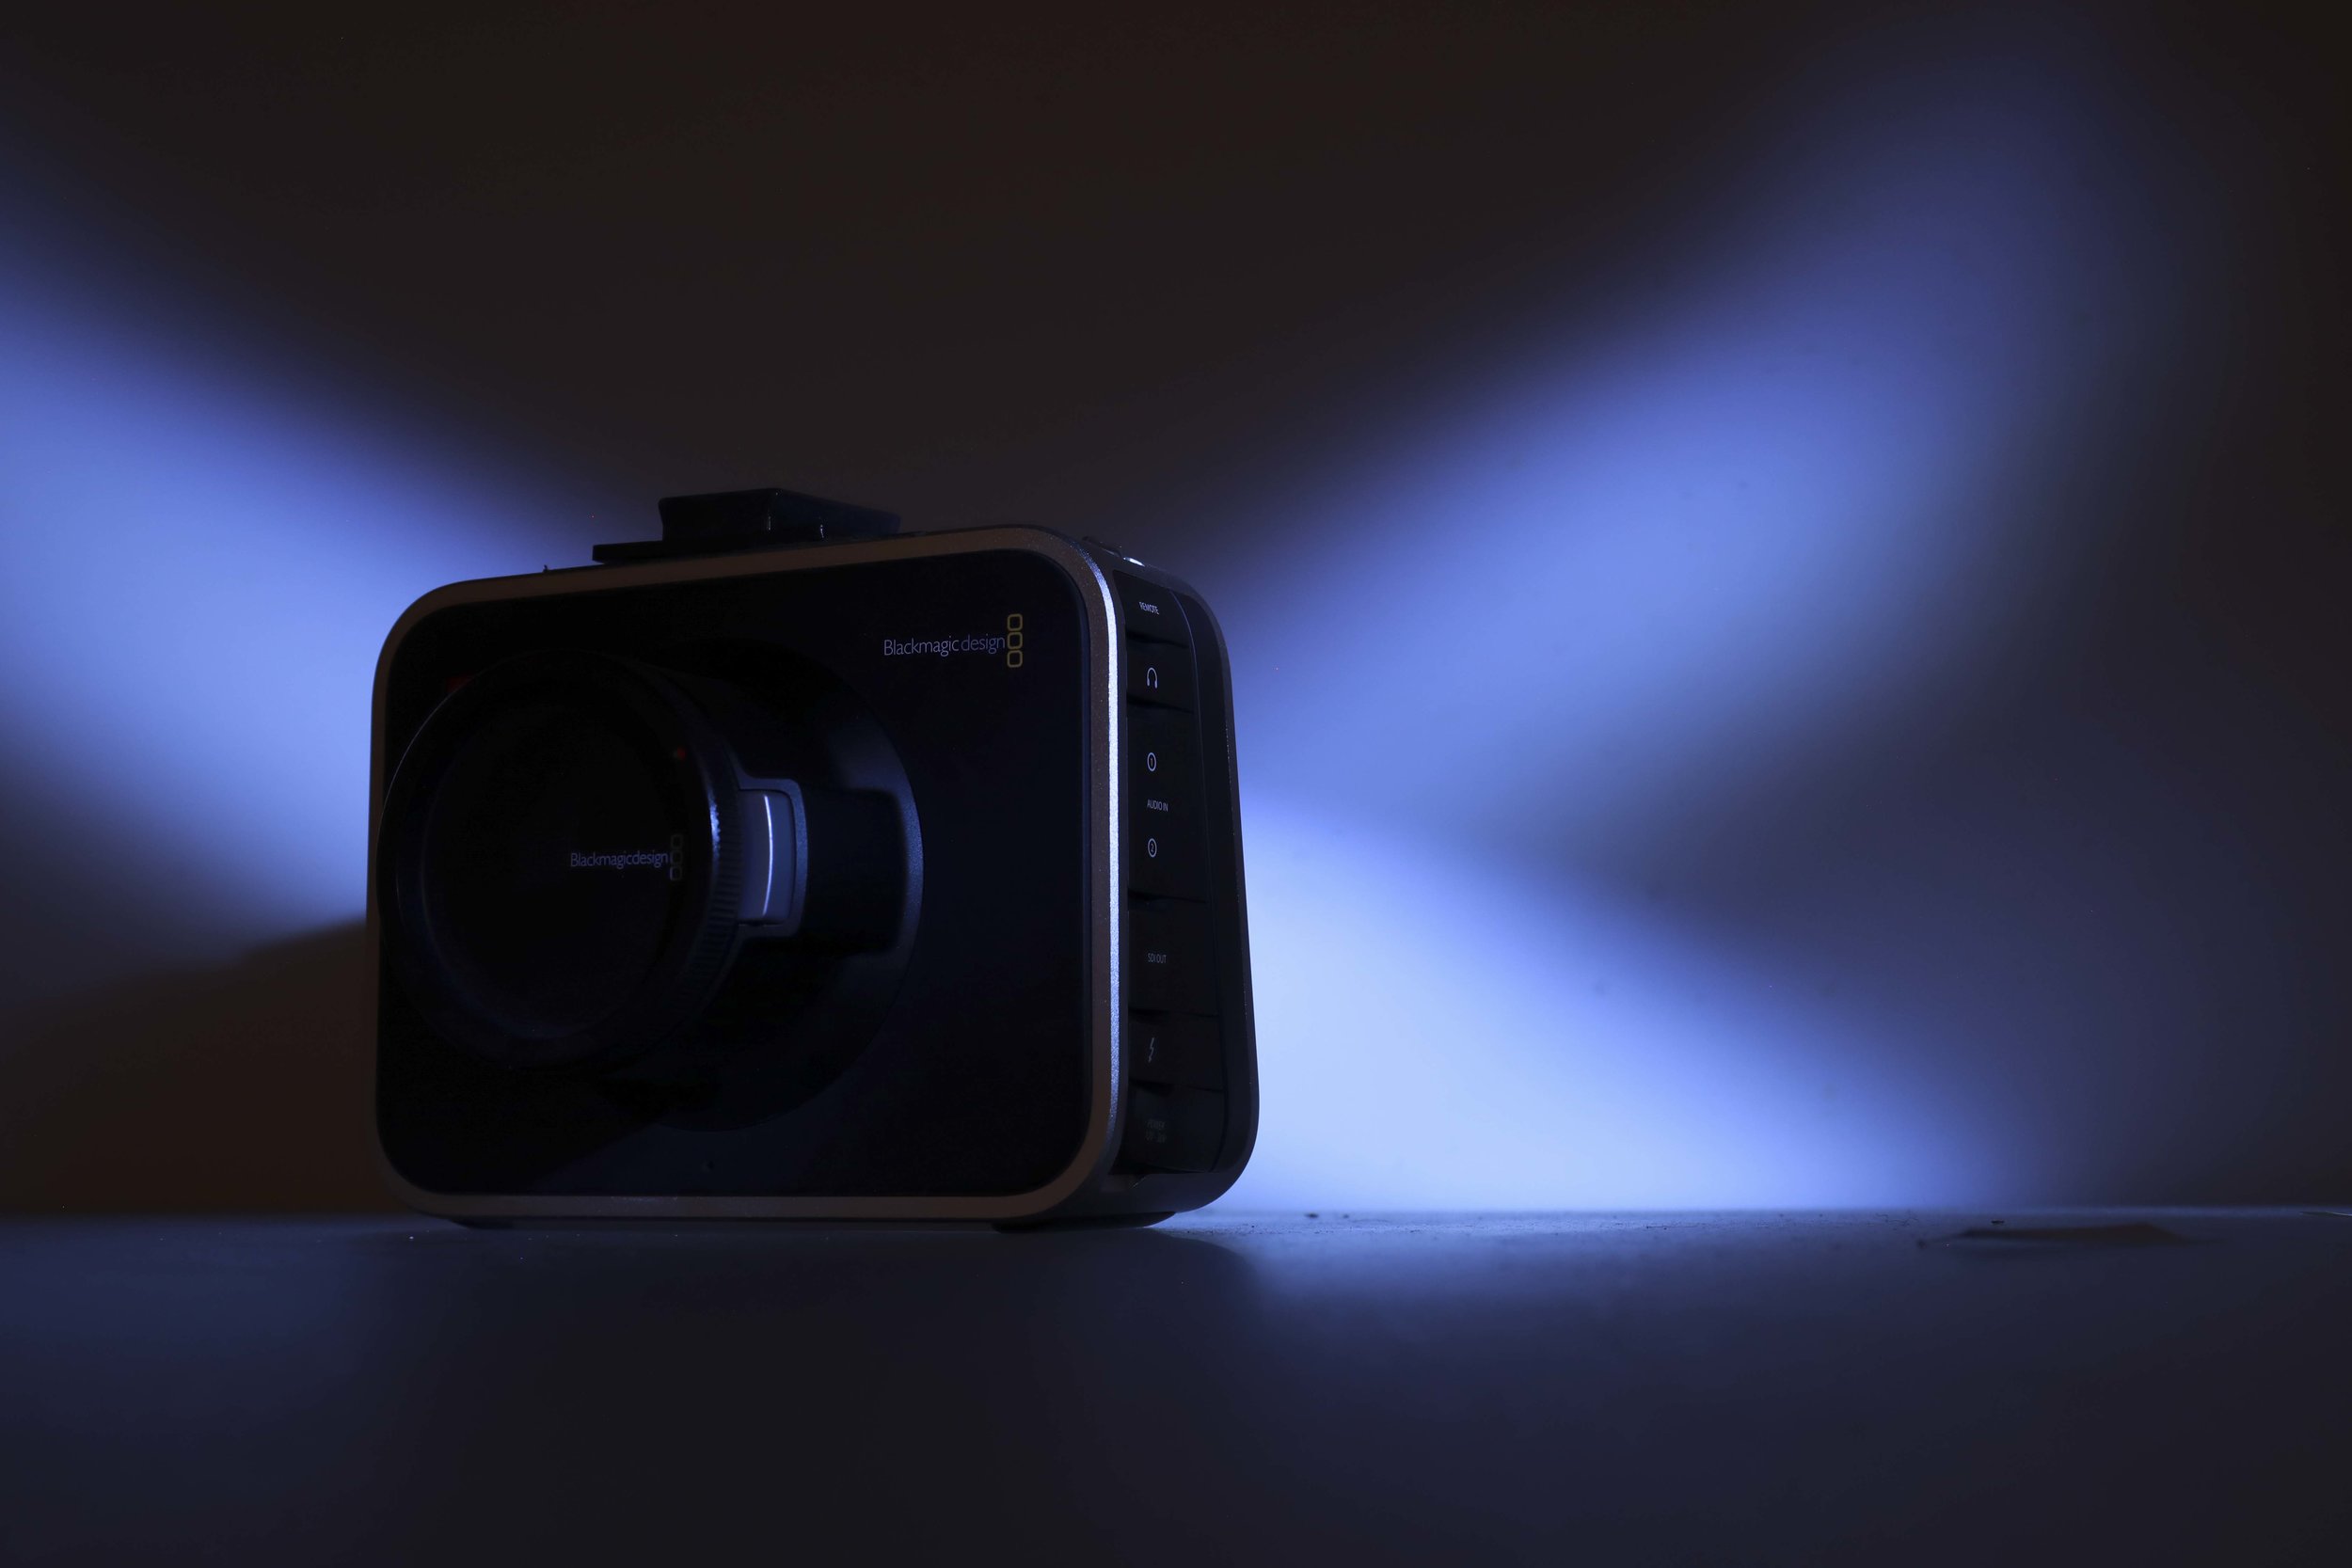
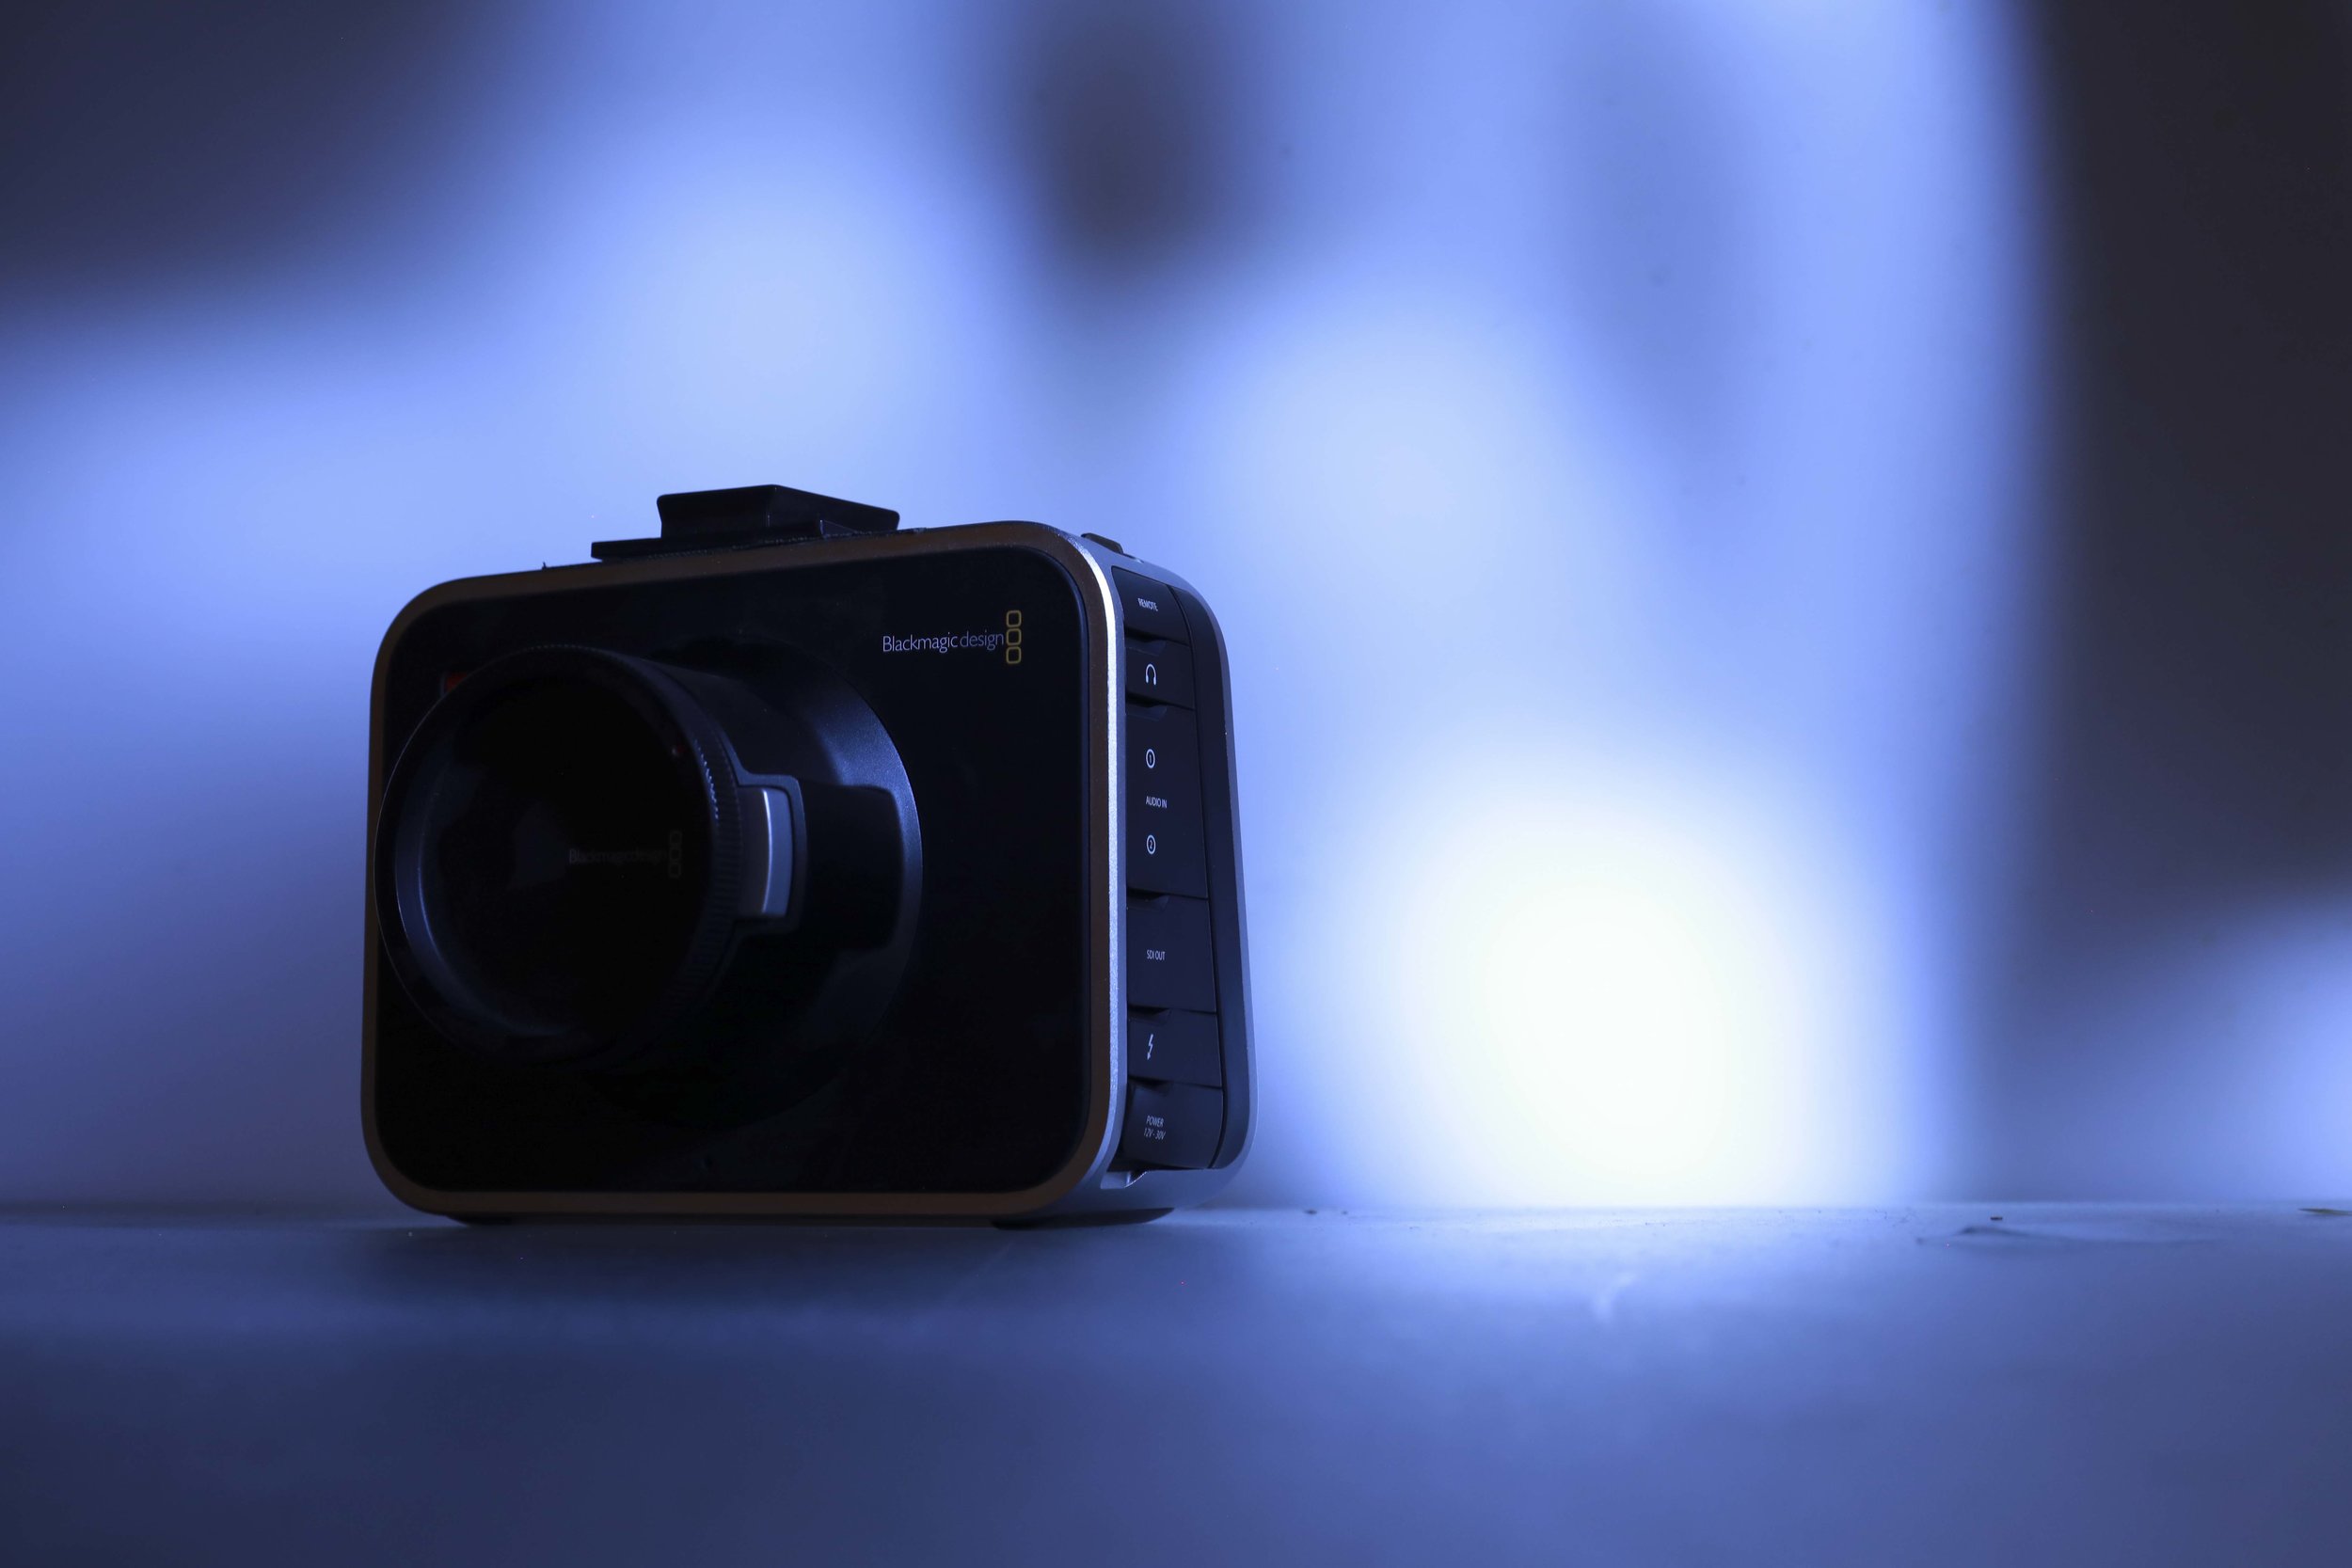
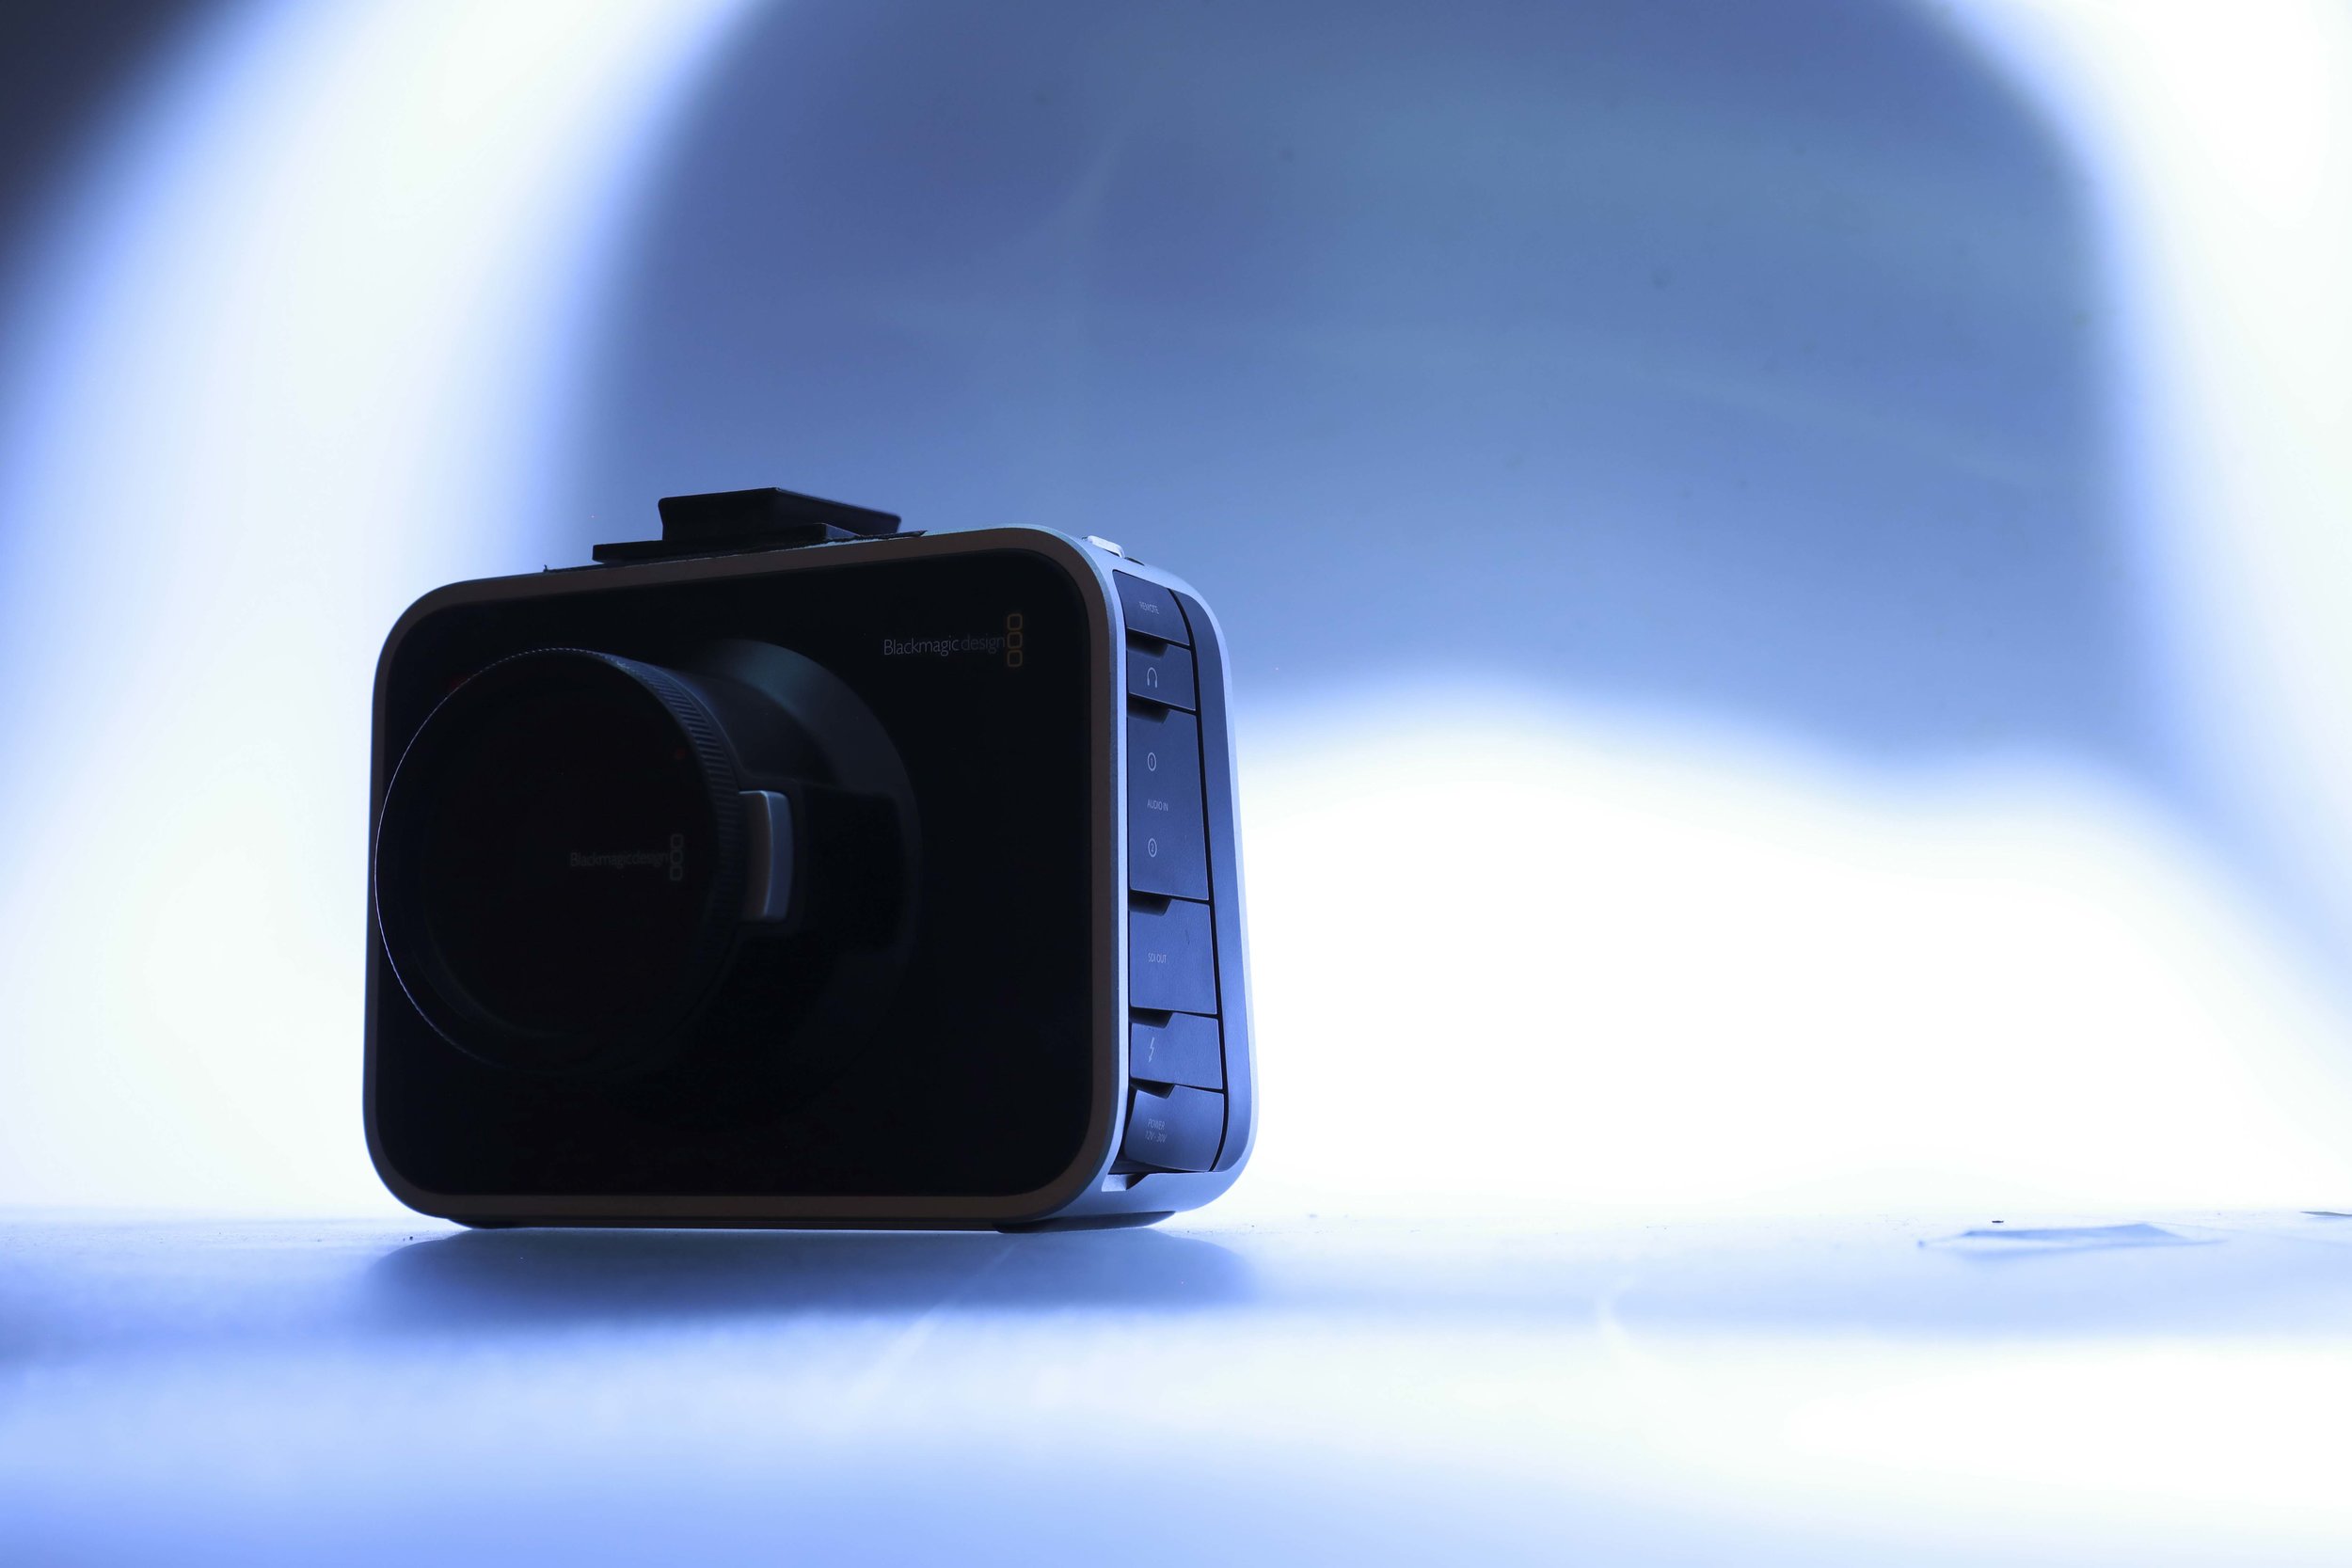
Light Painting
Here a few of my favorite shots using a “light-painting” method. What makes this so much fun is you can do things that are otherwise impossible with other lighting techniques. “Light-painting” is a great way to describe it because that is literally what you are doing. You have a completely dark image and it is up to you to highlight the areas that you want to see. This method has a certain “dreaminess” to it and is definitely abstract as it cannot be reproduced with conventional lighting methods.
Reflection
This really opened my eyes to different lighting techniques and possible applications for each. Top lighting and back lighting are very dramatic and seem to offer the most drama. Front lighting and high-key imagery seems to soften the shadows and contrast - possibly making it more pleasing for portrait and glamour photography. Side lighting I found to also be quite dramatic, but in a pleasing way and also quite mysterious.
The biggest challenge was properly demonstrating the difference between hard and soft lighting. The lighting sources I had were already quite diffused - so I needed to use a bright flashlight to get a proper hard-light.
I found top lighting and light-painting to be the most rewarding. Something about top lighting give the subject a dark and uneasy look - I would love to experiment with that more. Light-painting was really fun and allowed me to light very specific portions of the image while keeping others completely dark - I found this method to be really experimental and artistic.
I thought my execution was pretty good considering the limited resources I had. Obtaining high and low-key images was not a problem. Keeping my camera setting consistent for the most part help keep the lighting test consistent and accurate. This was a very eye-opening and fun experience!
Working the Scene
All images shot at 50mm (f1.8, 1/100s, ISO 6400), except direct light shots shot at 50mm (f.1.8 1/100s, ISO 1000)
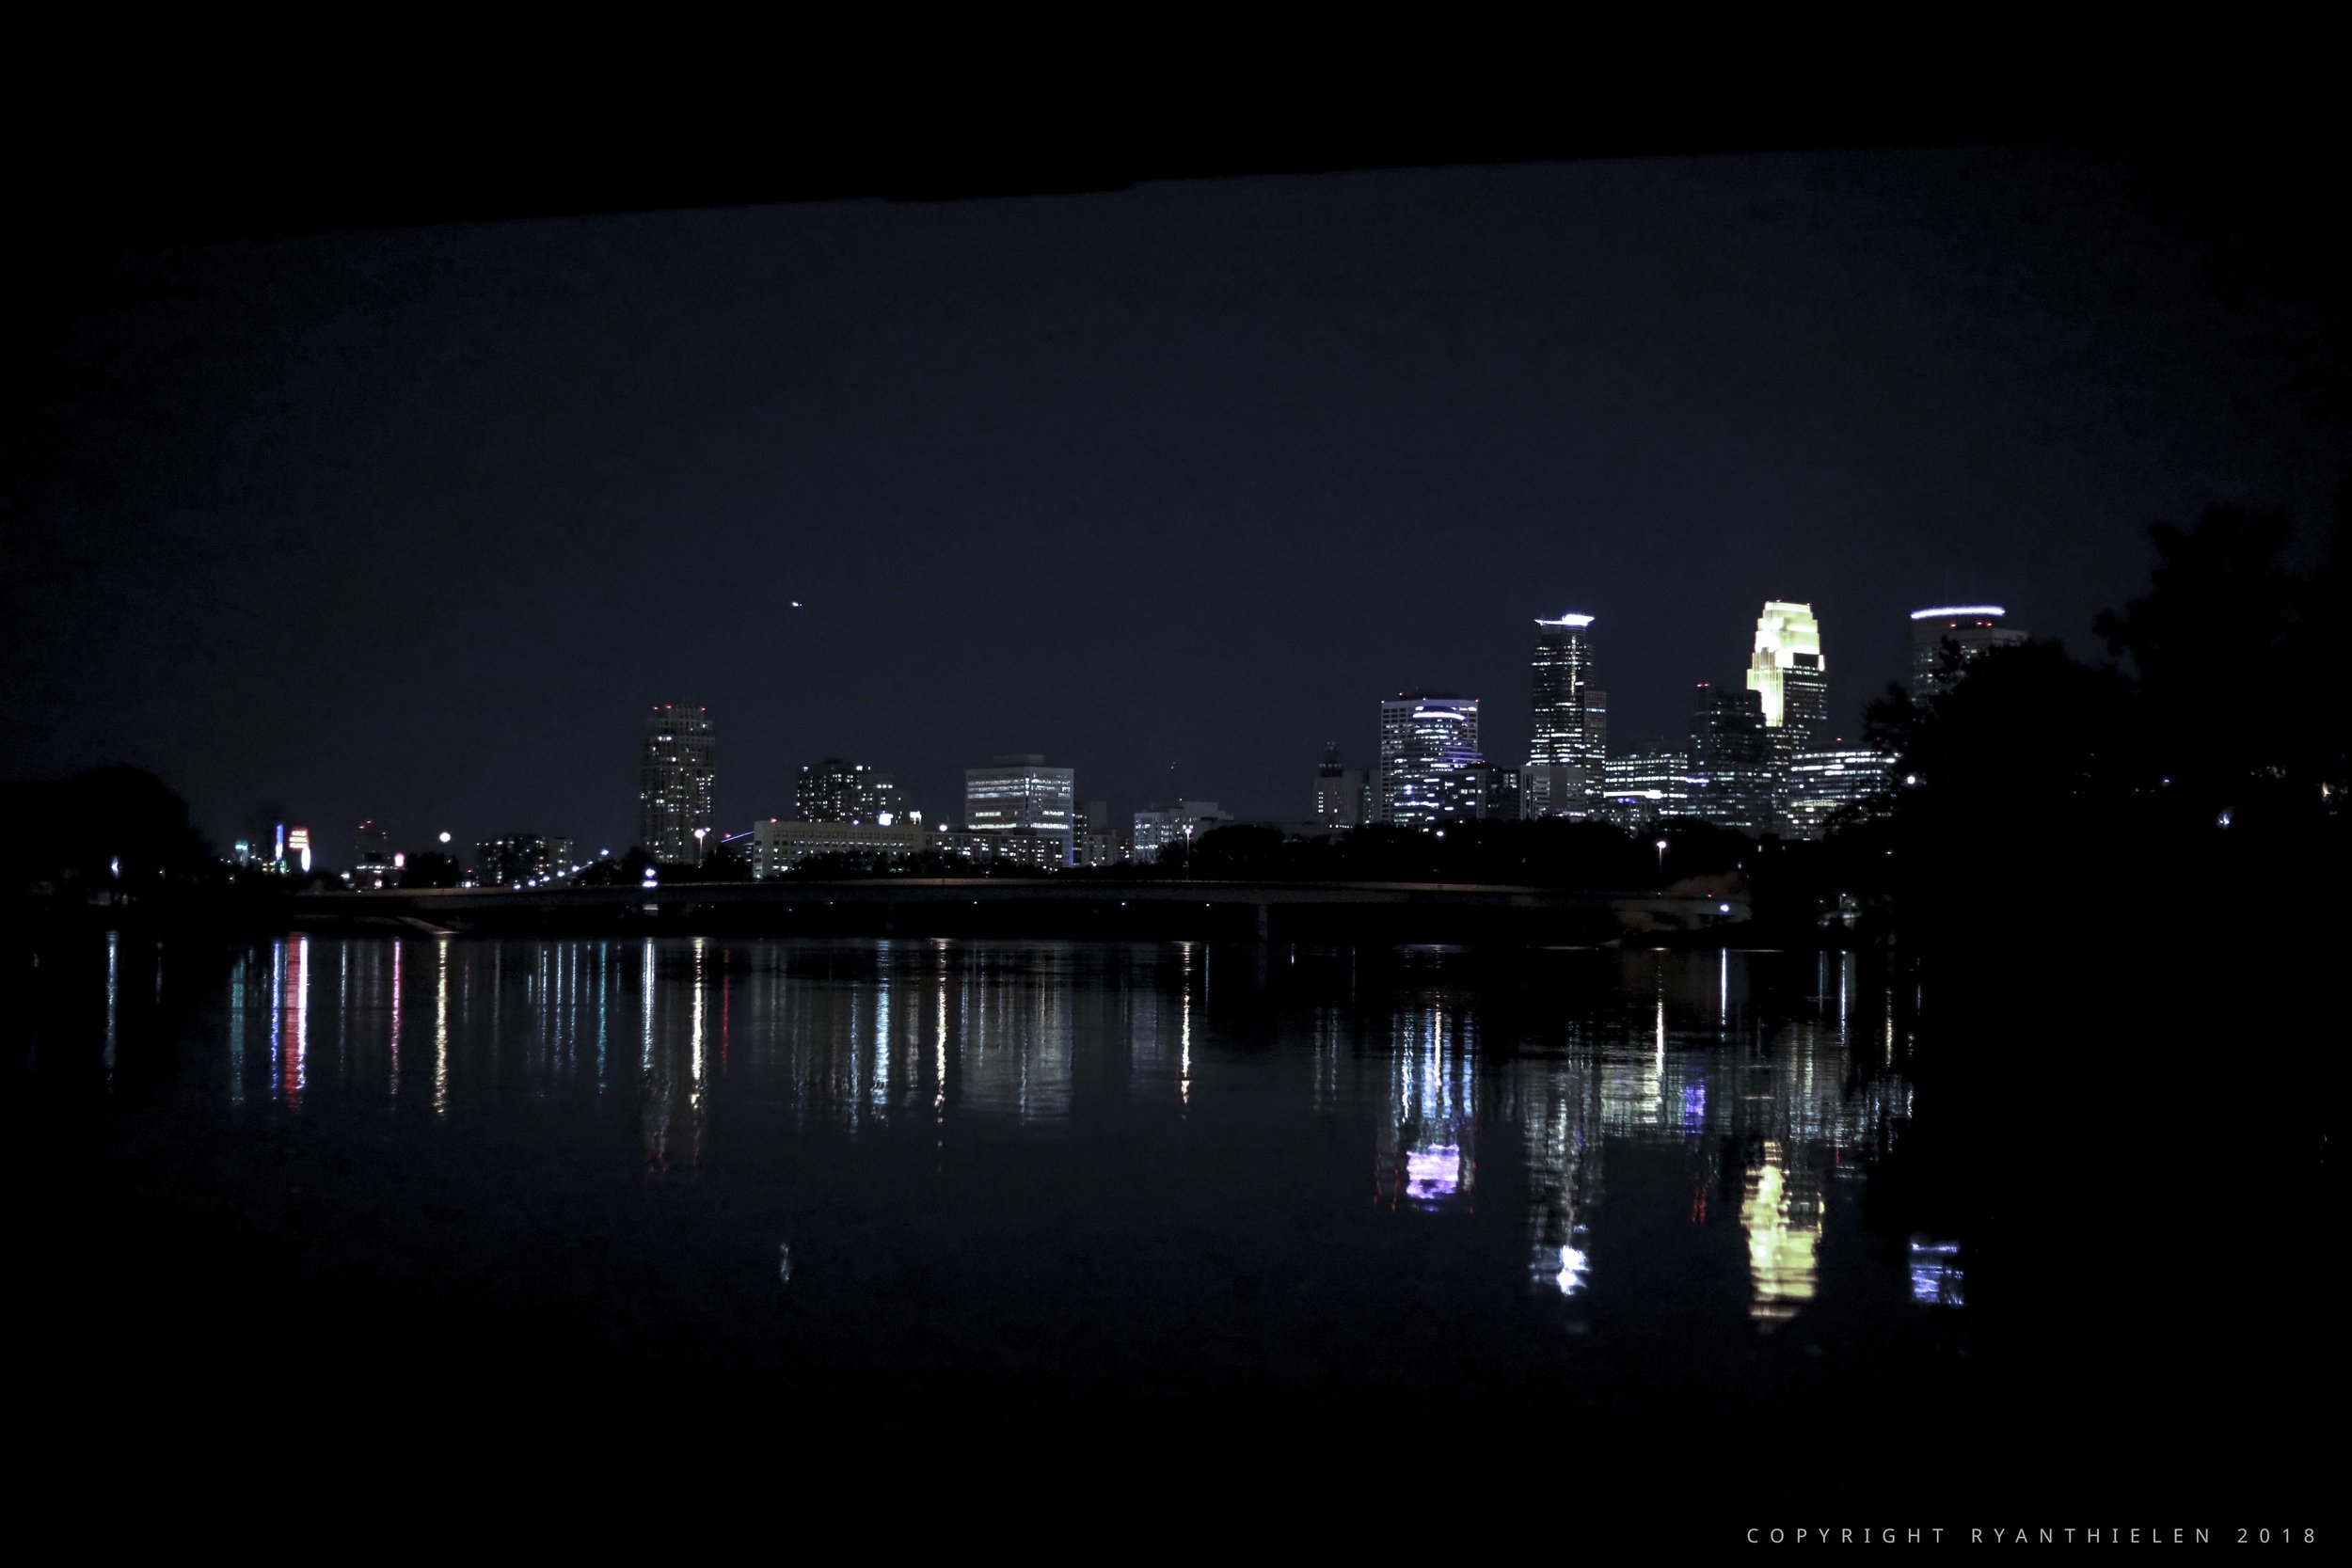
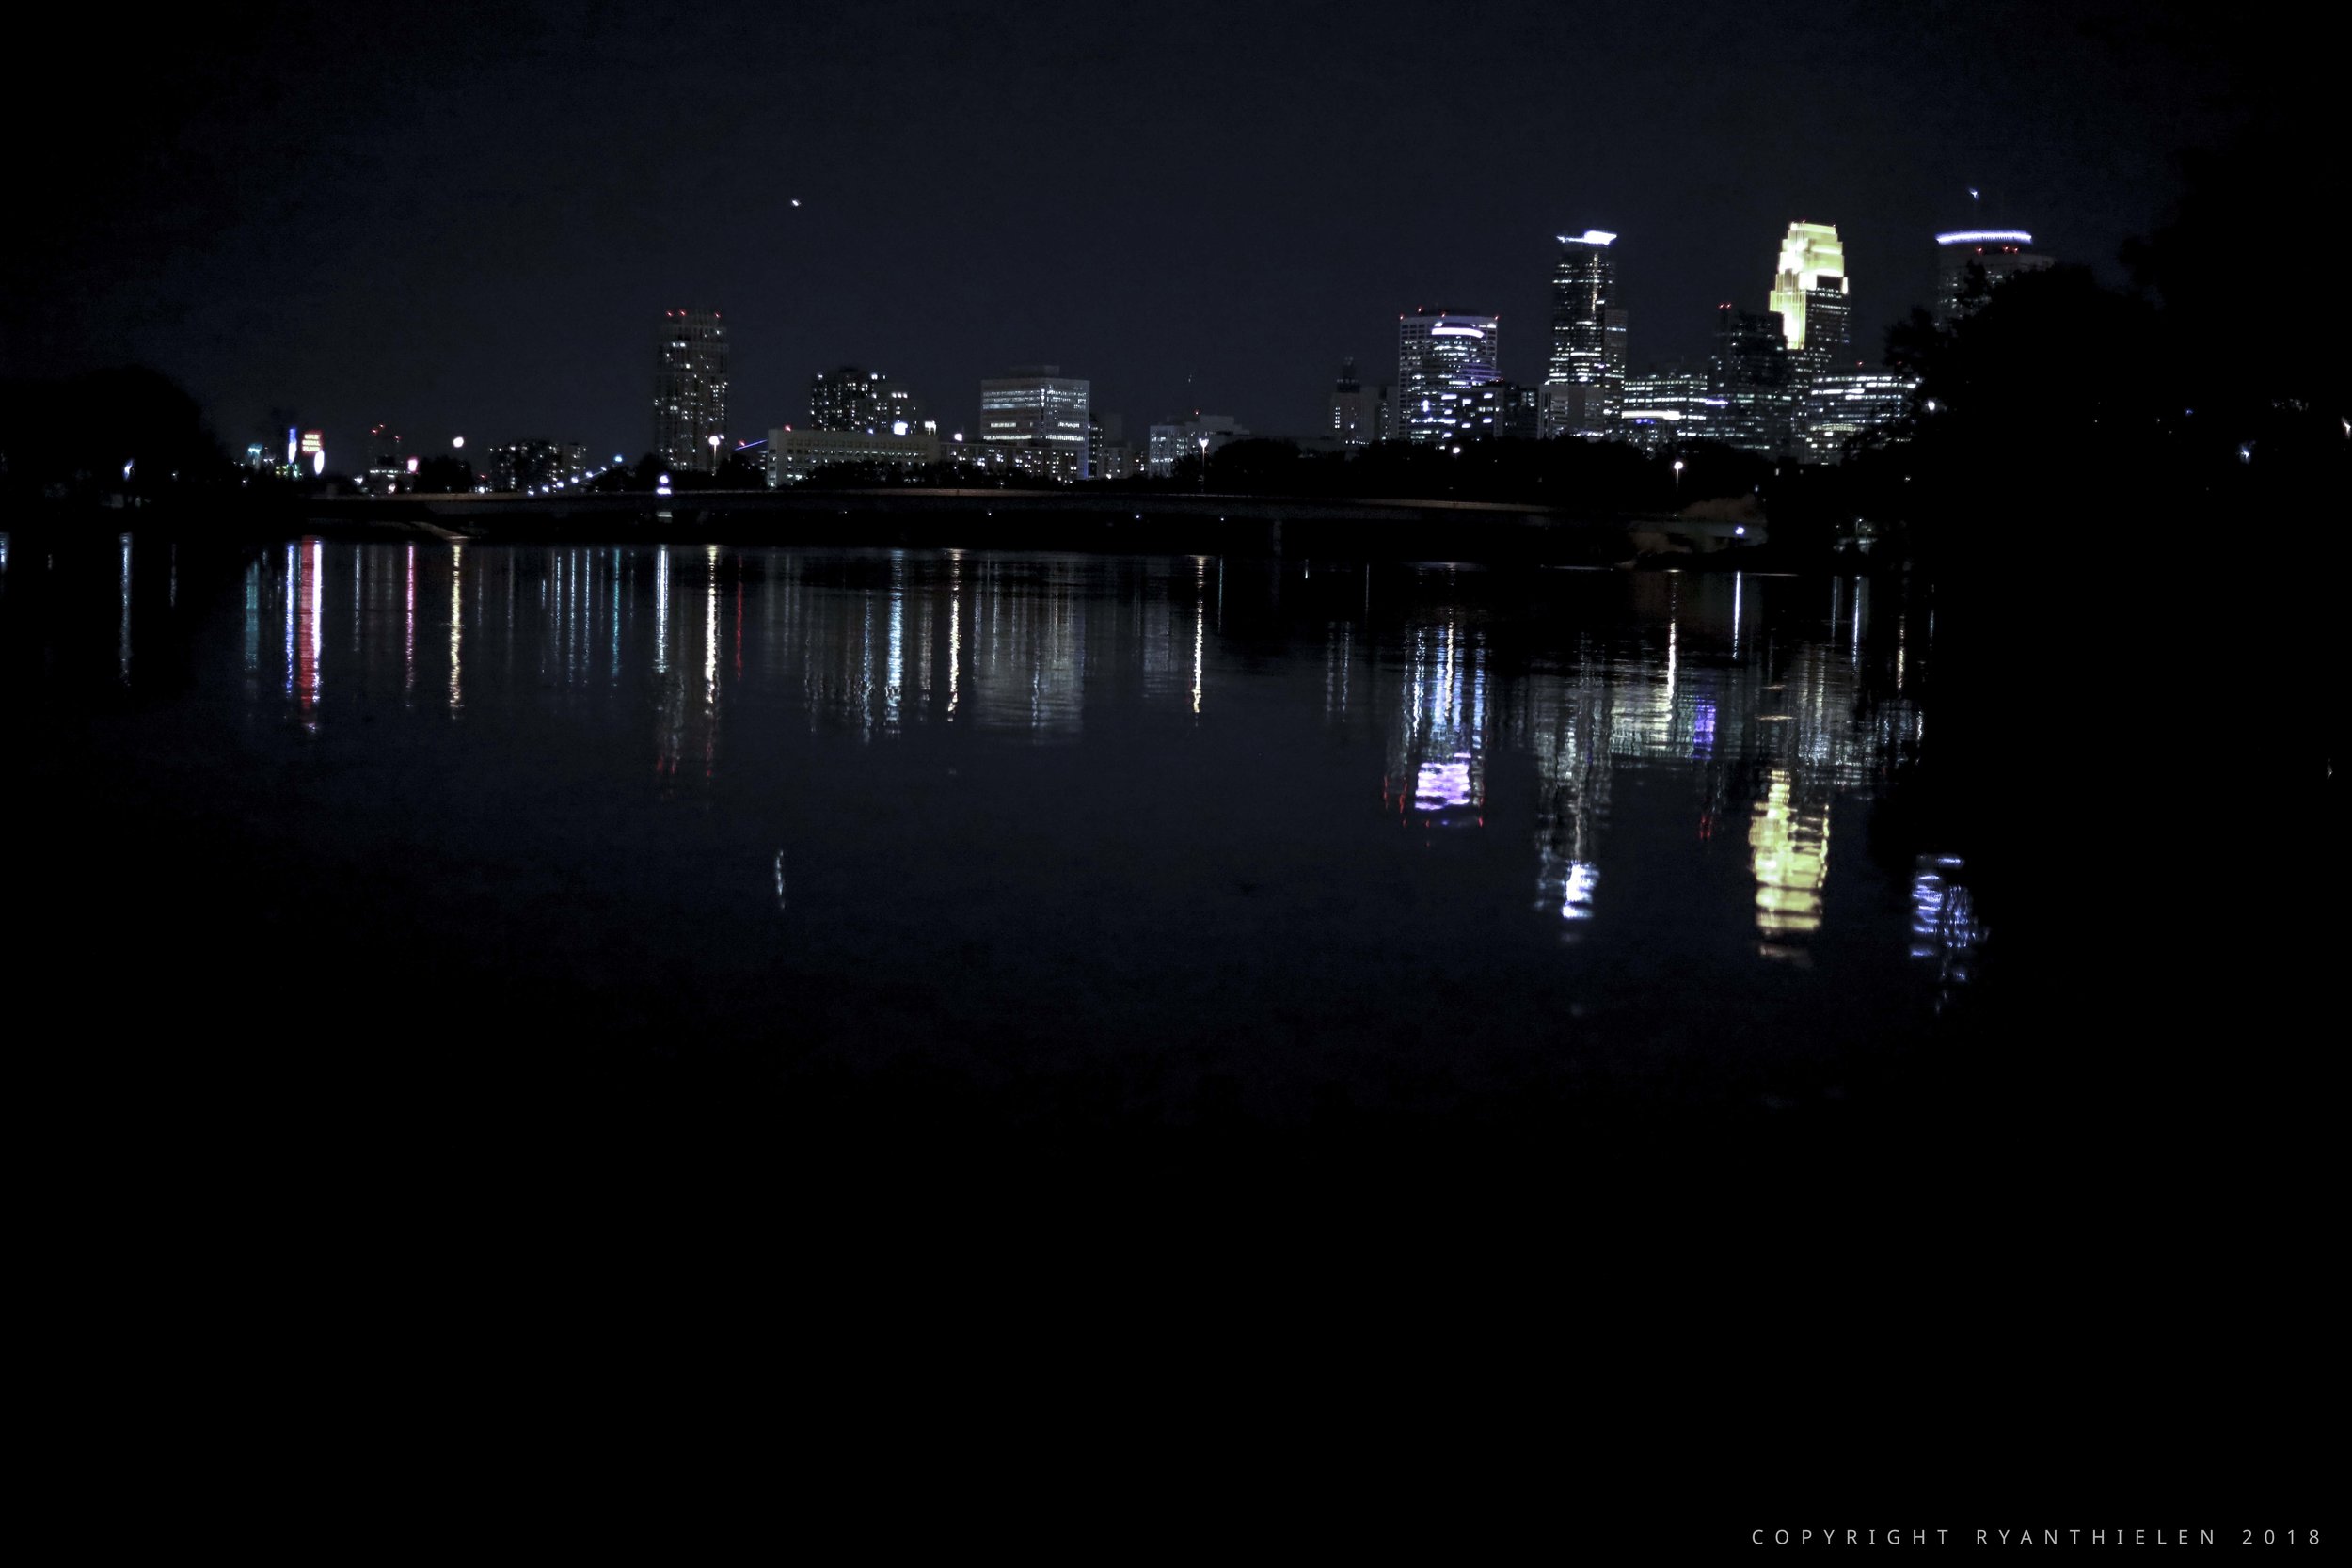
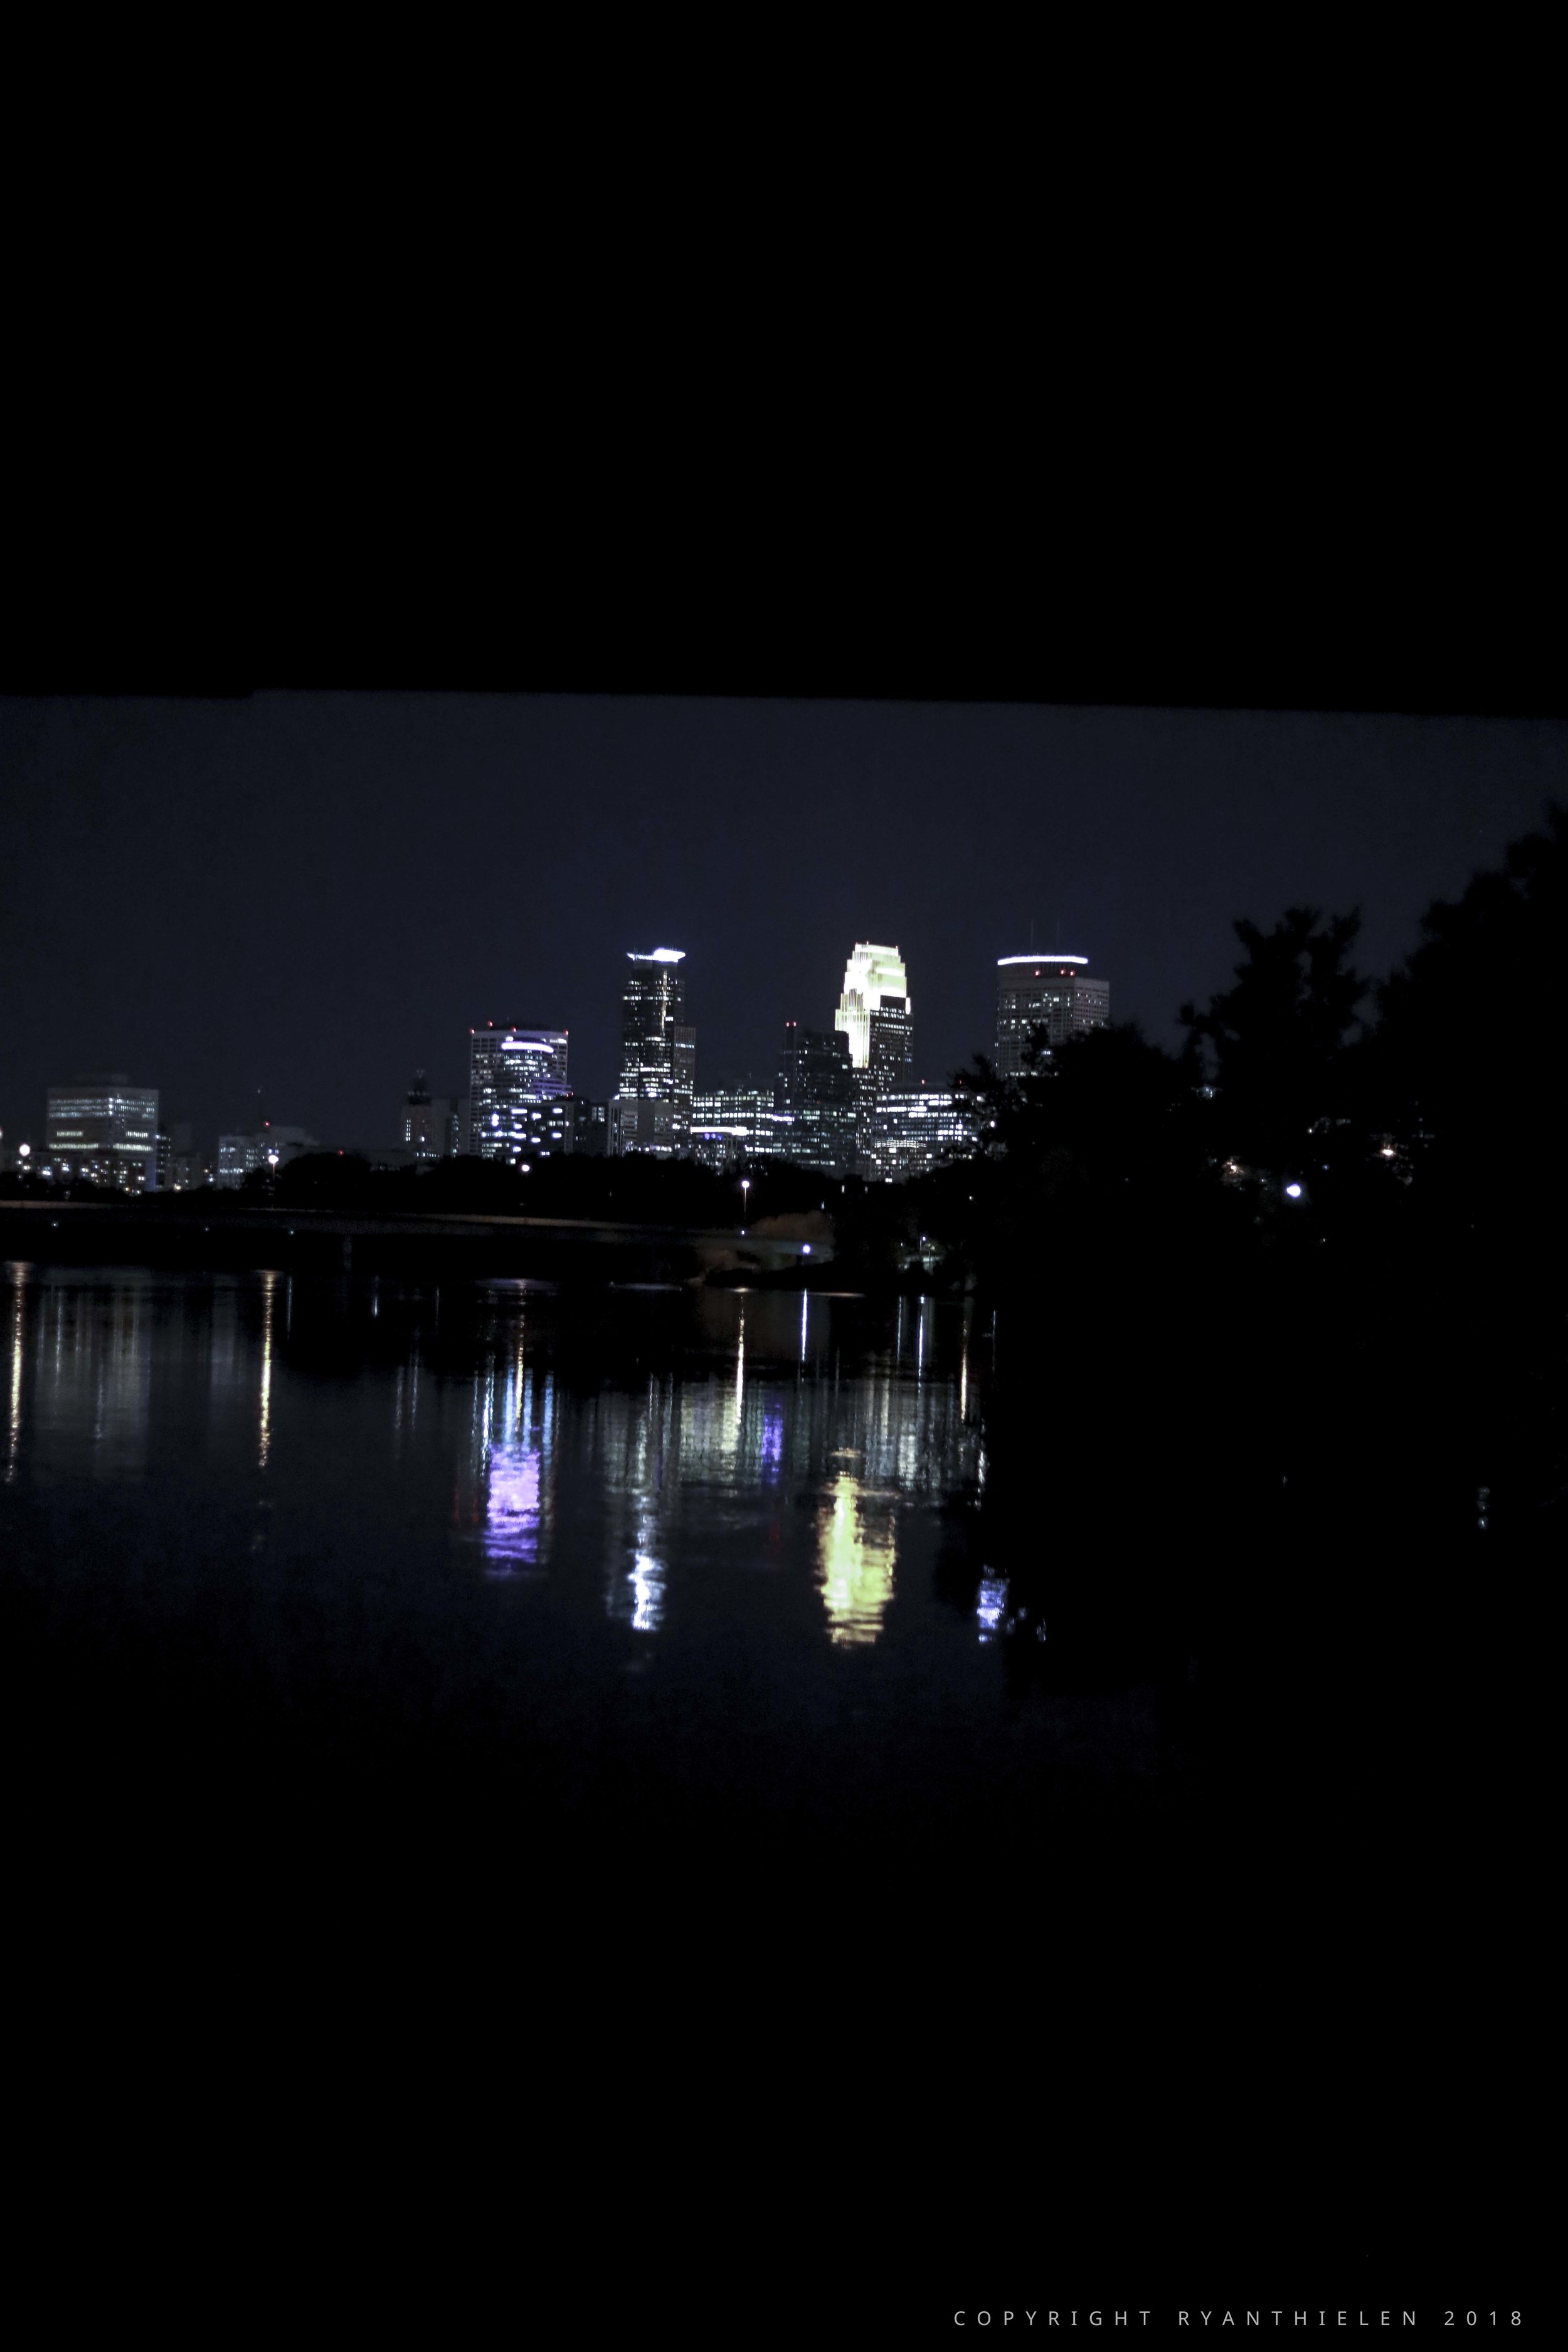
Location: North Minneapolis, Mississippi River Trail
Date: 10.22.2018
Part I (Top 5)


Reflection
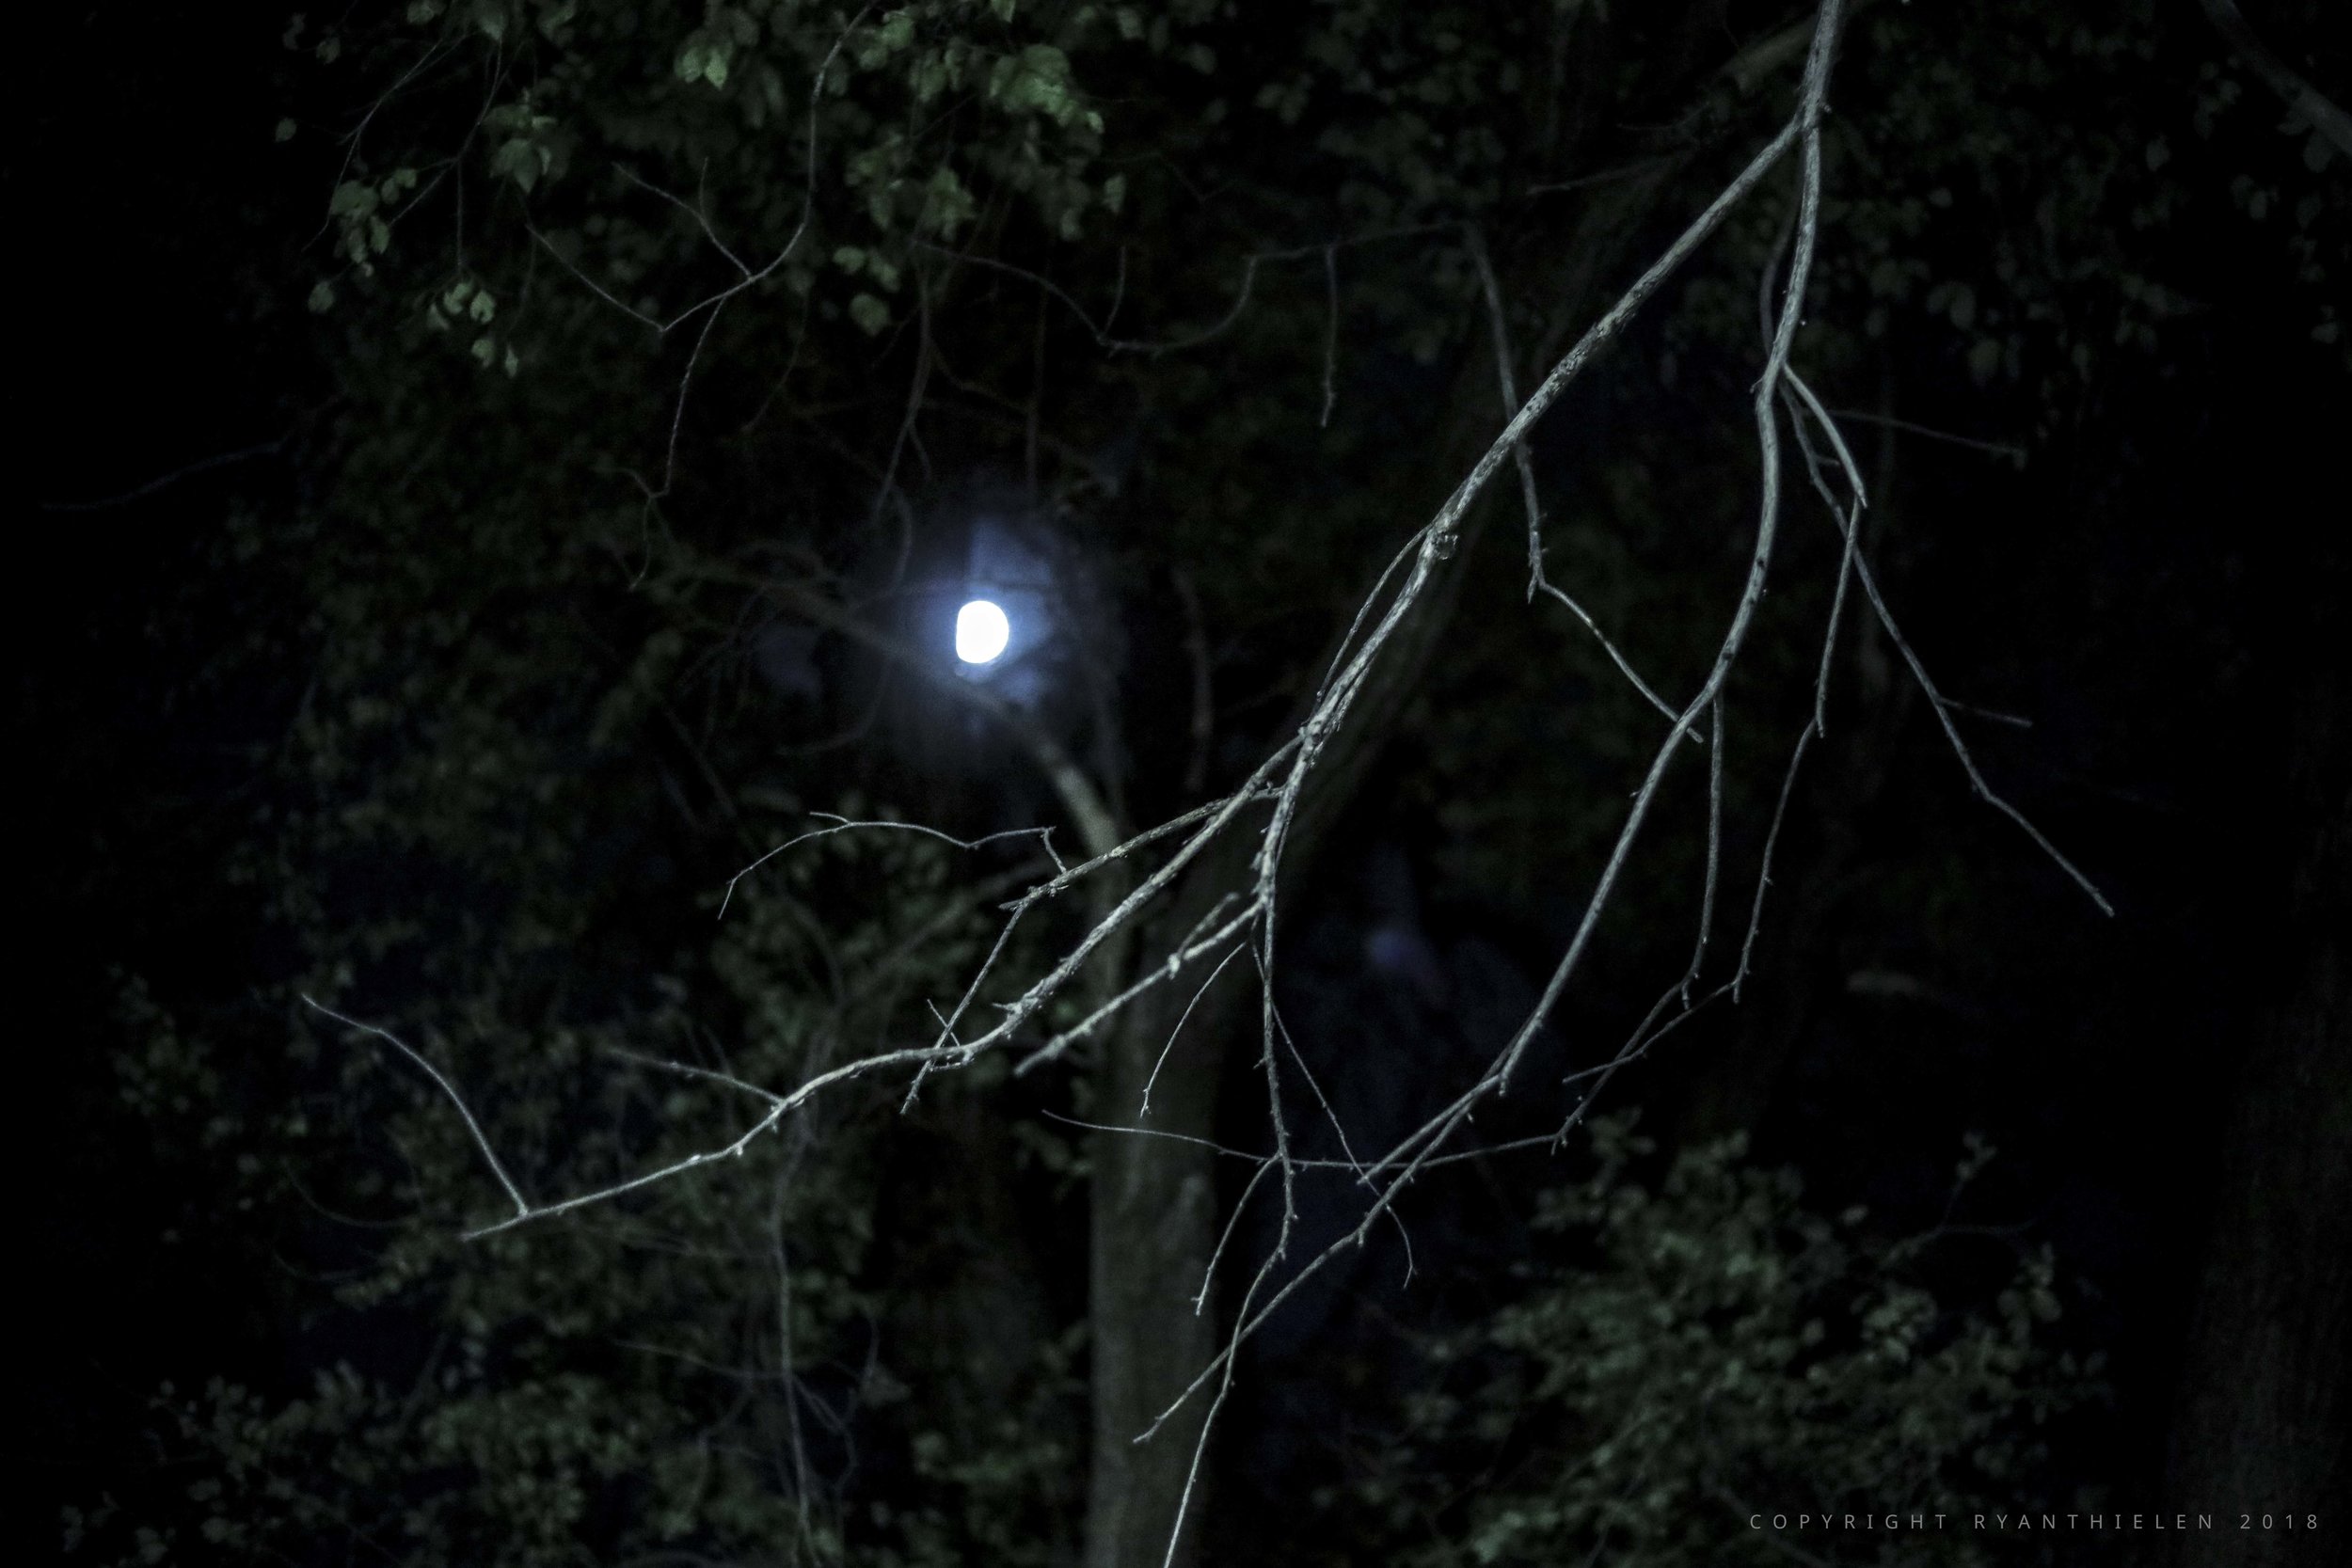
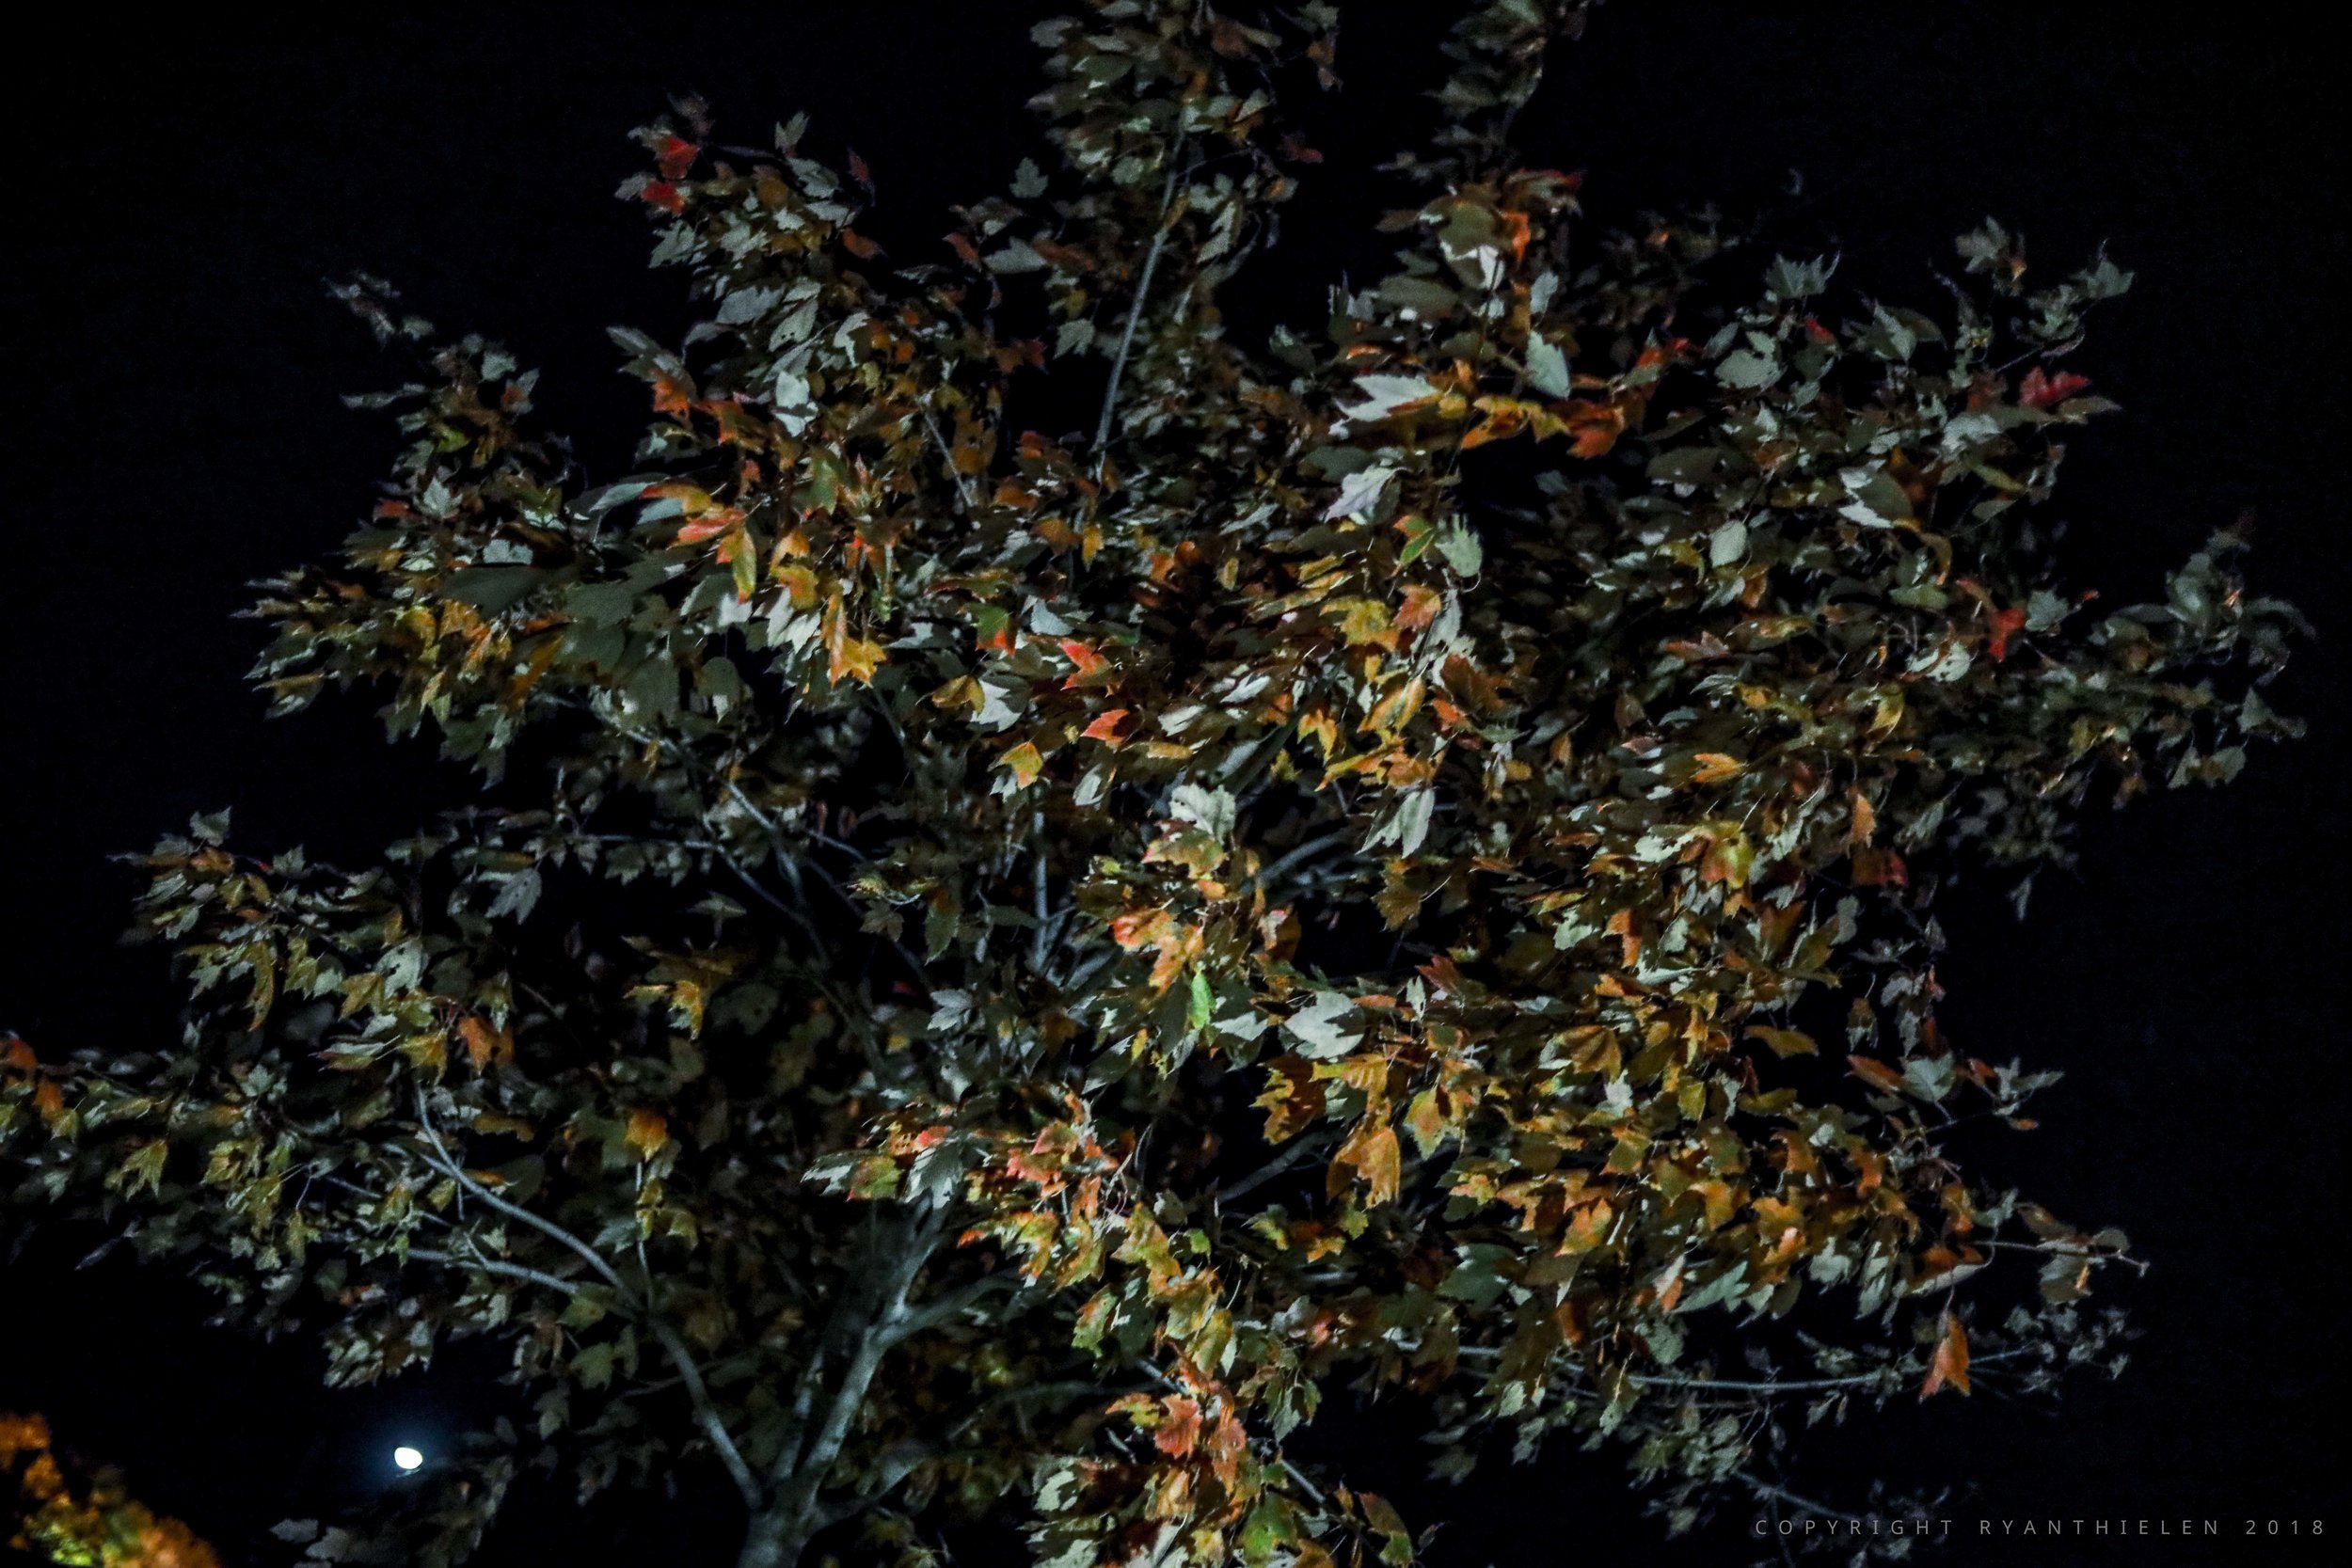
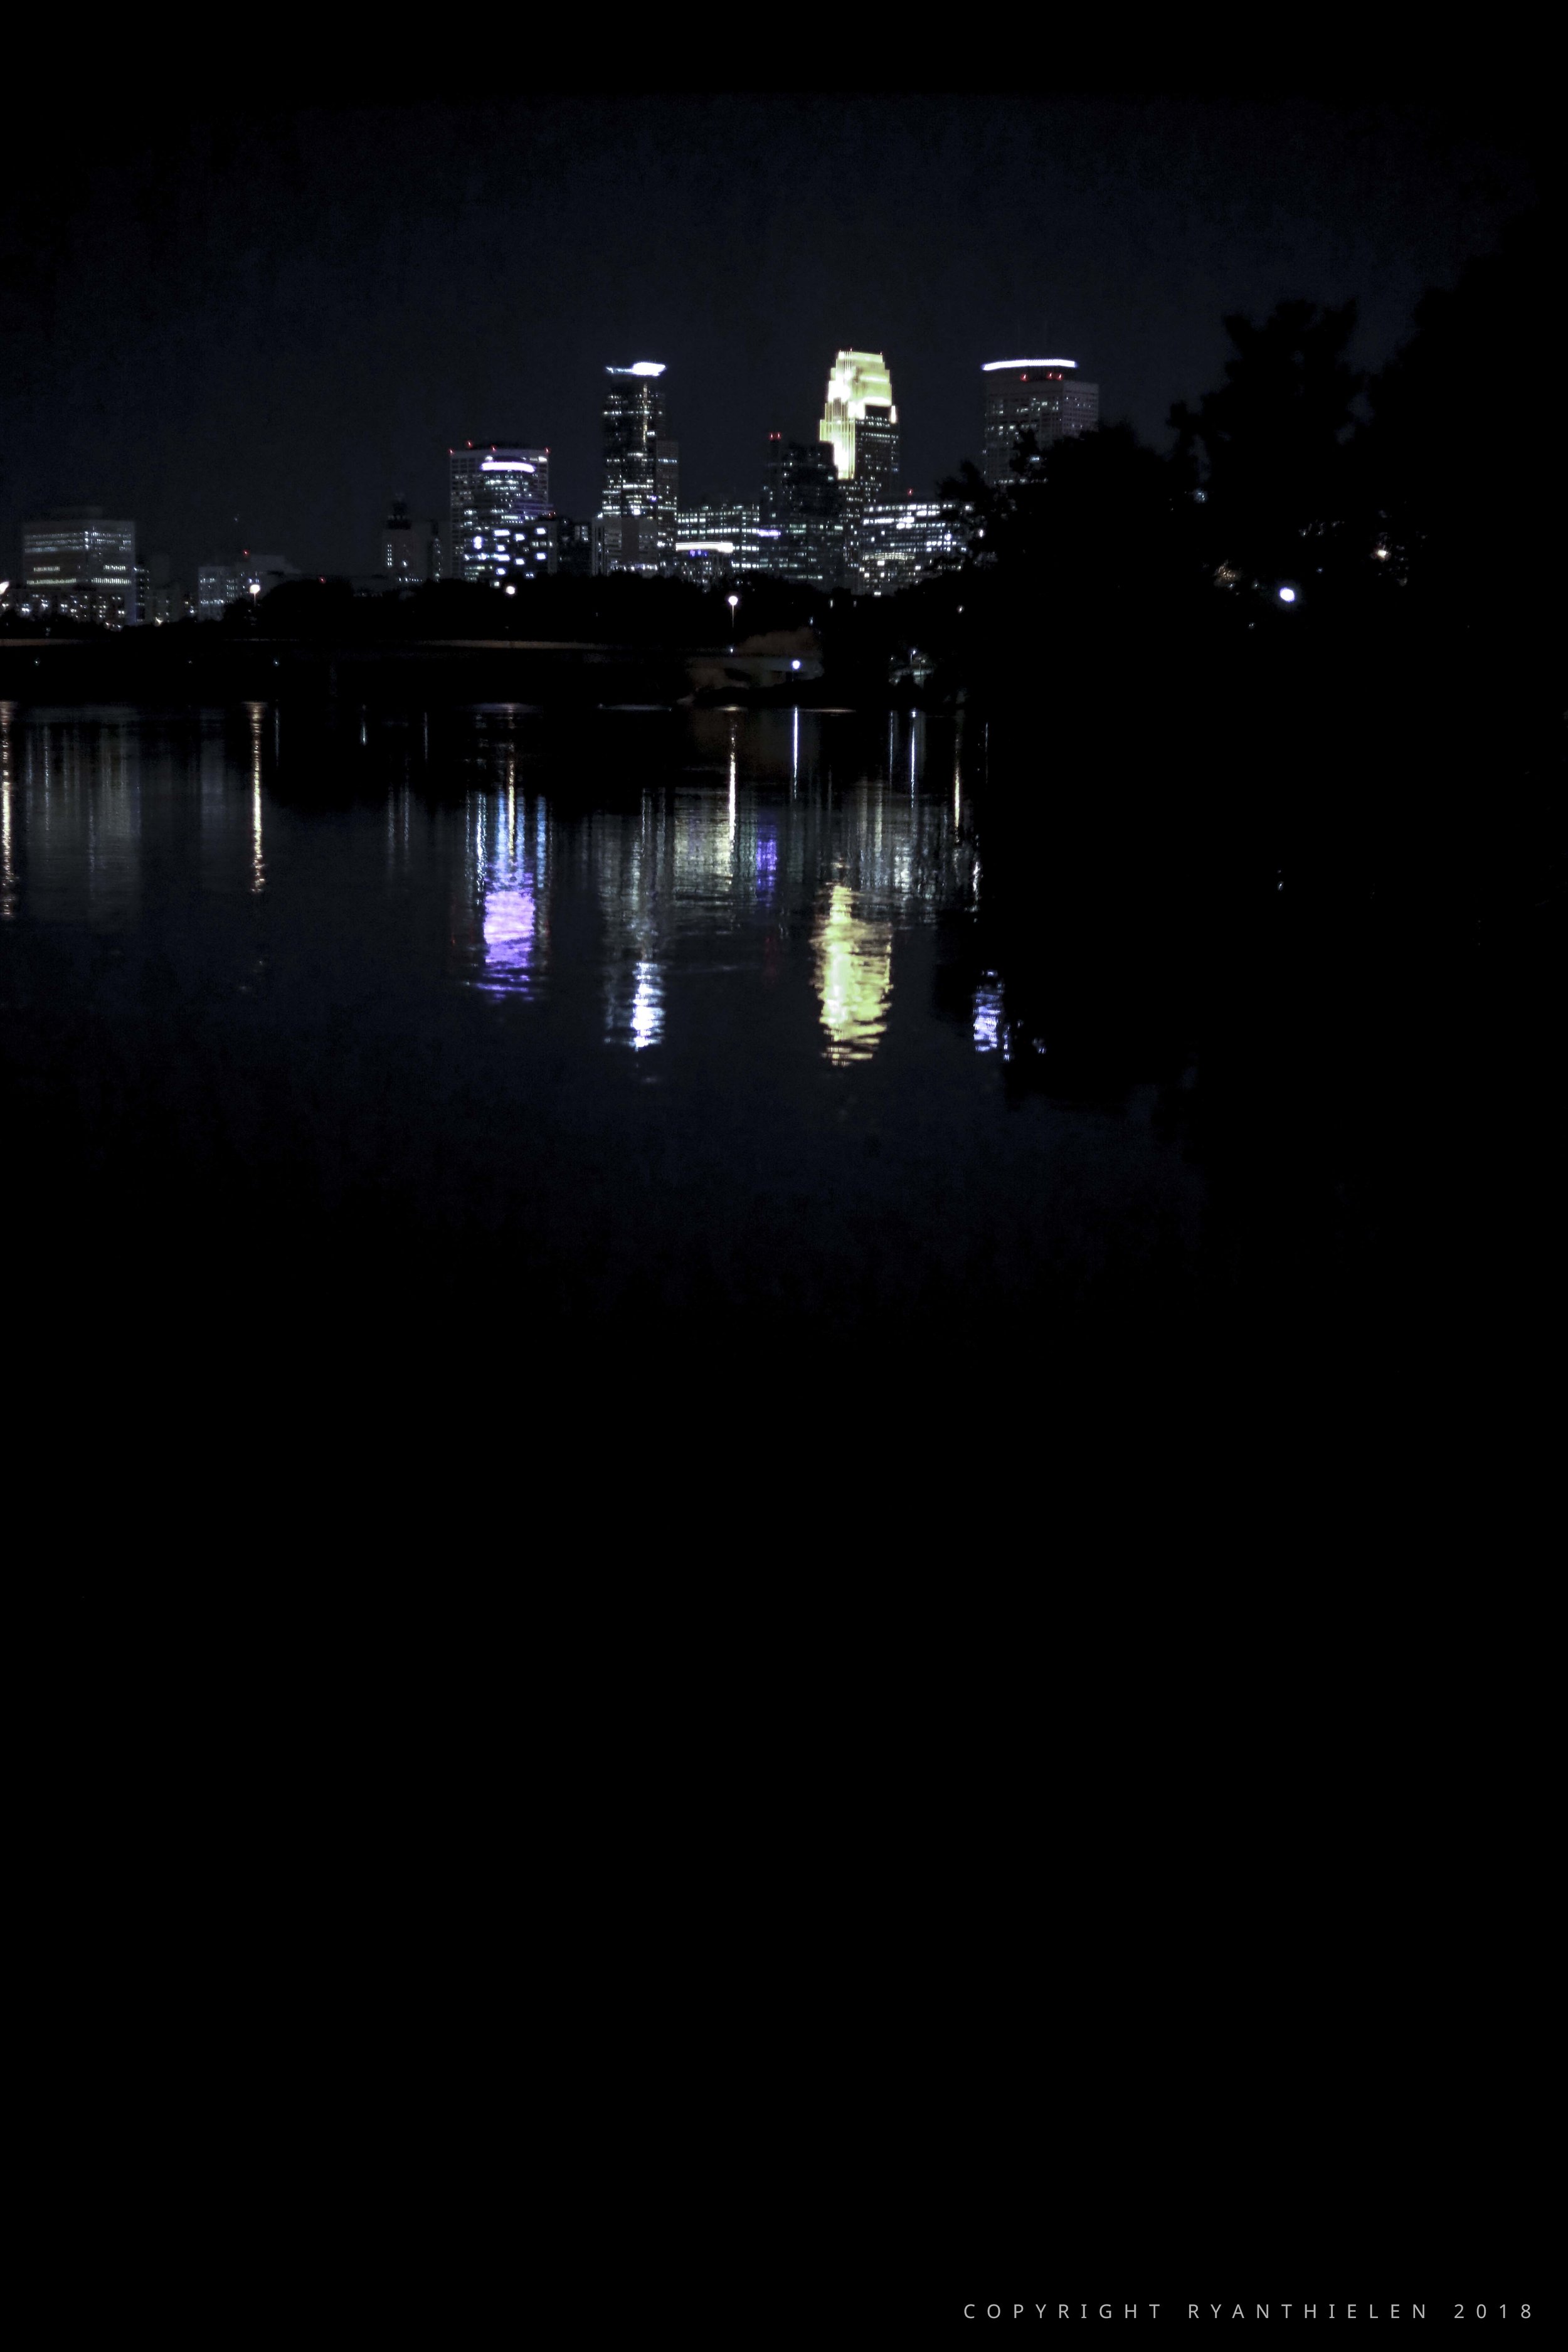
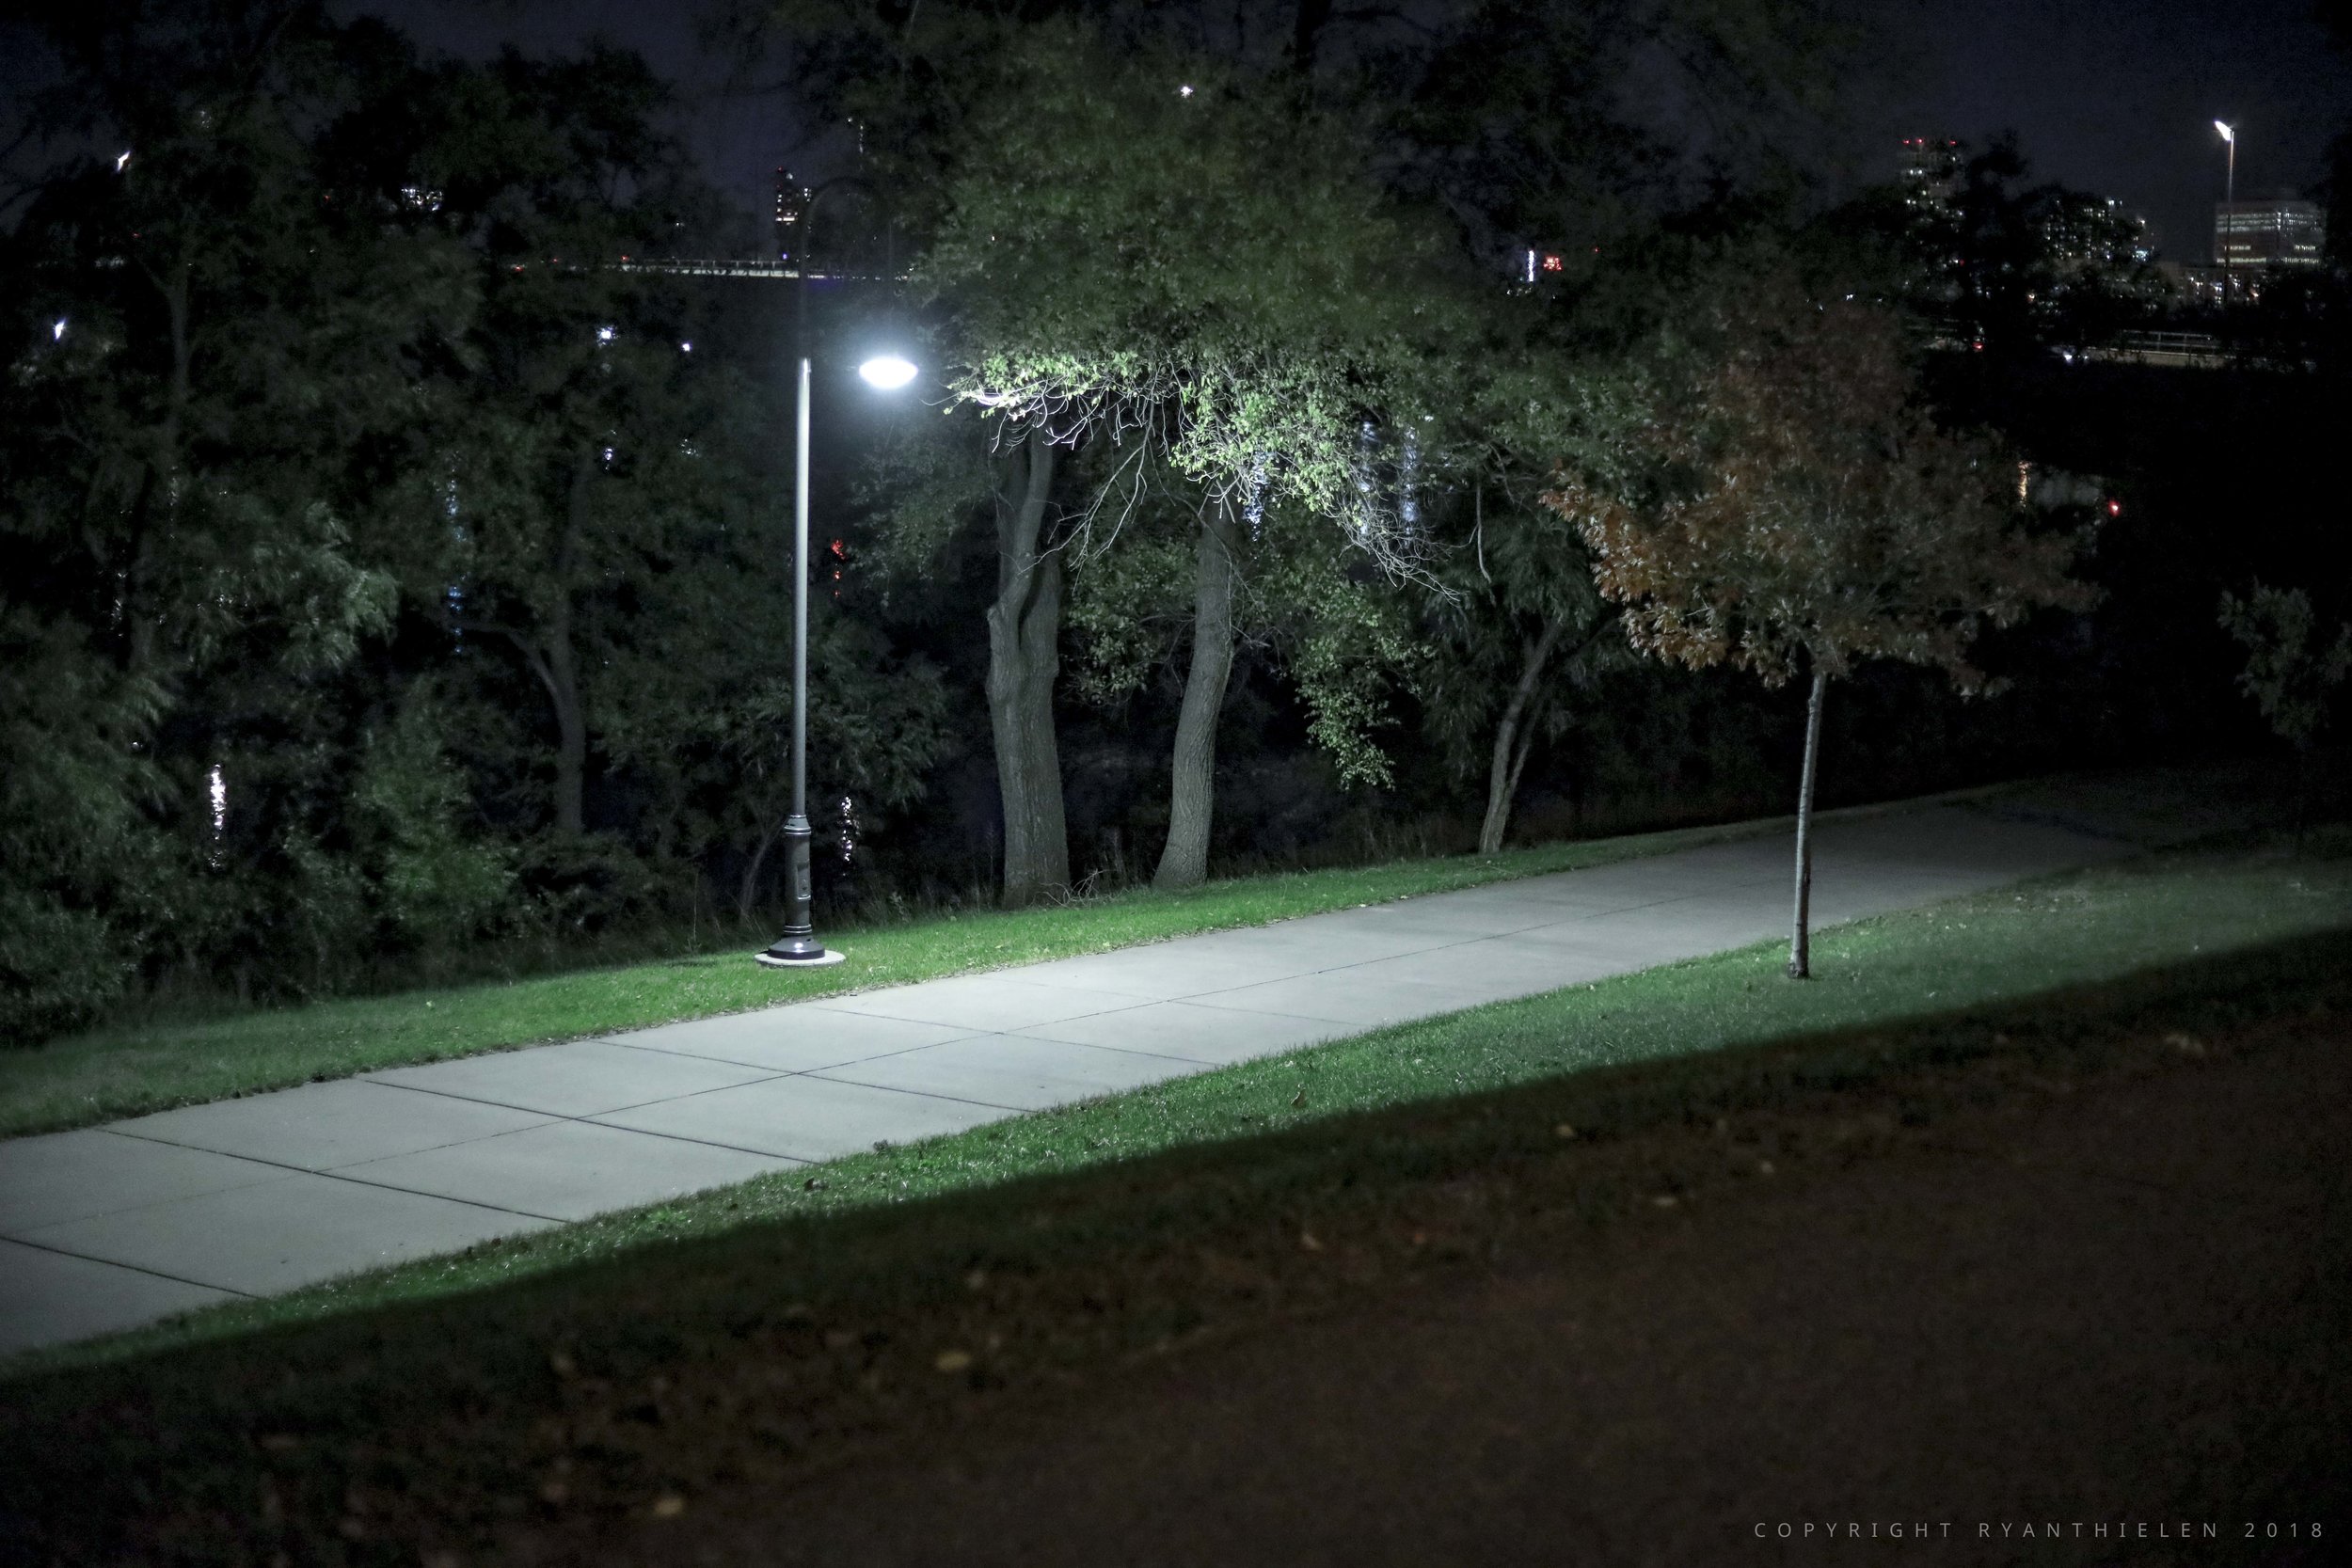
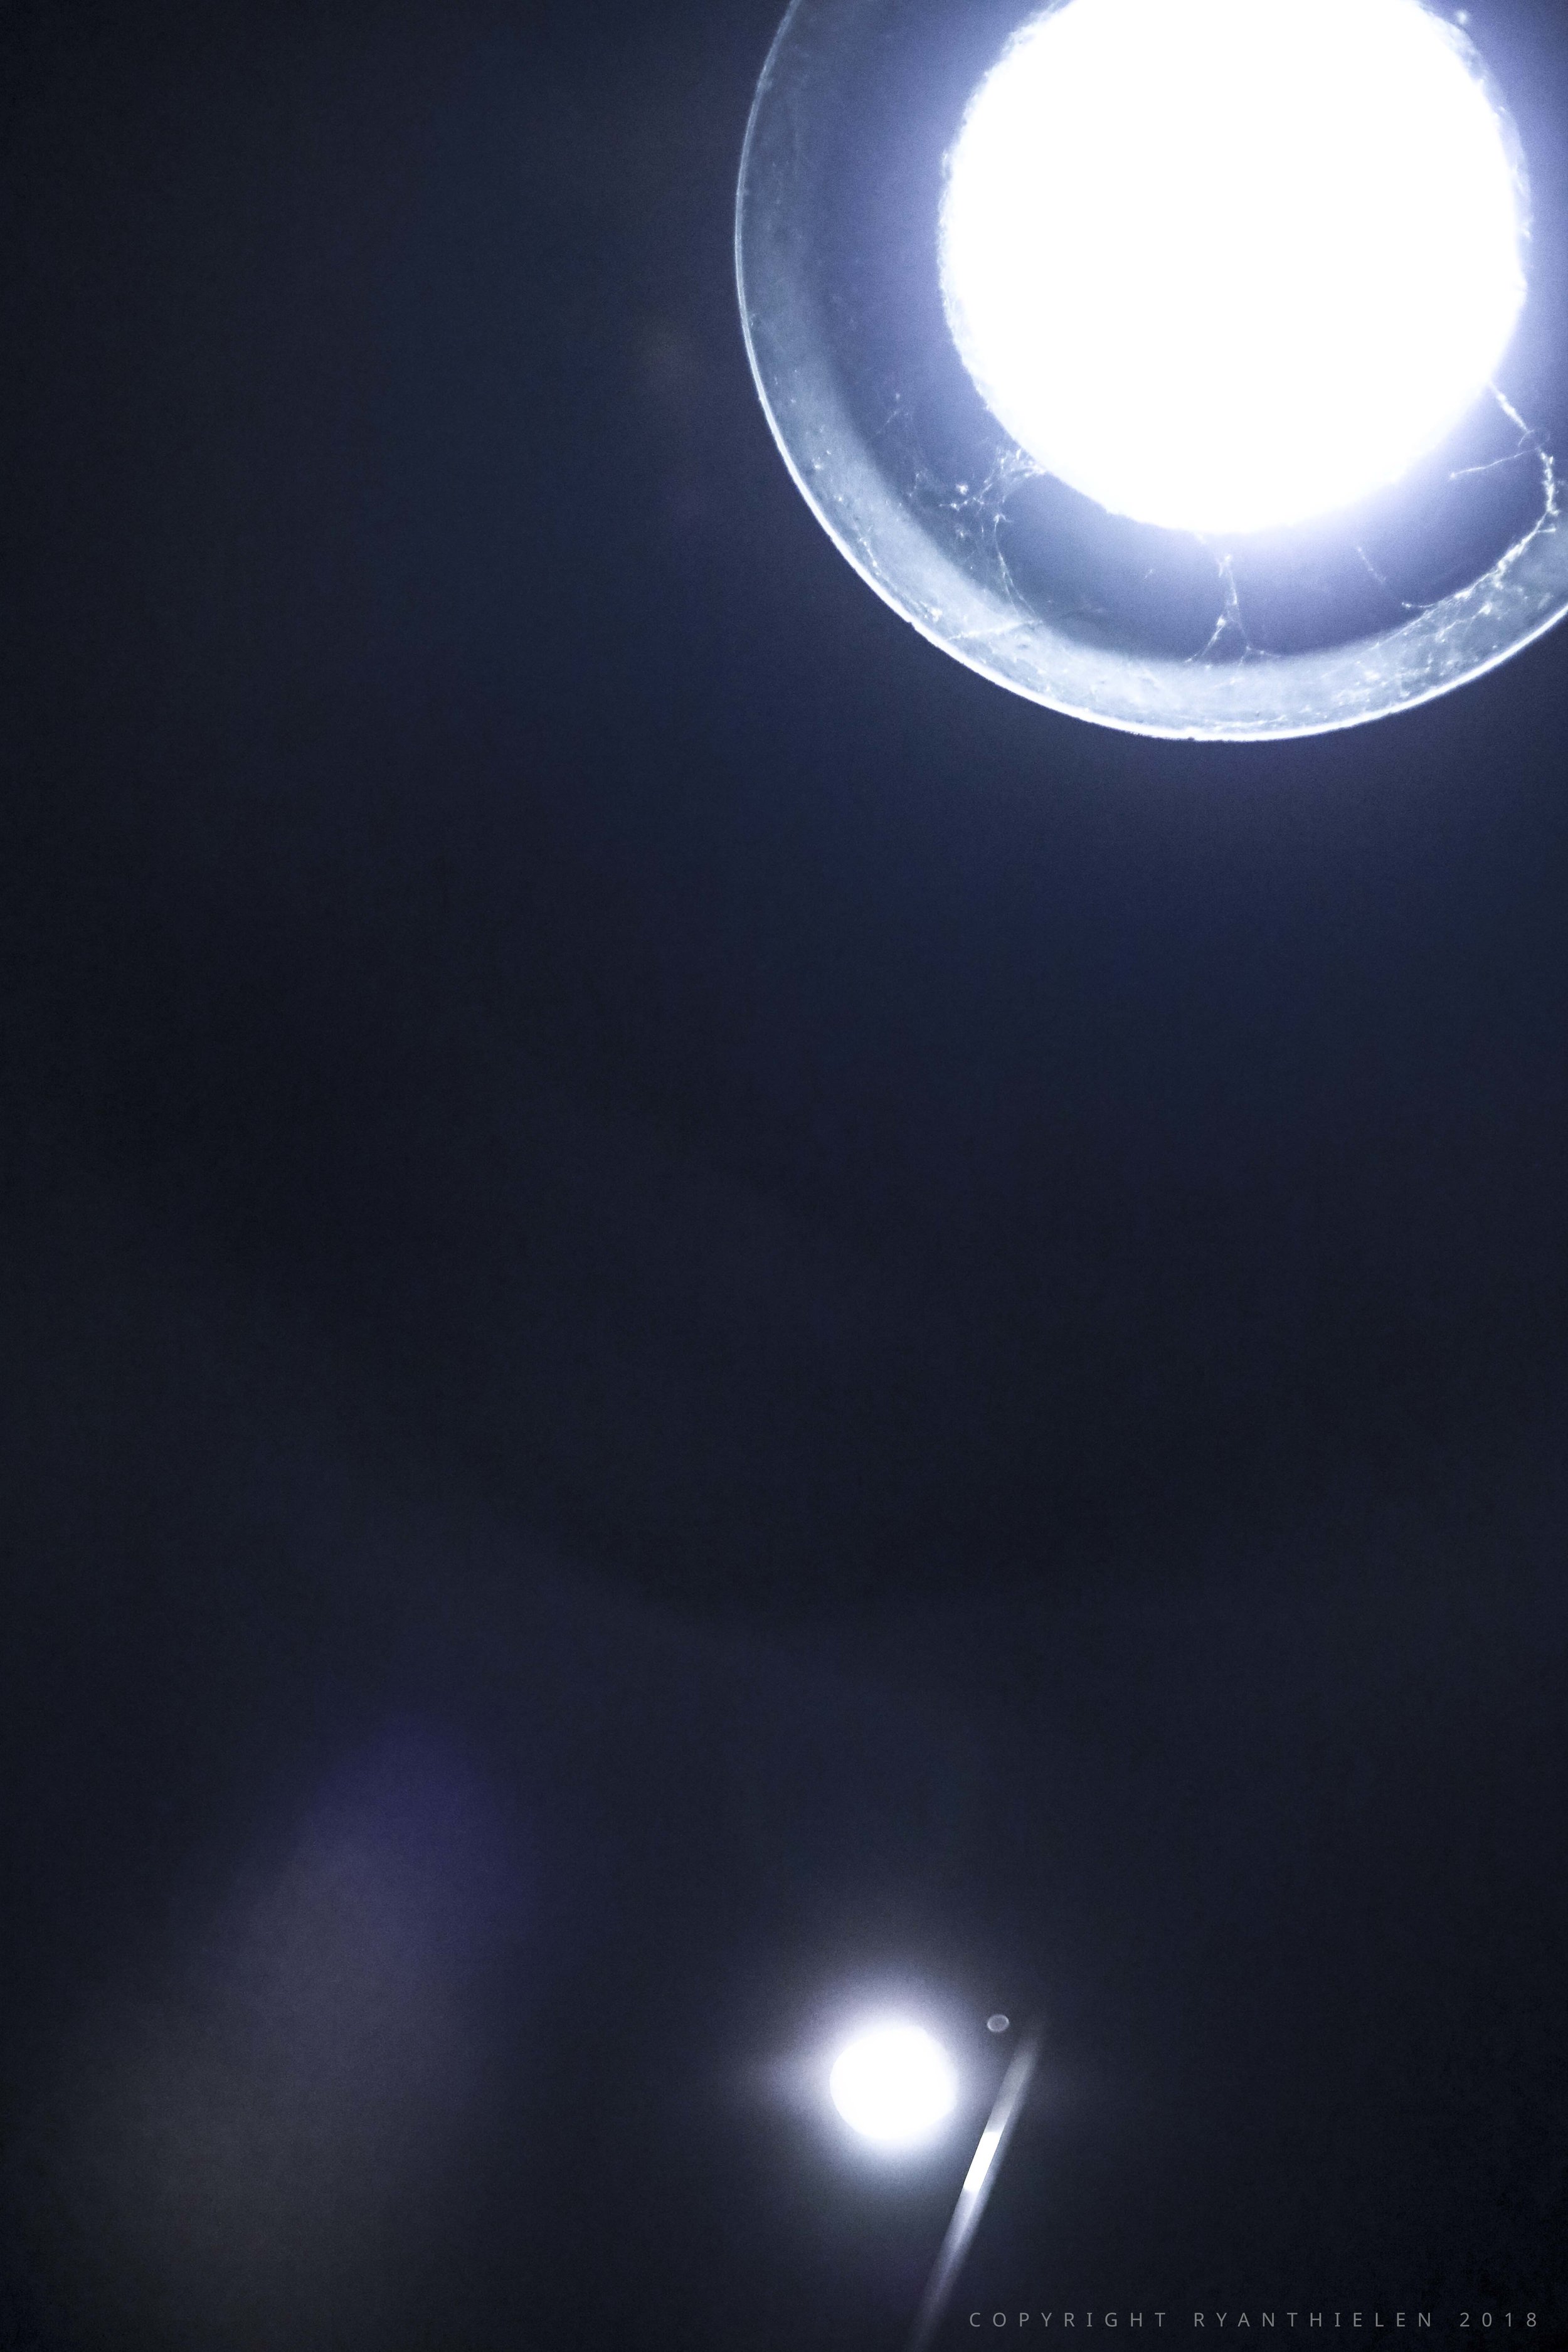
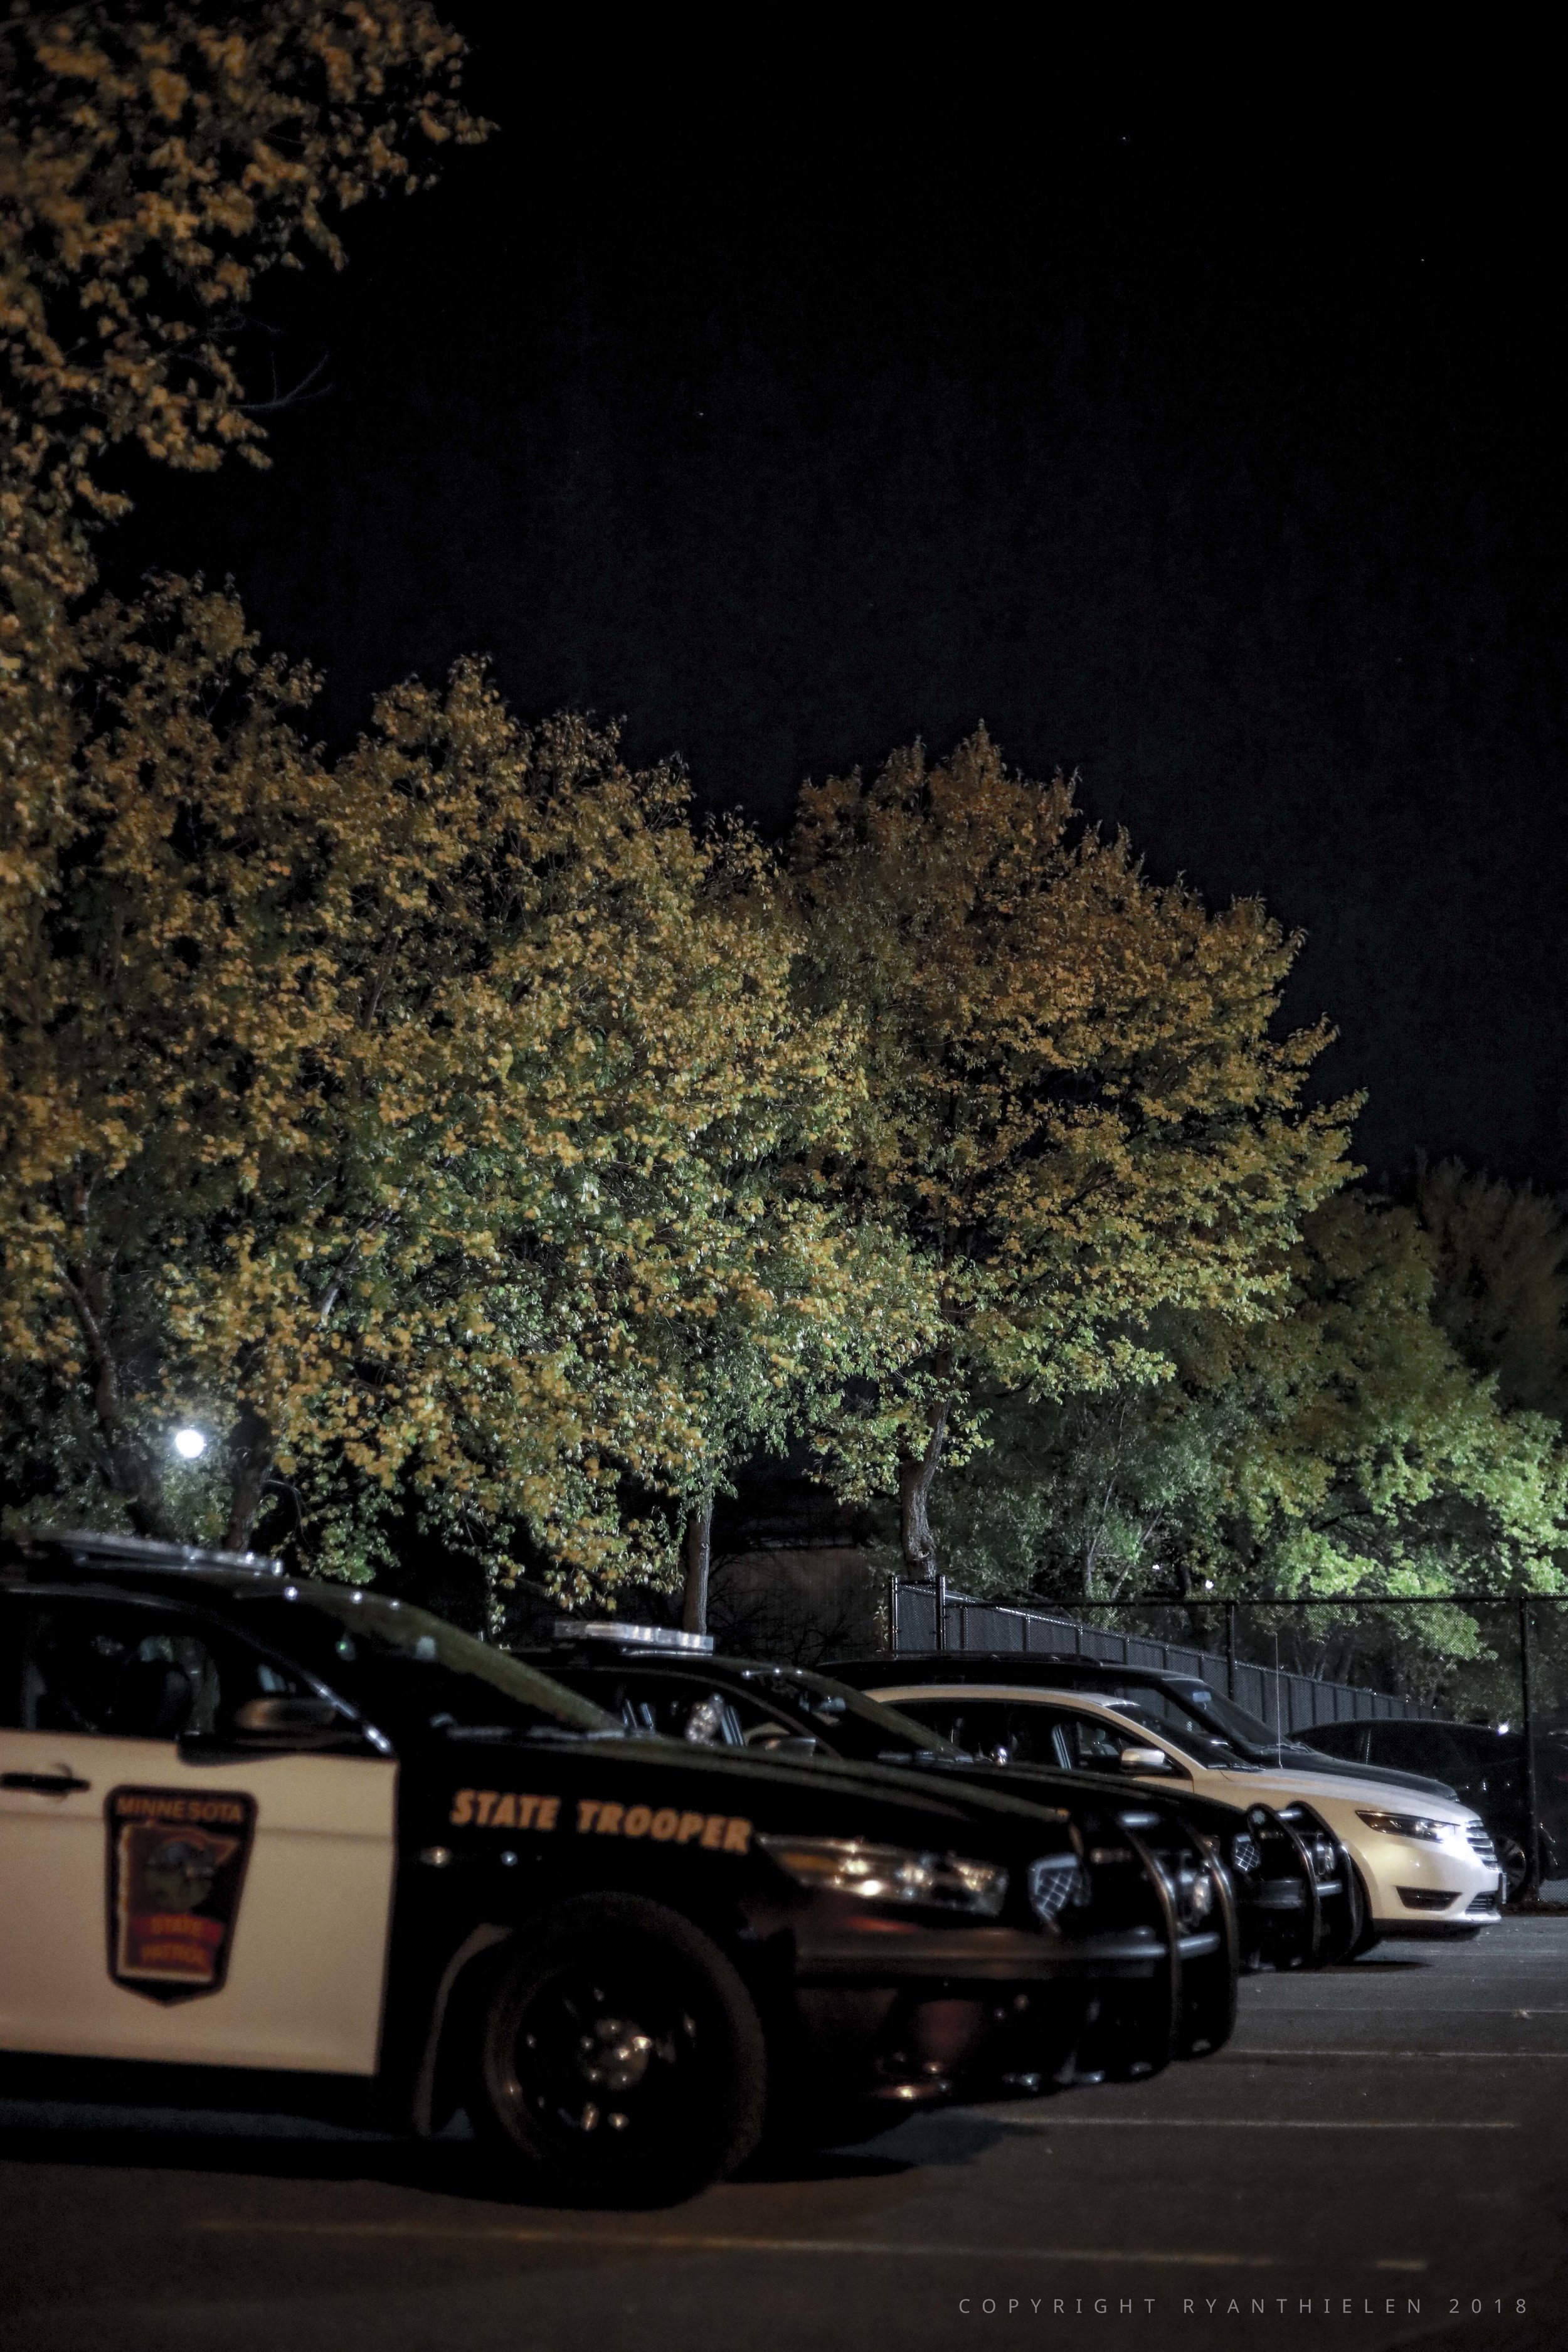
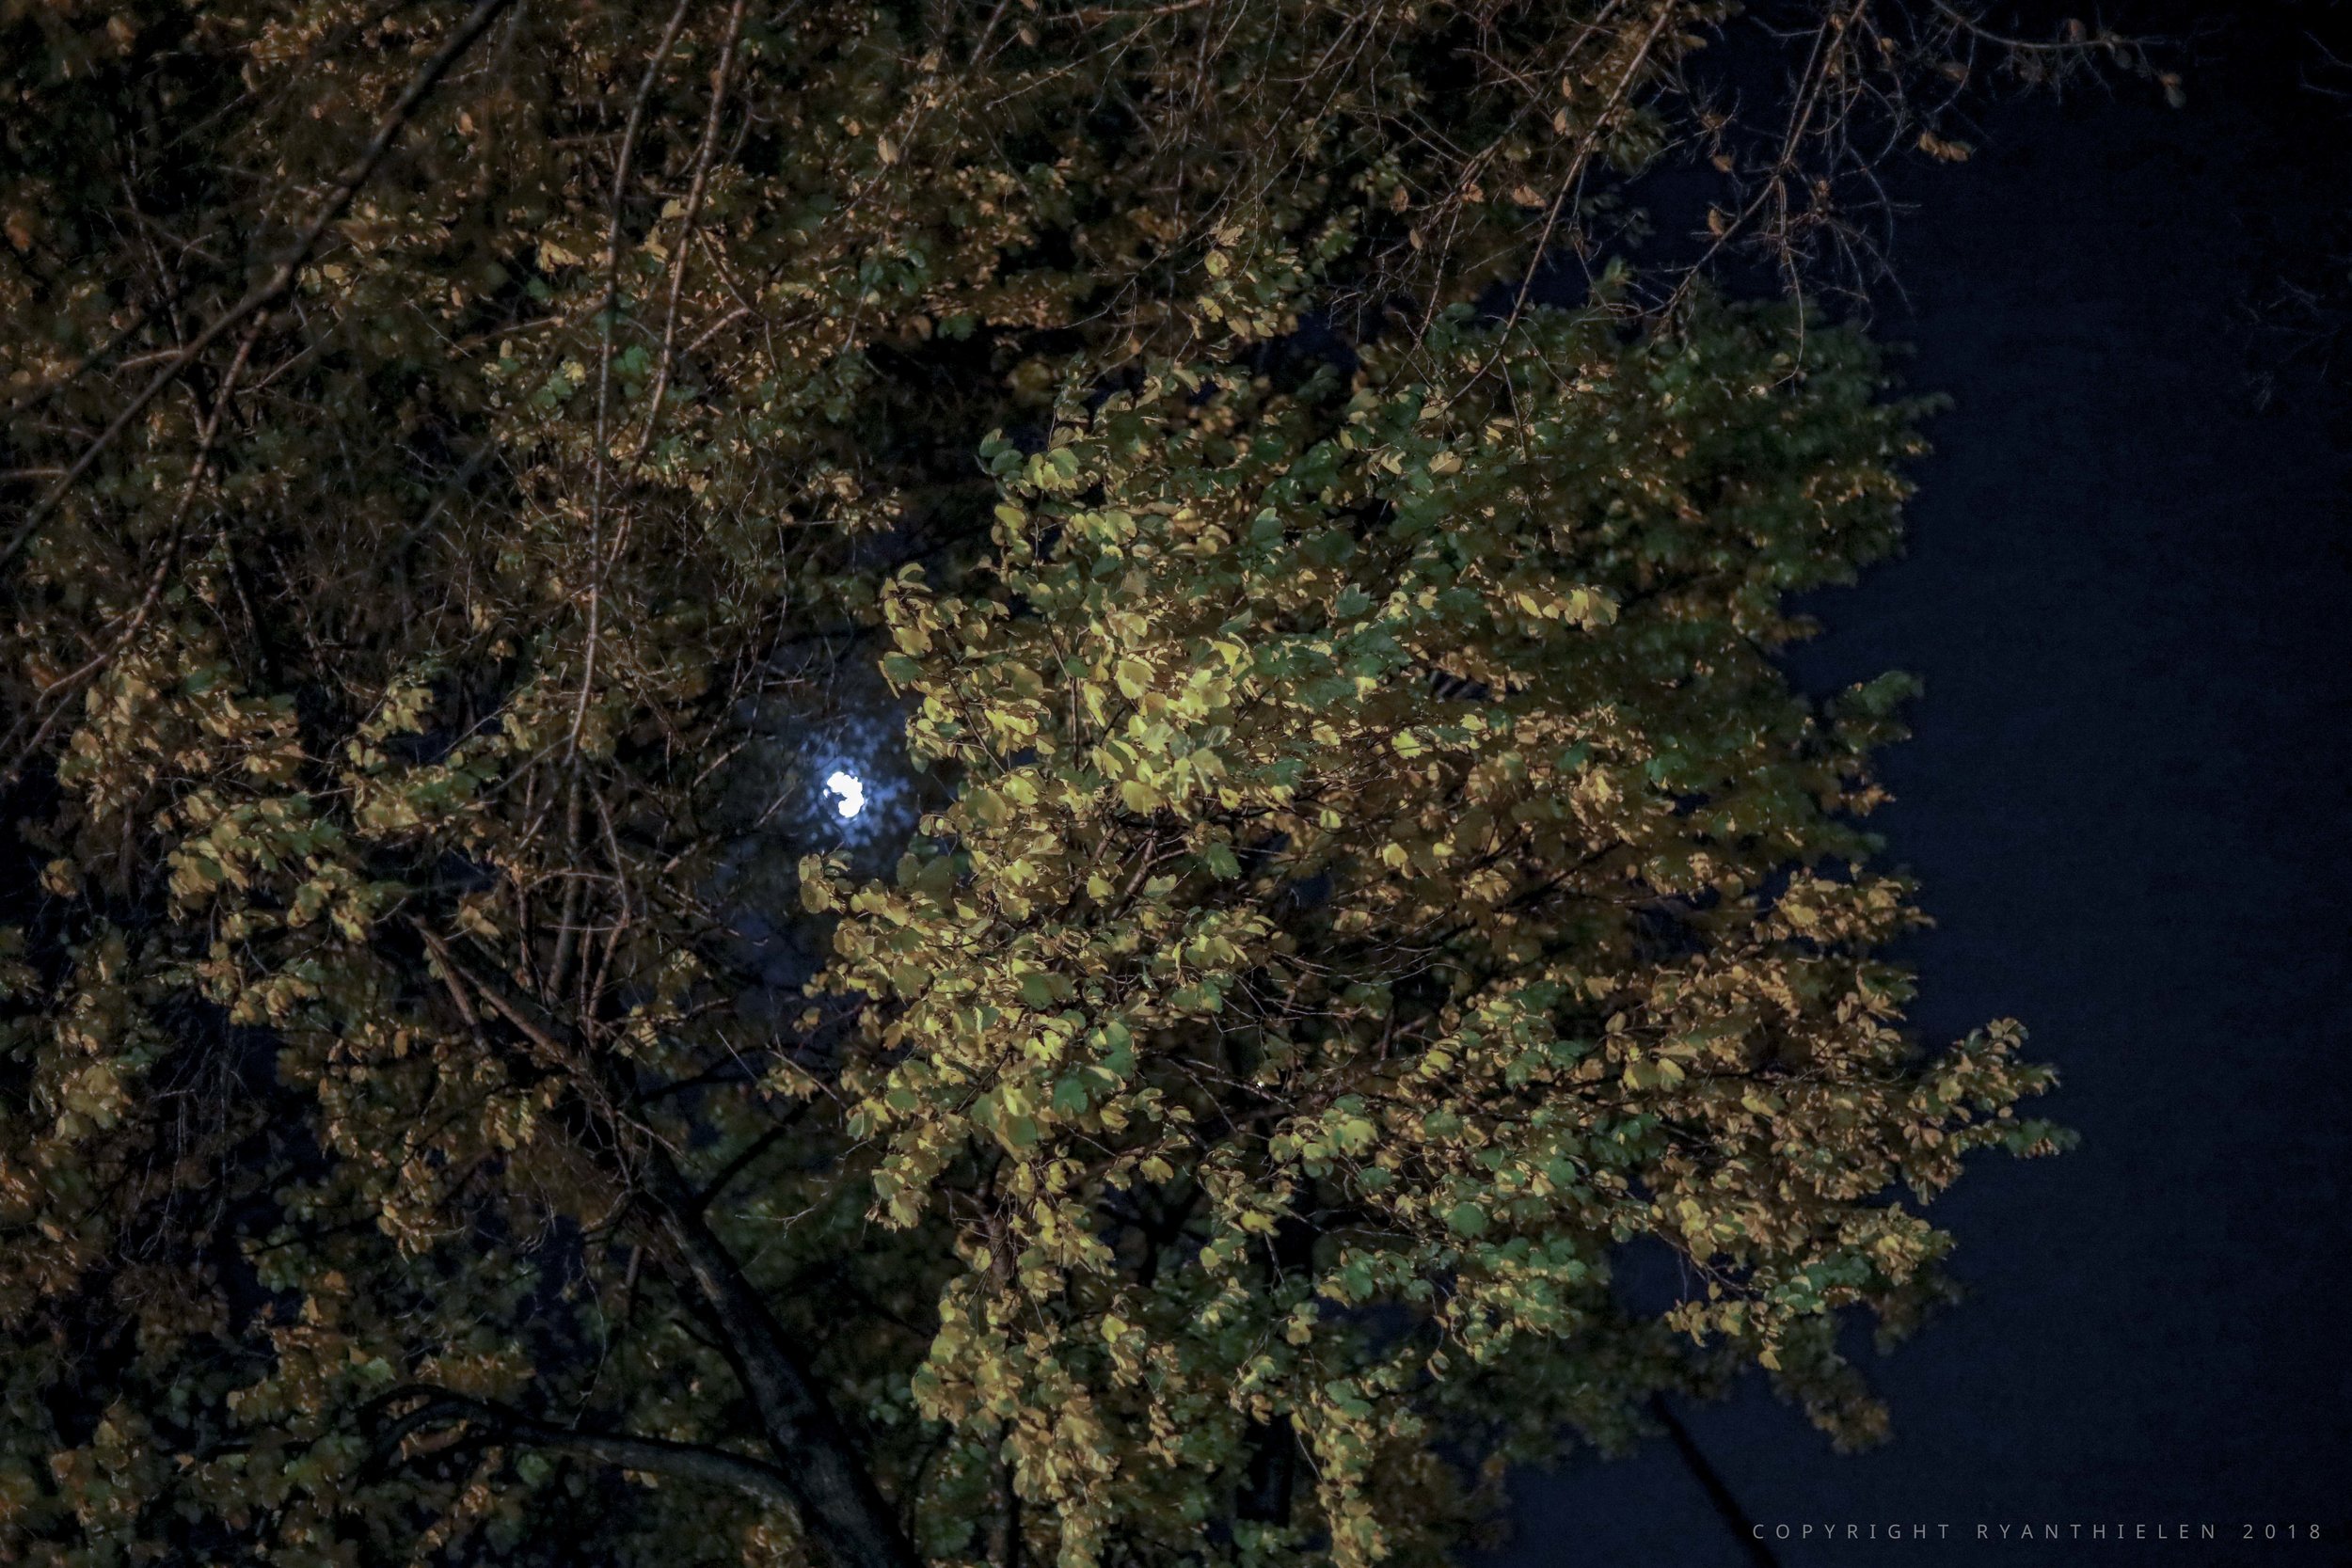
These were my top 5 photos I shot. My location was in North Minneapolis next to the Mississippi river - there were a lot of different textures to shoot in a small area which is why I chose this spot. Shooting this dark at night made it challenging and difficult to get the right exposure. I was forced to raise my ISO to 6400 and luckily my camera performed rather well.
I tried experimenting with symmetry, rule of thirds, and dutch angles to get as many different looks as possible.
Part II (Rejected Clips)


Reflection
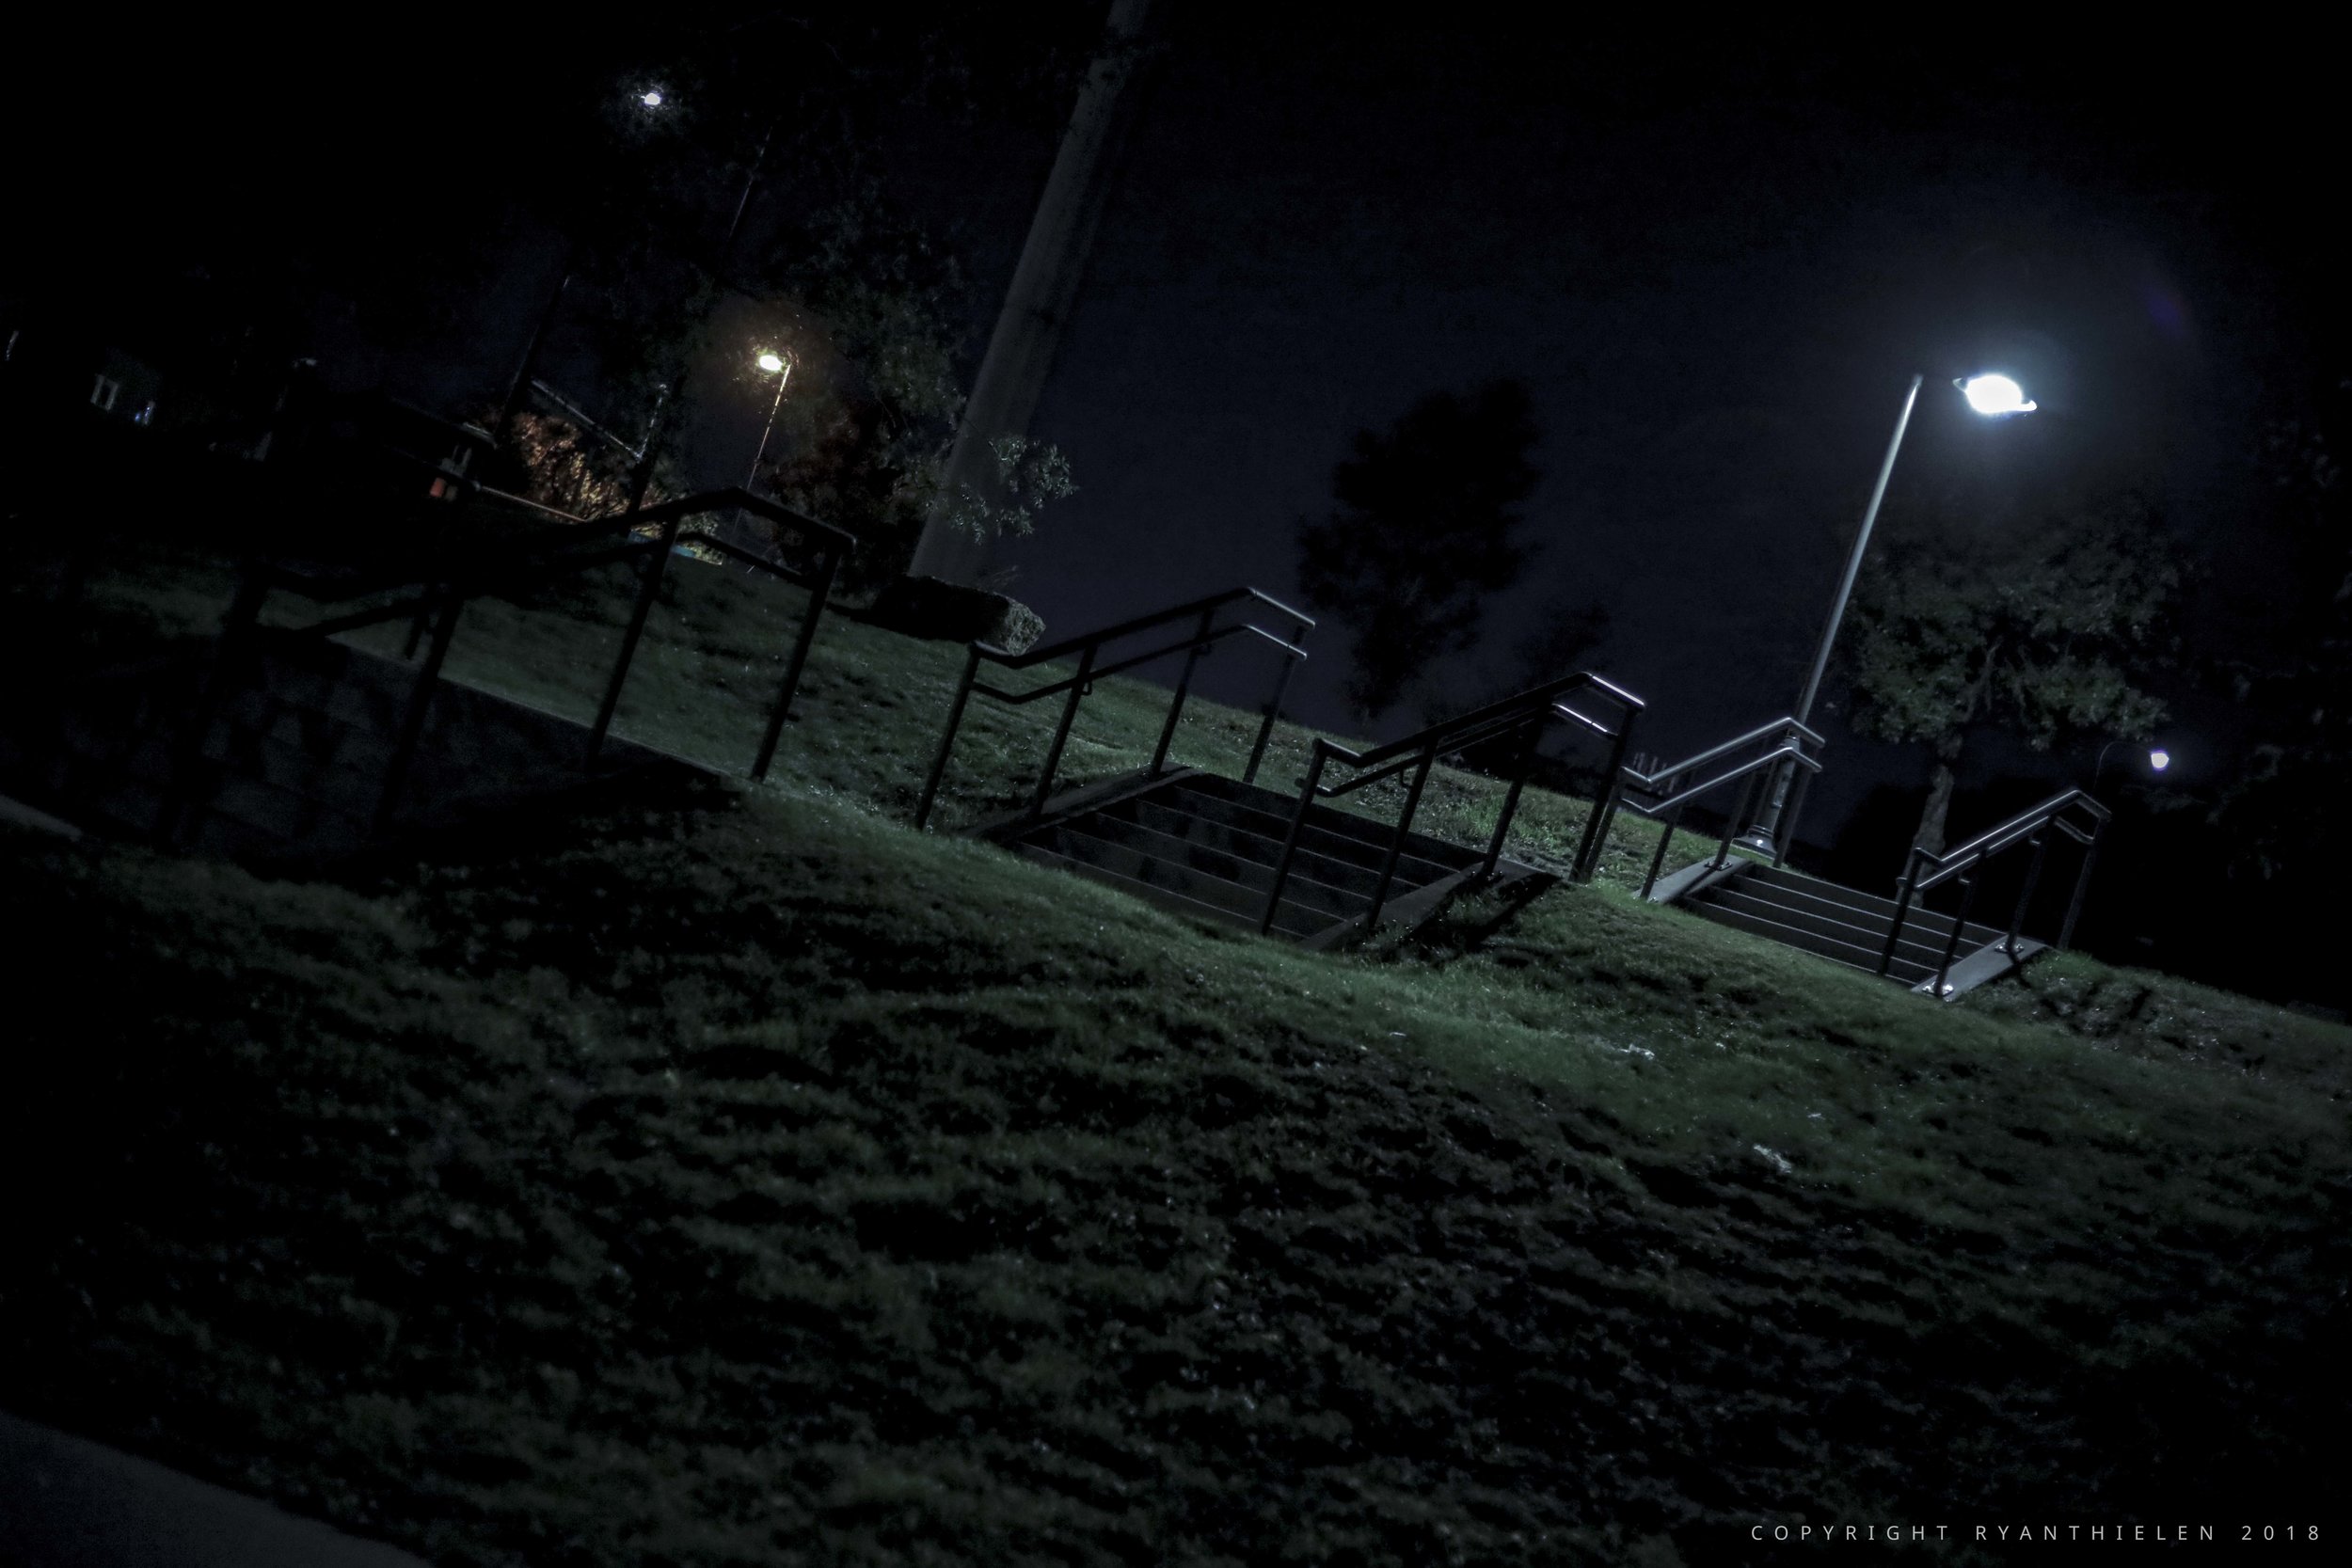
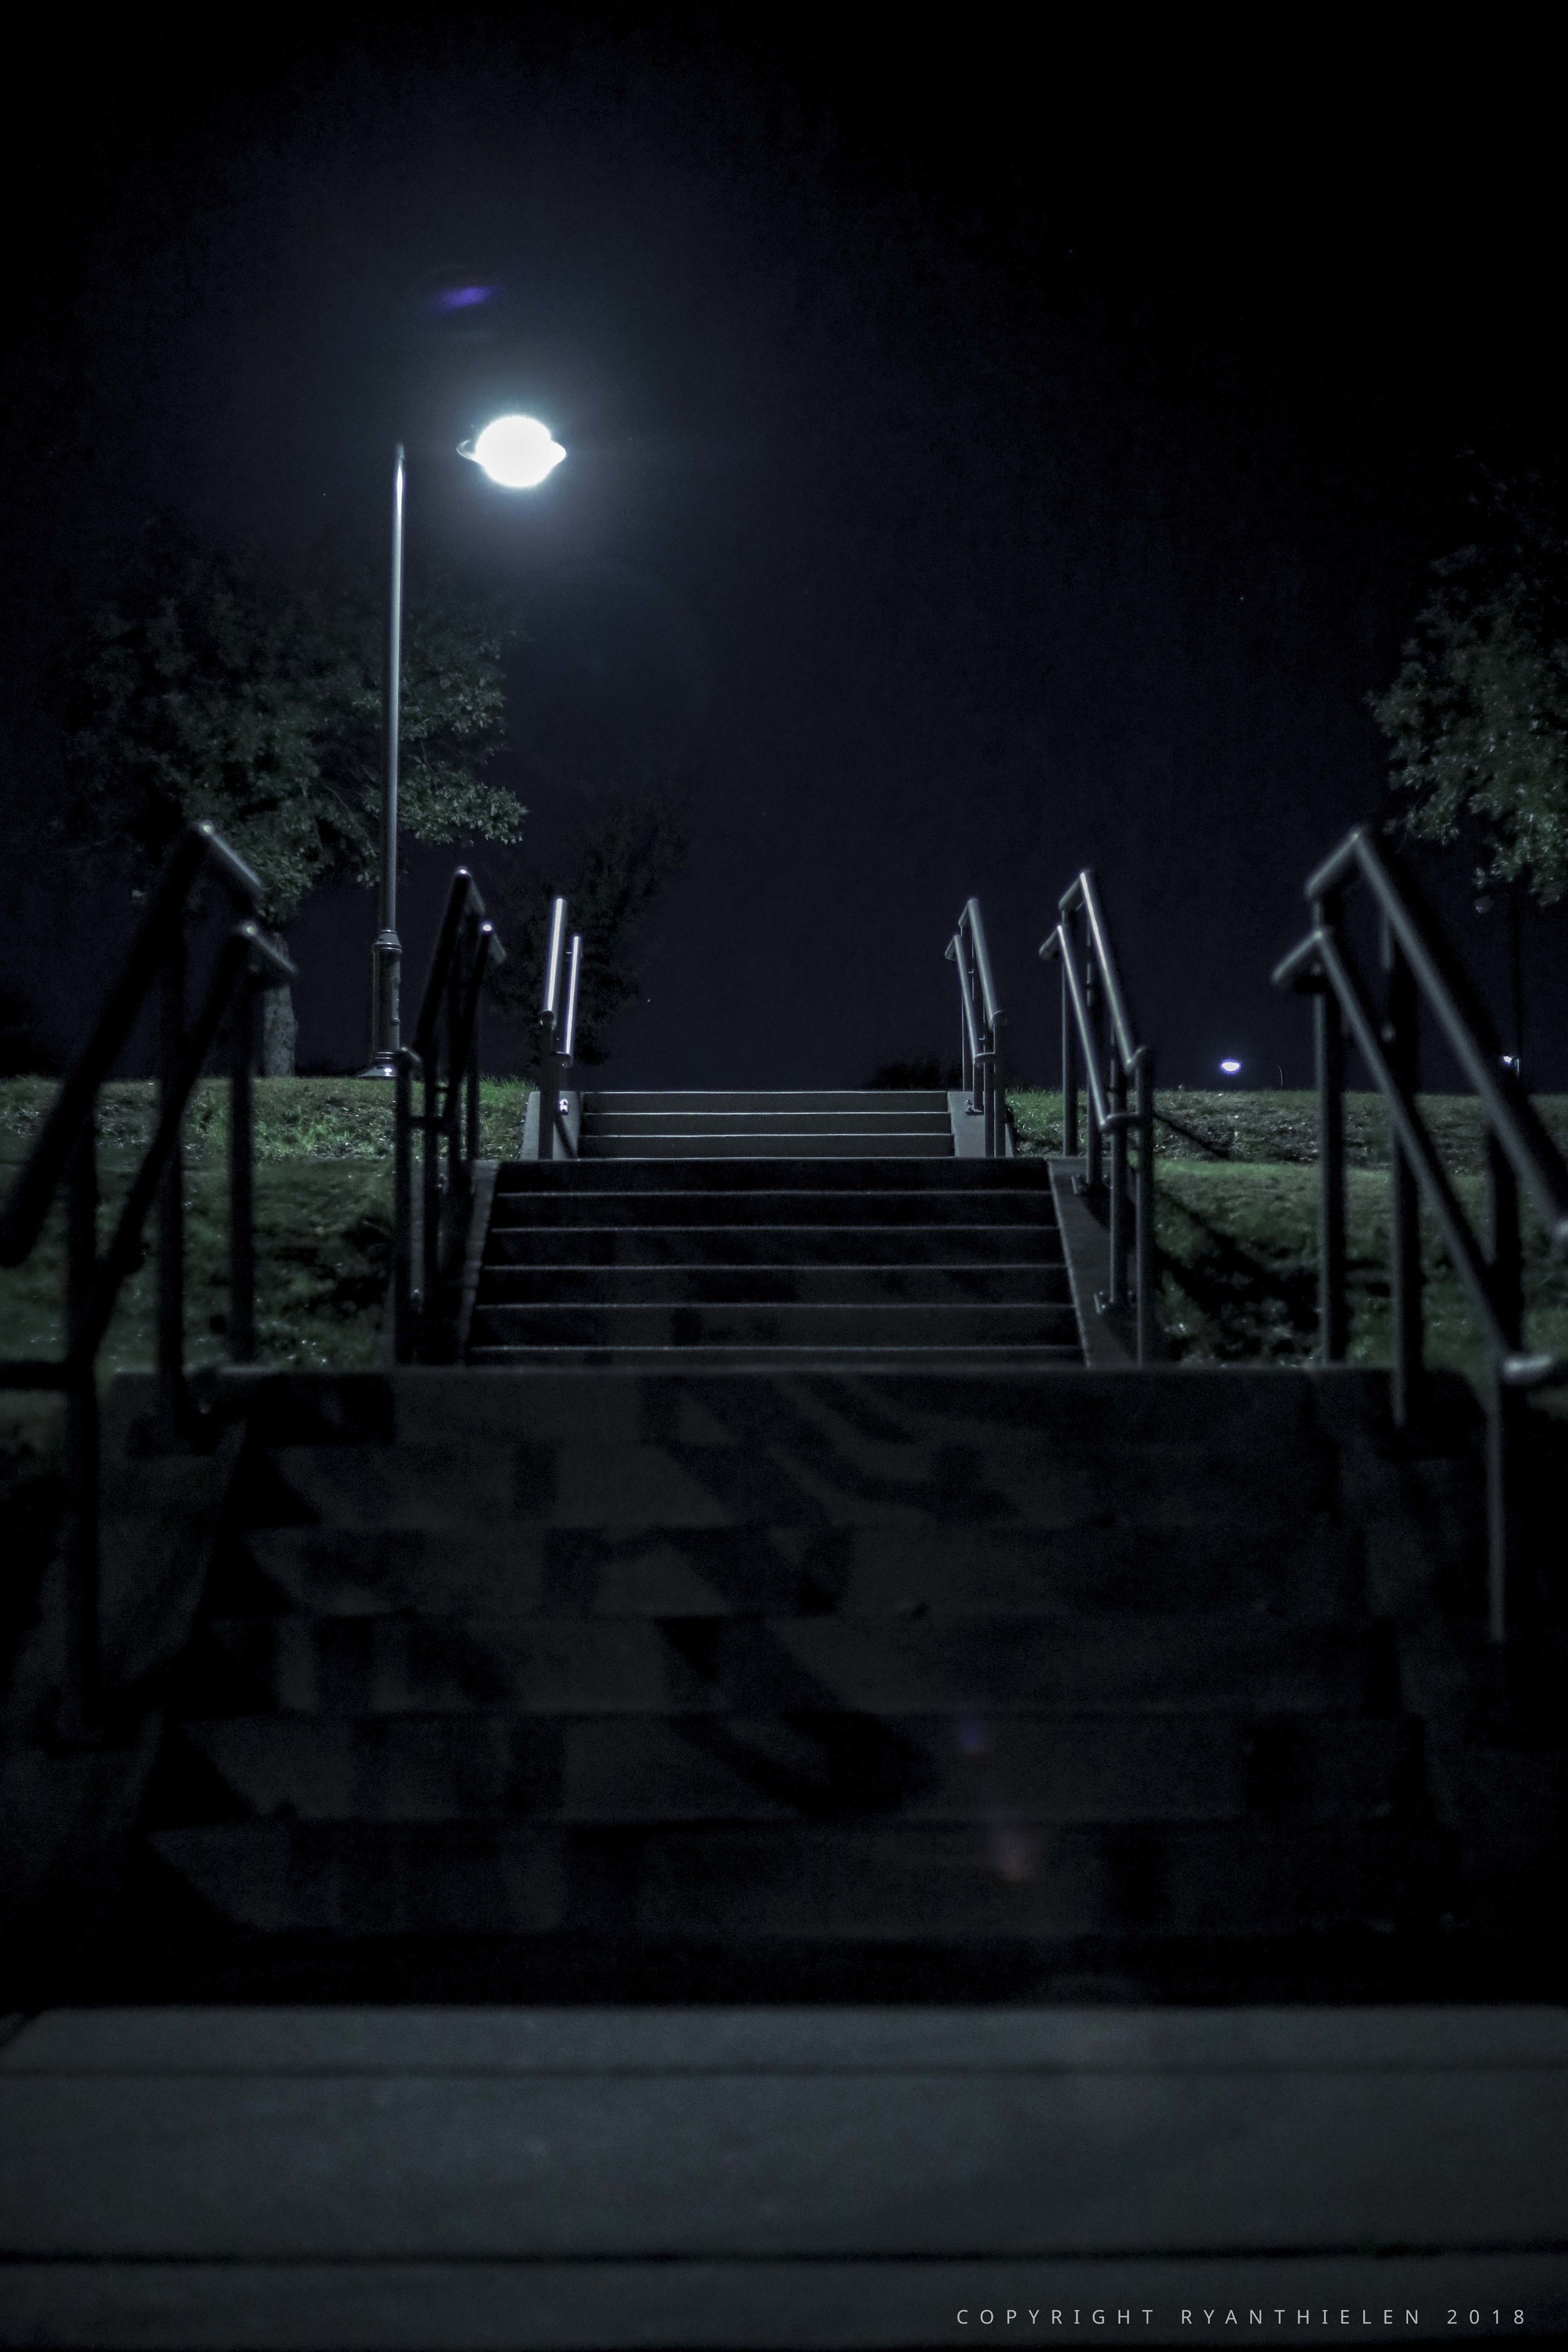
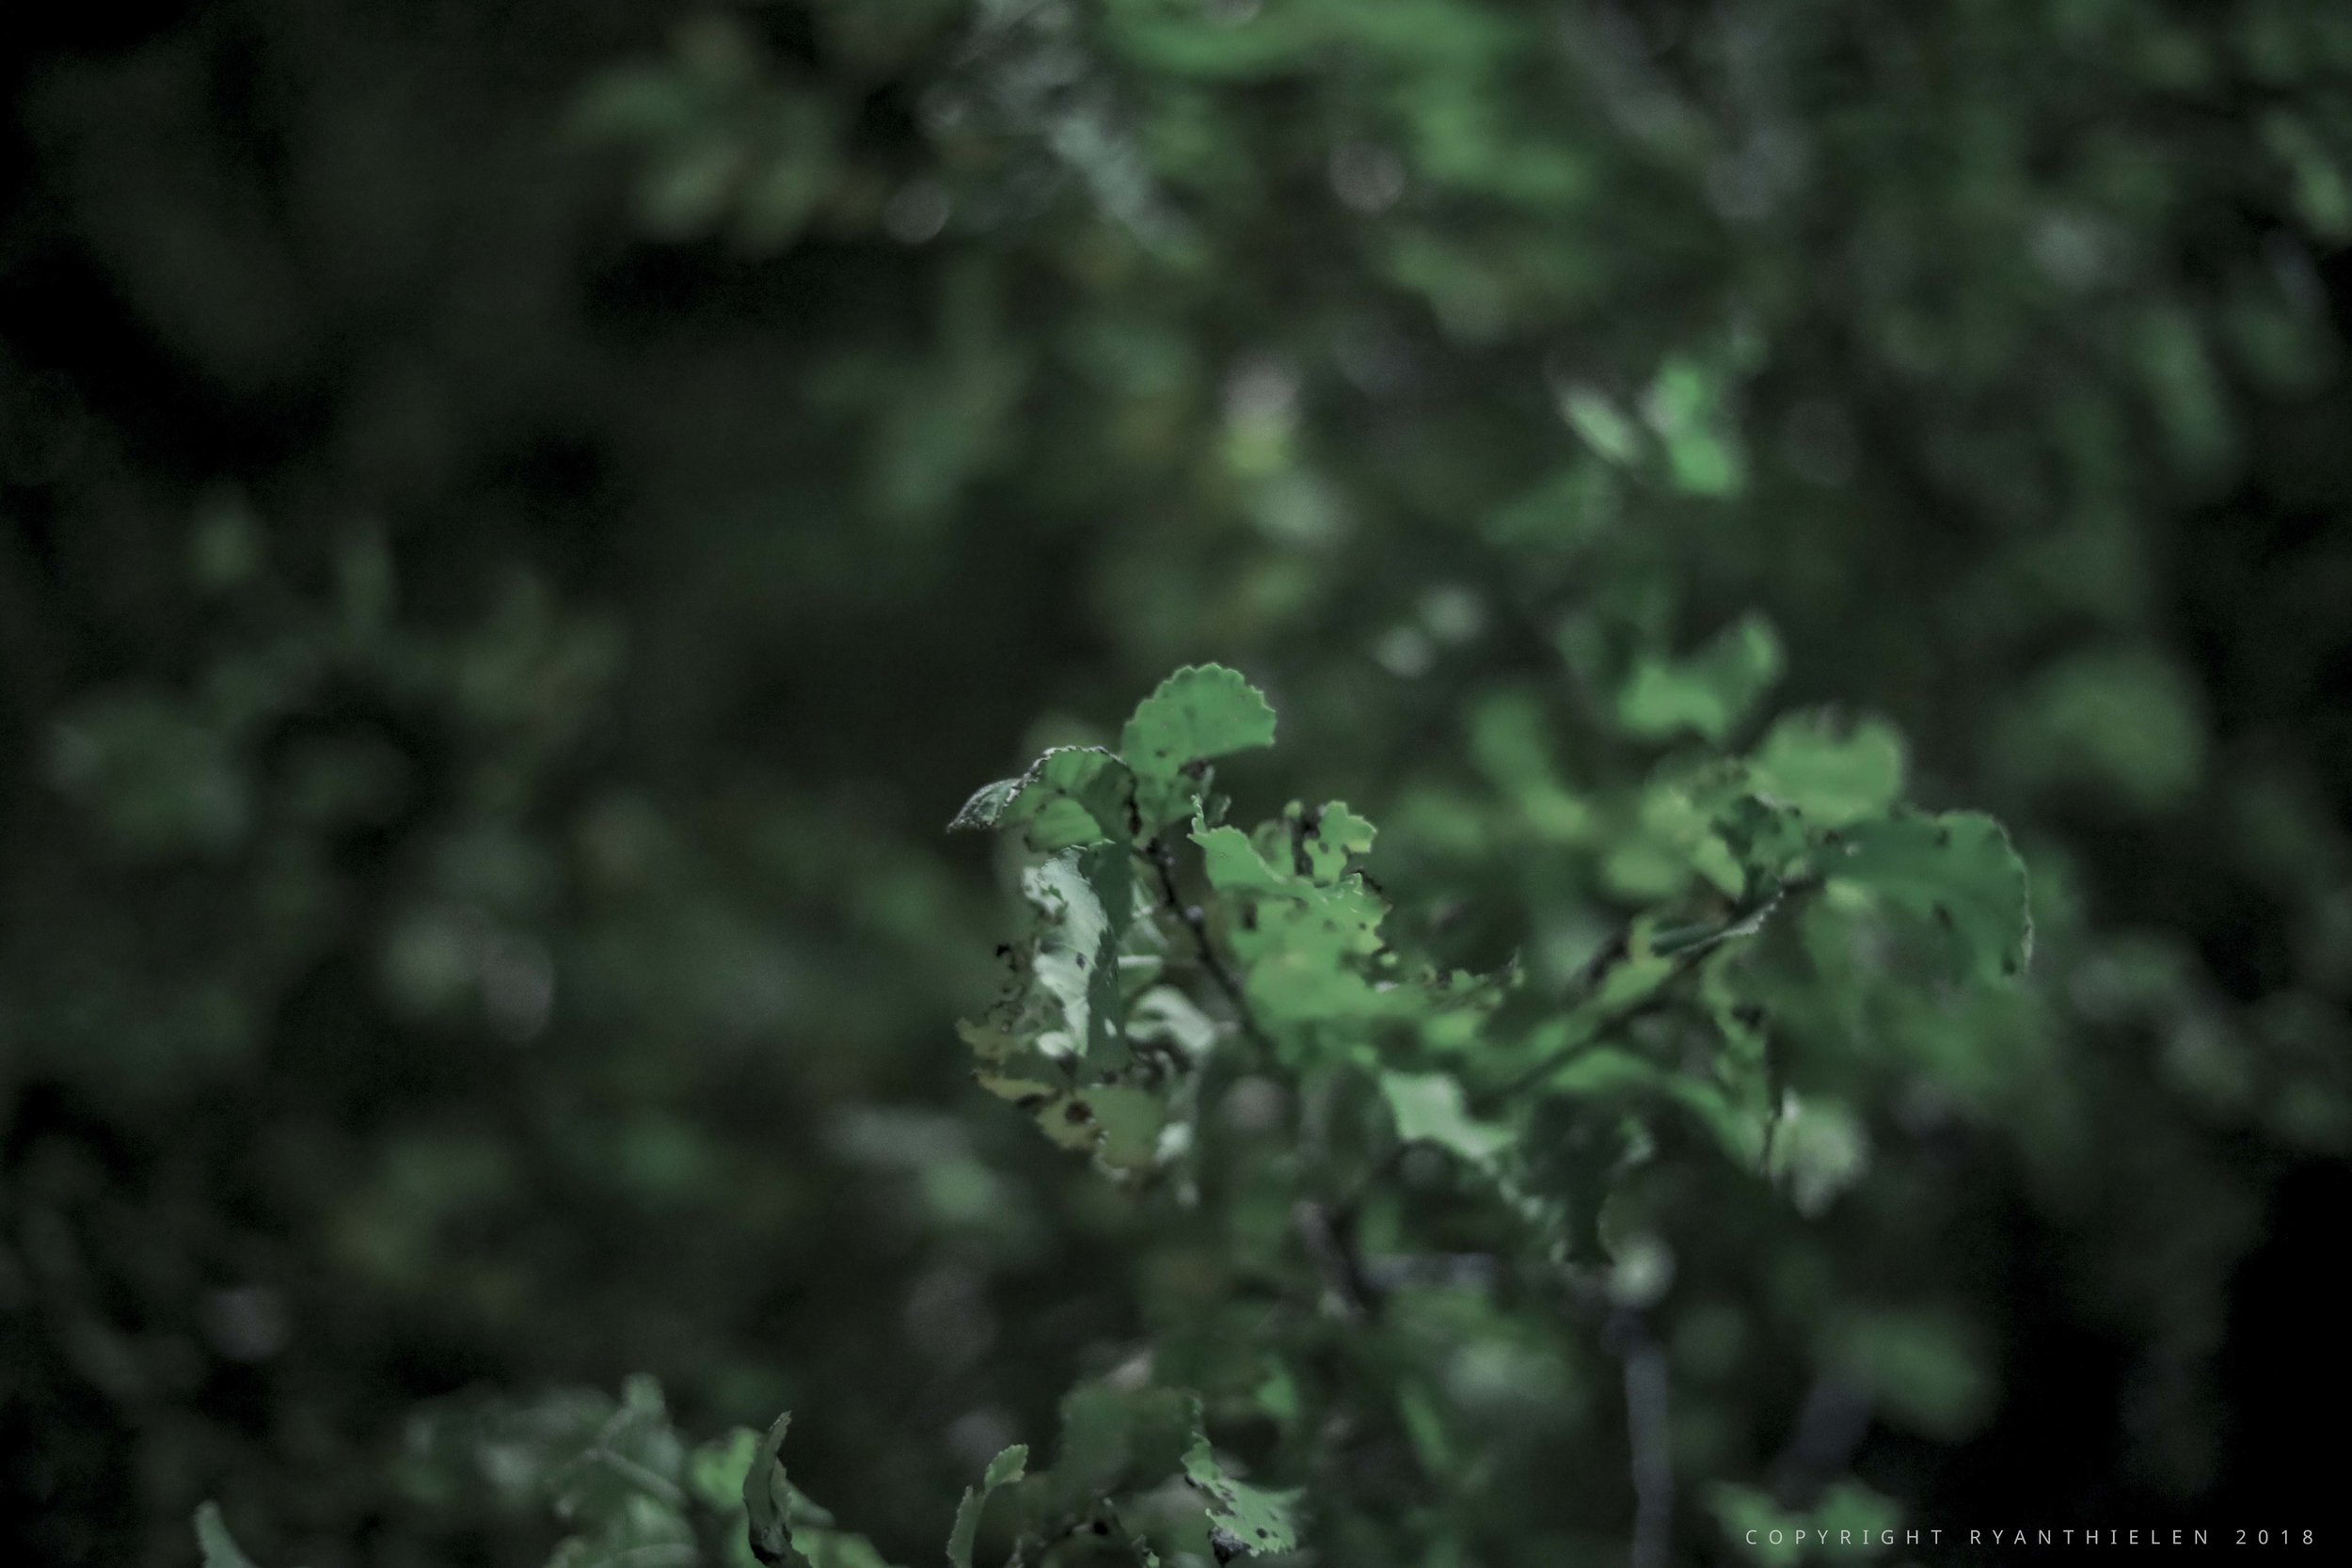
Here are my other 29 photos (I know the assignment said 10 - but I would like to show more). As you can see I was really trying hard to push the image in different direction with composition. Some worked - others didn’t. Not one of these photos really excites me but the combination of all of them on the screen at the same time is strangely interesting. Maybe it’s because the different angles and textures paint a larger picture of the space.
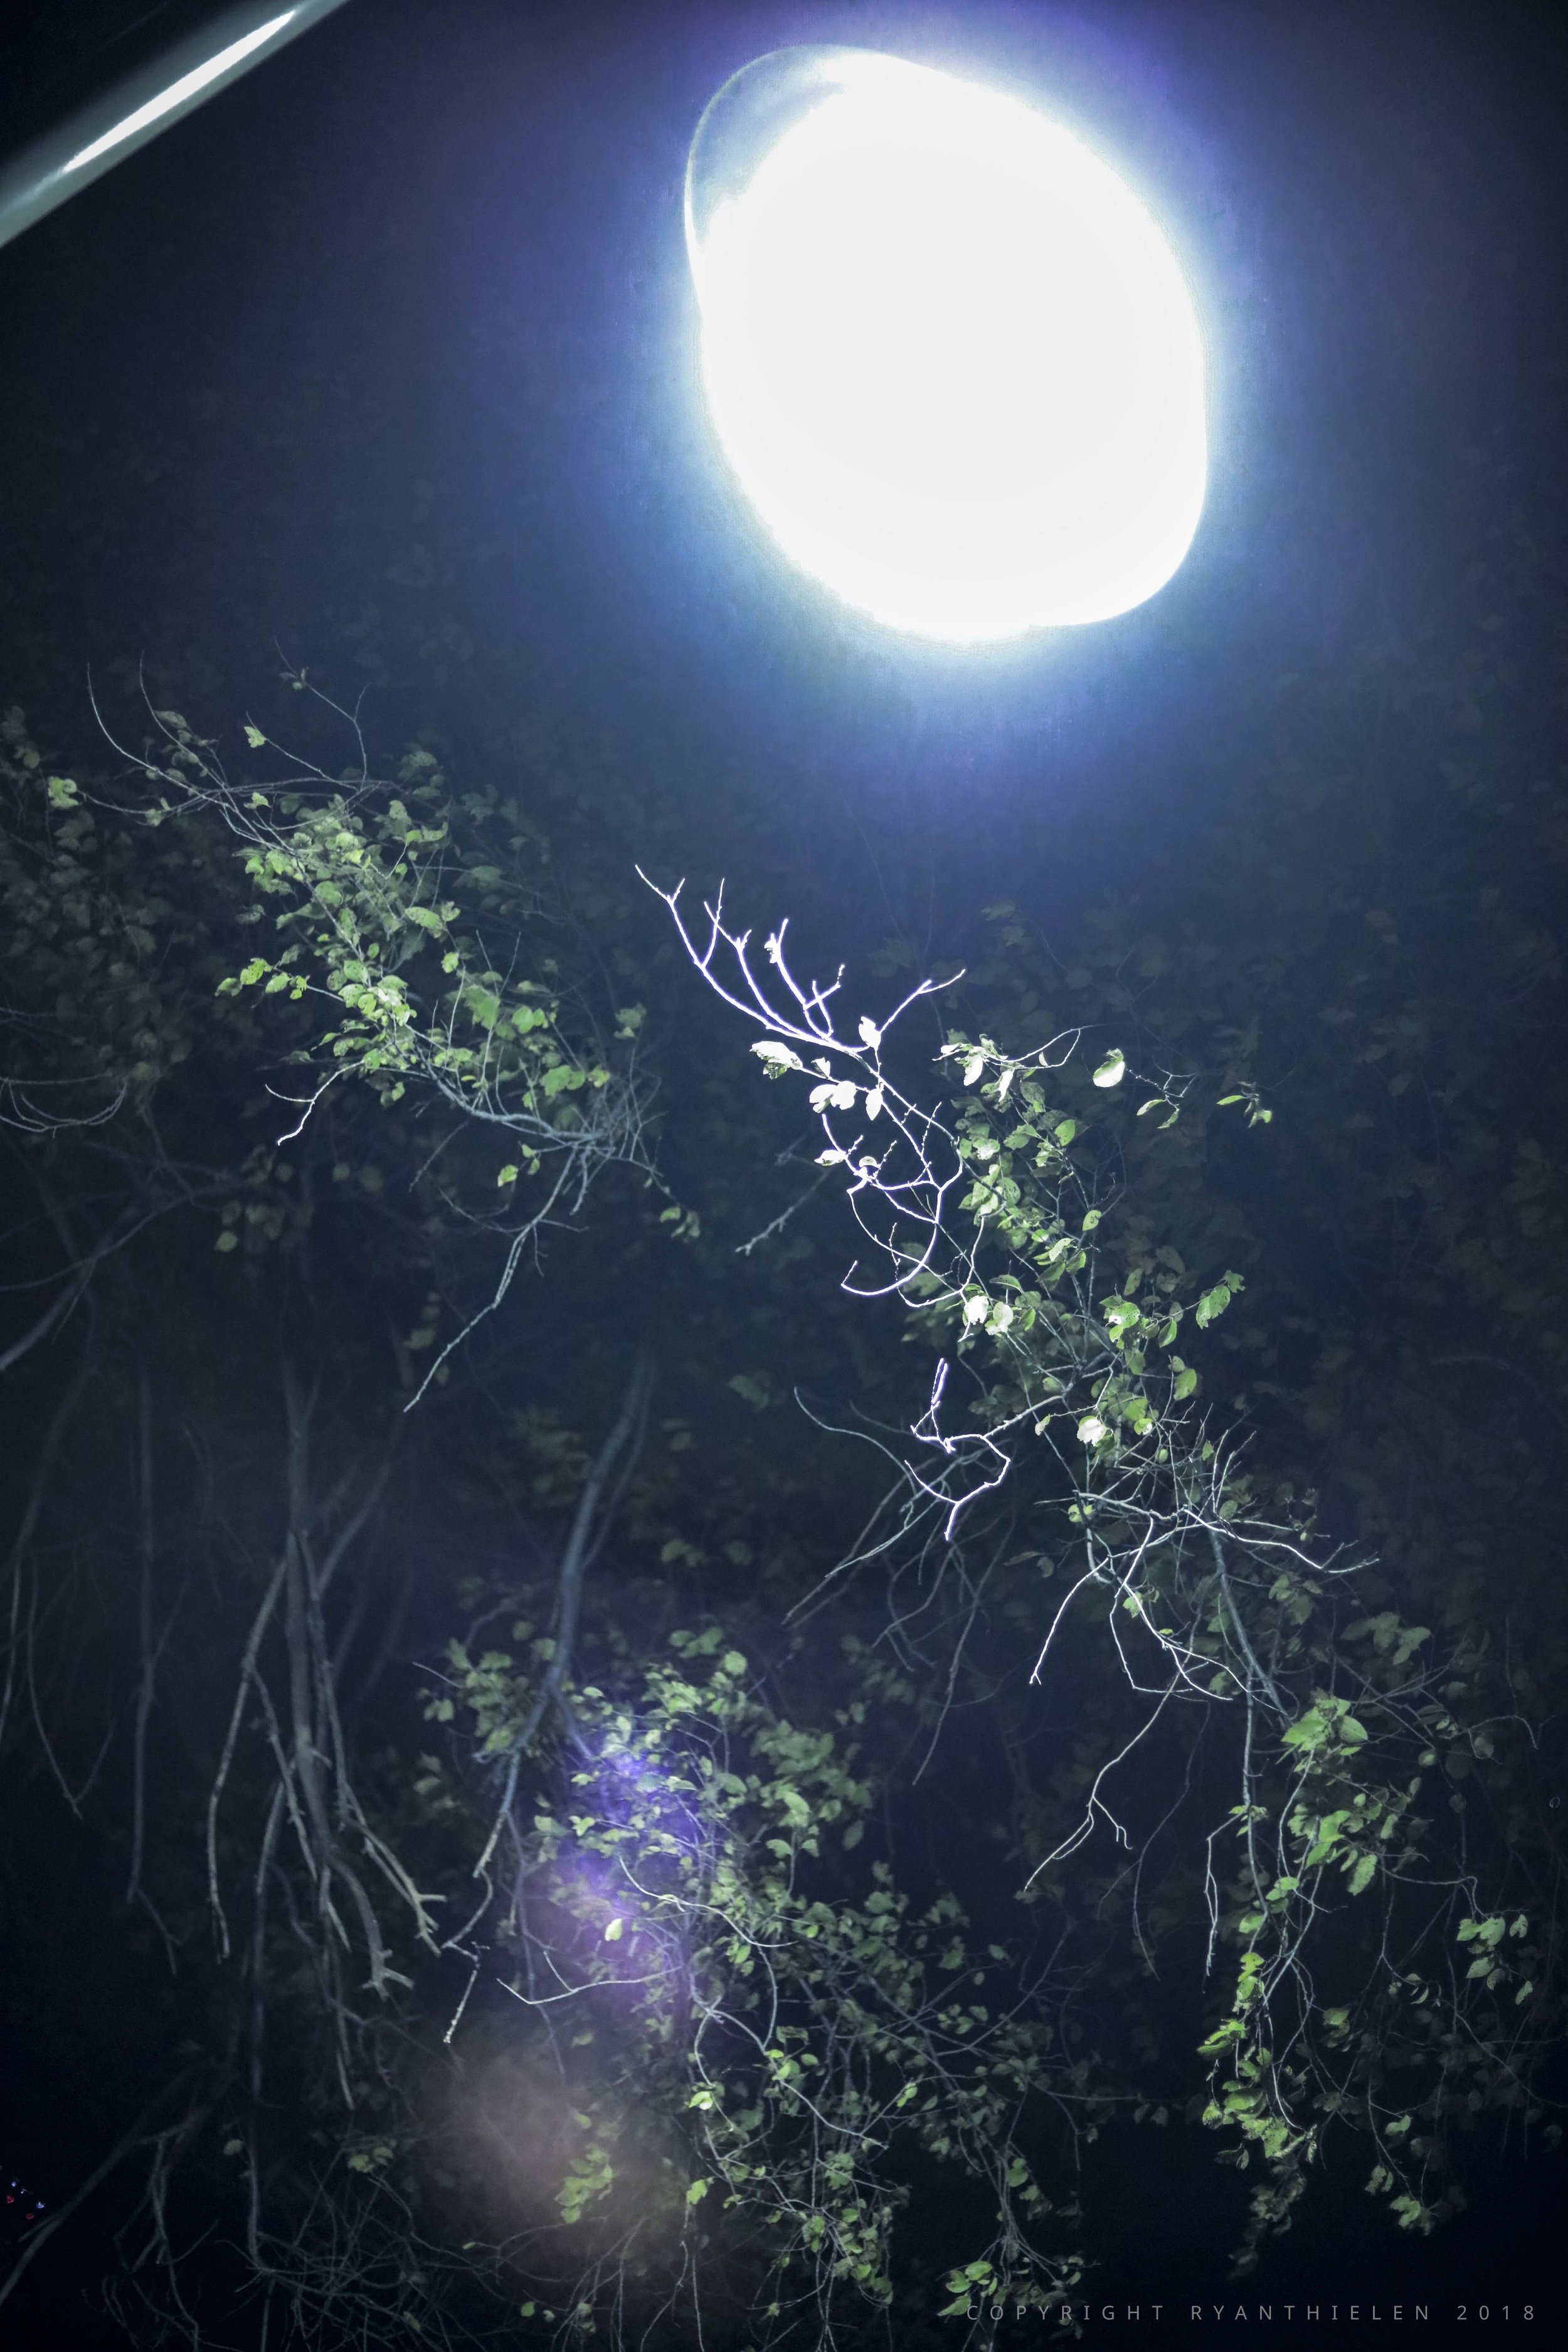
What worked well for me was trying to find a light source and compose it interestingly in the scene. Sometimes that was a light coming from a source and other times it was light reflecting off the ground. Sometimes I would try to take two opposite lights or textures and mirror them on either side of the frame. I thought this worked - although sometimes it felt like your eye was torn on which one to focus on.
I kept all my shots at the same aperture of 1.8 - obviously I needed all the light I could get - but I was also trying to isolate parts of the image. You’ll notice the middle of the frame where the grass and sidewalk meet is only in focus in the middle of the frame. There were times where Cooper (my dog) would be out of focus looking at something - which brought your eye towards that area.
Moving forward I think I’ll try to do a better job of utilizing light as an asset rather than fight it. Most of the shots where I was trying to hard to fight the light I didn’t care for too much.
The Art of Seeing
All images shot at 50mm (f1.8 1/100s, ISO 1600)
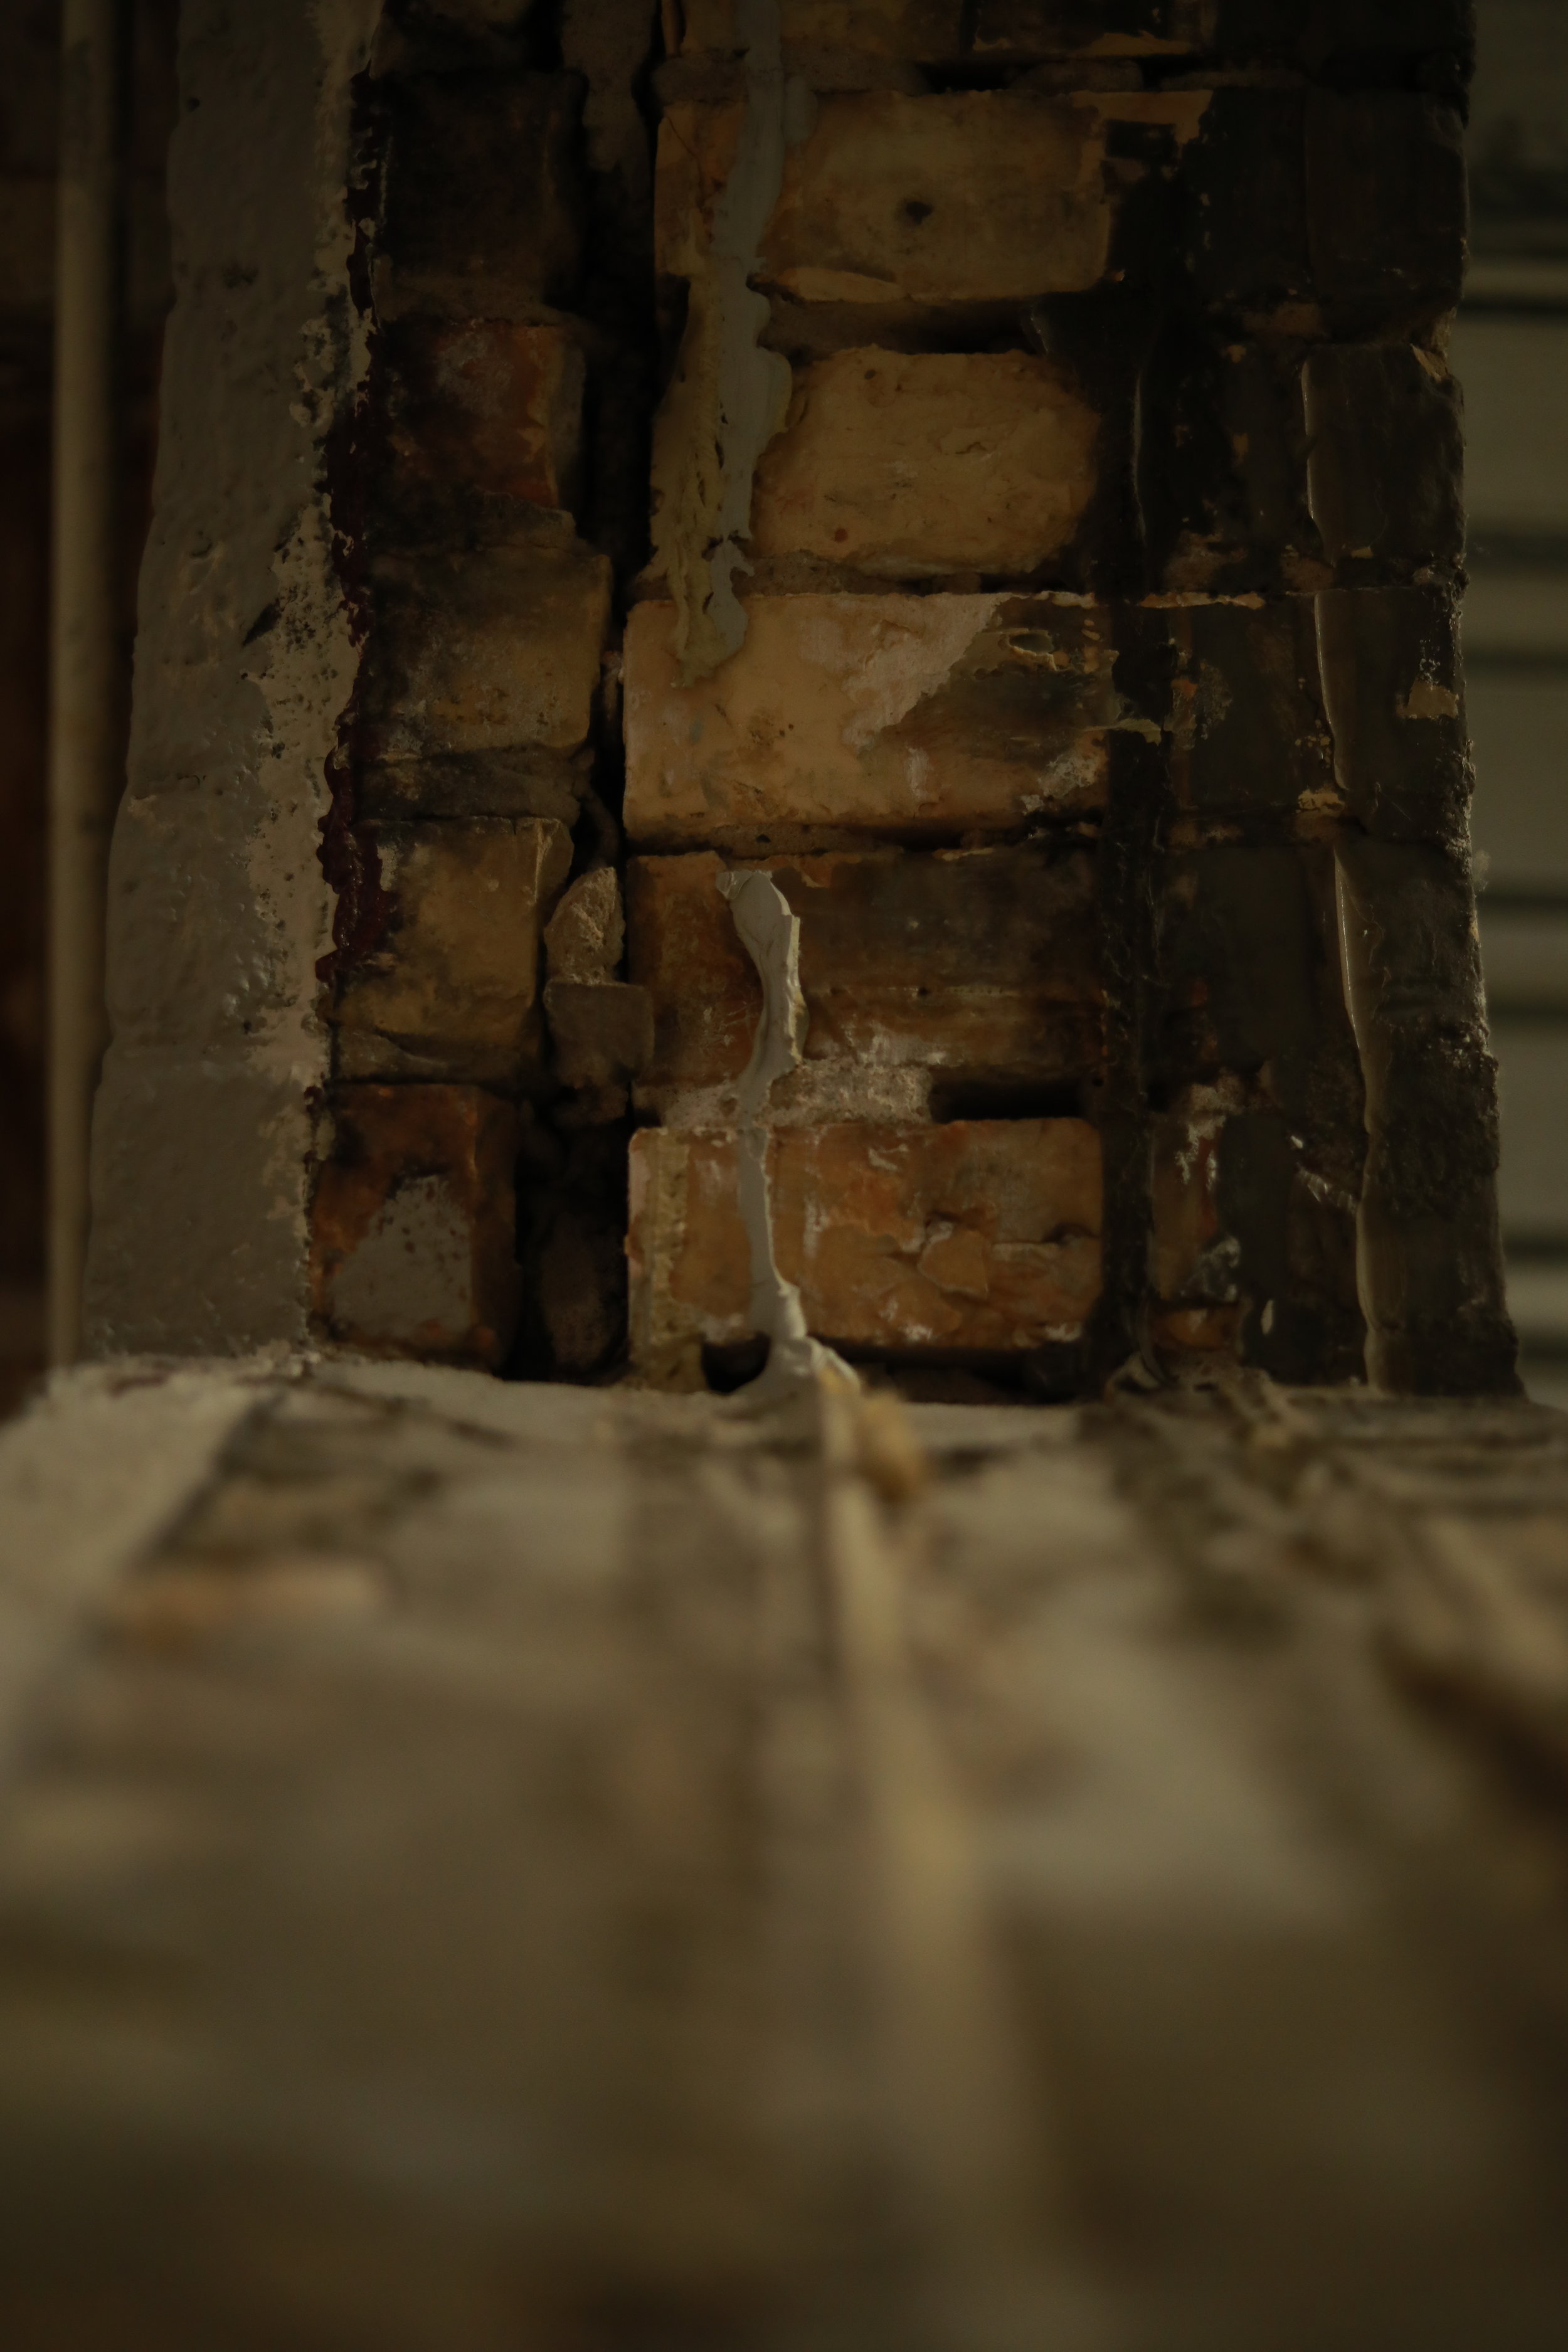
I decided to shoot in the Northwind Lofts building - home to the Minneapolis Photo Center. I picked a spot where I was between the original wooden part of the building and the new concrete stairwell. I thought each area would make for some good shots - as well as combining the two scenes that would hopefully clash interestingly.
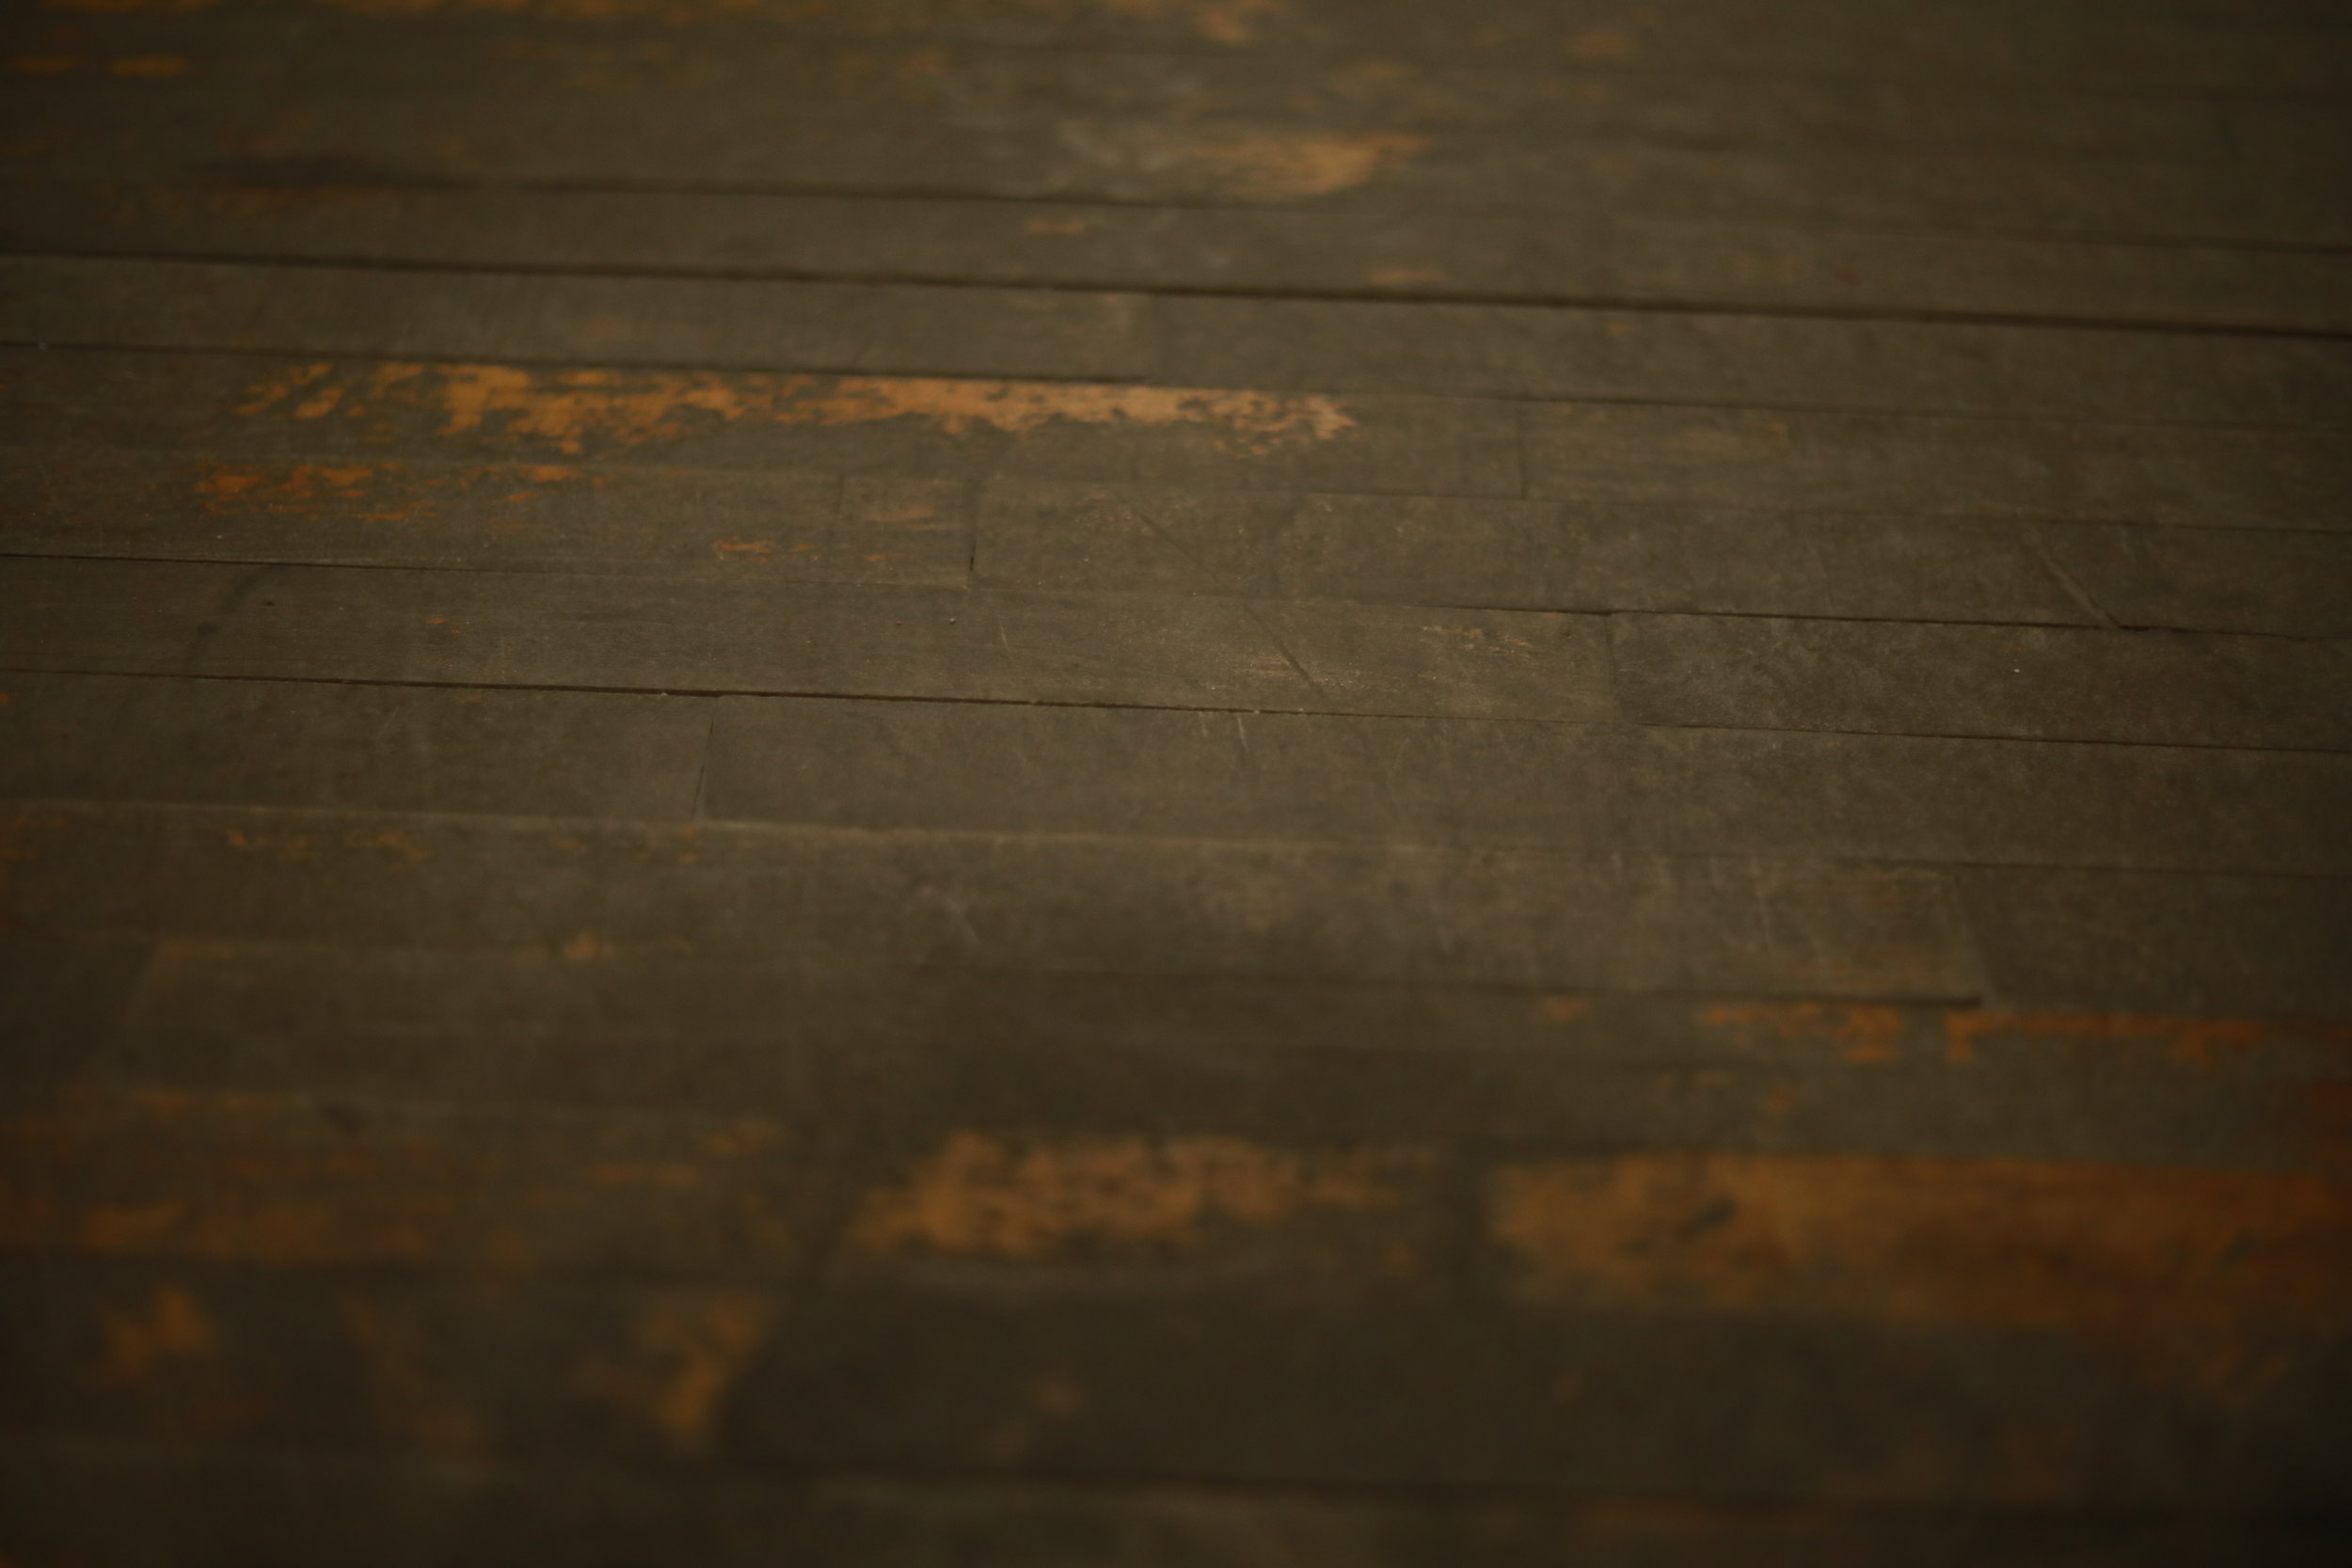
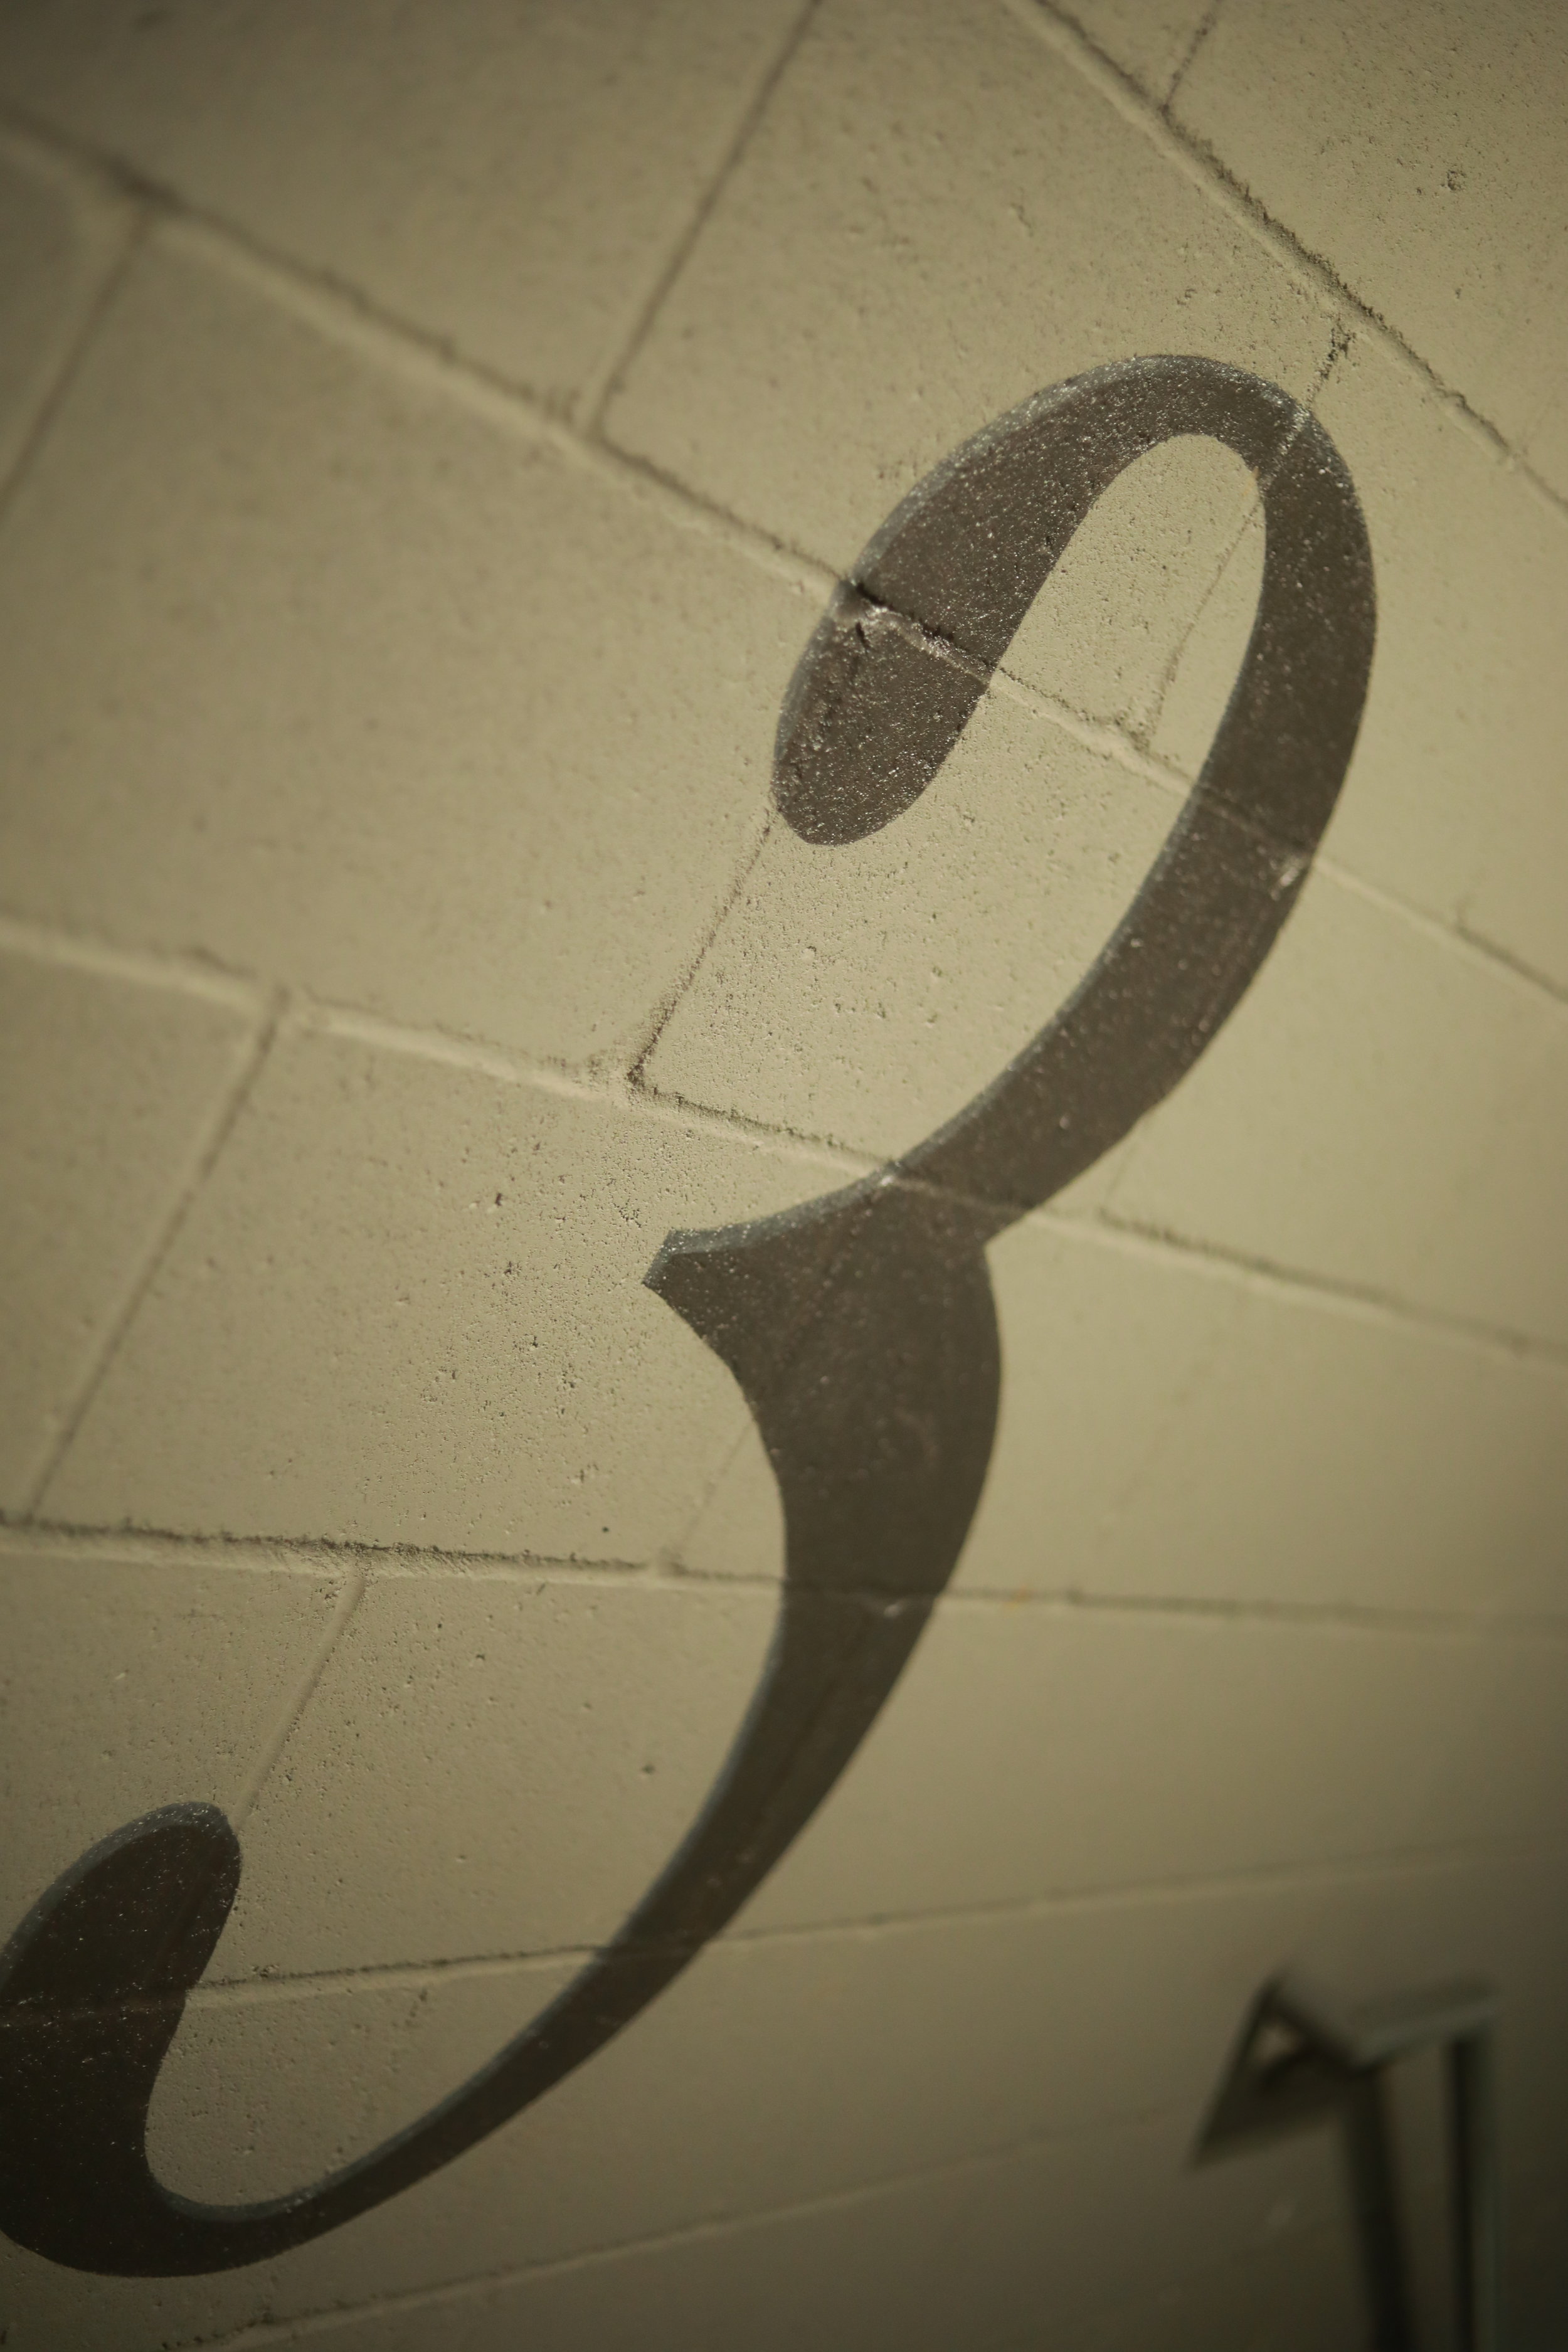
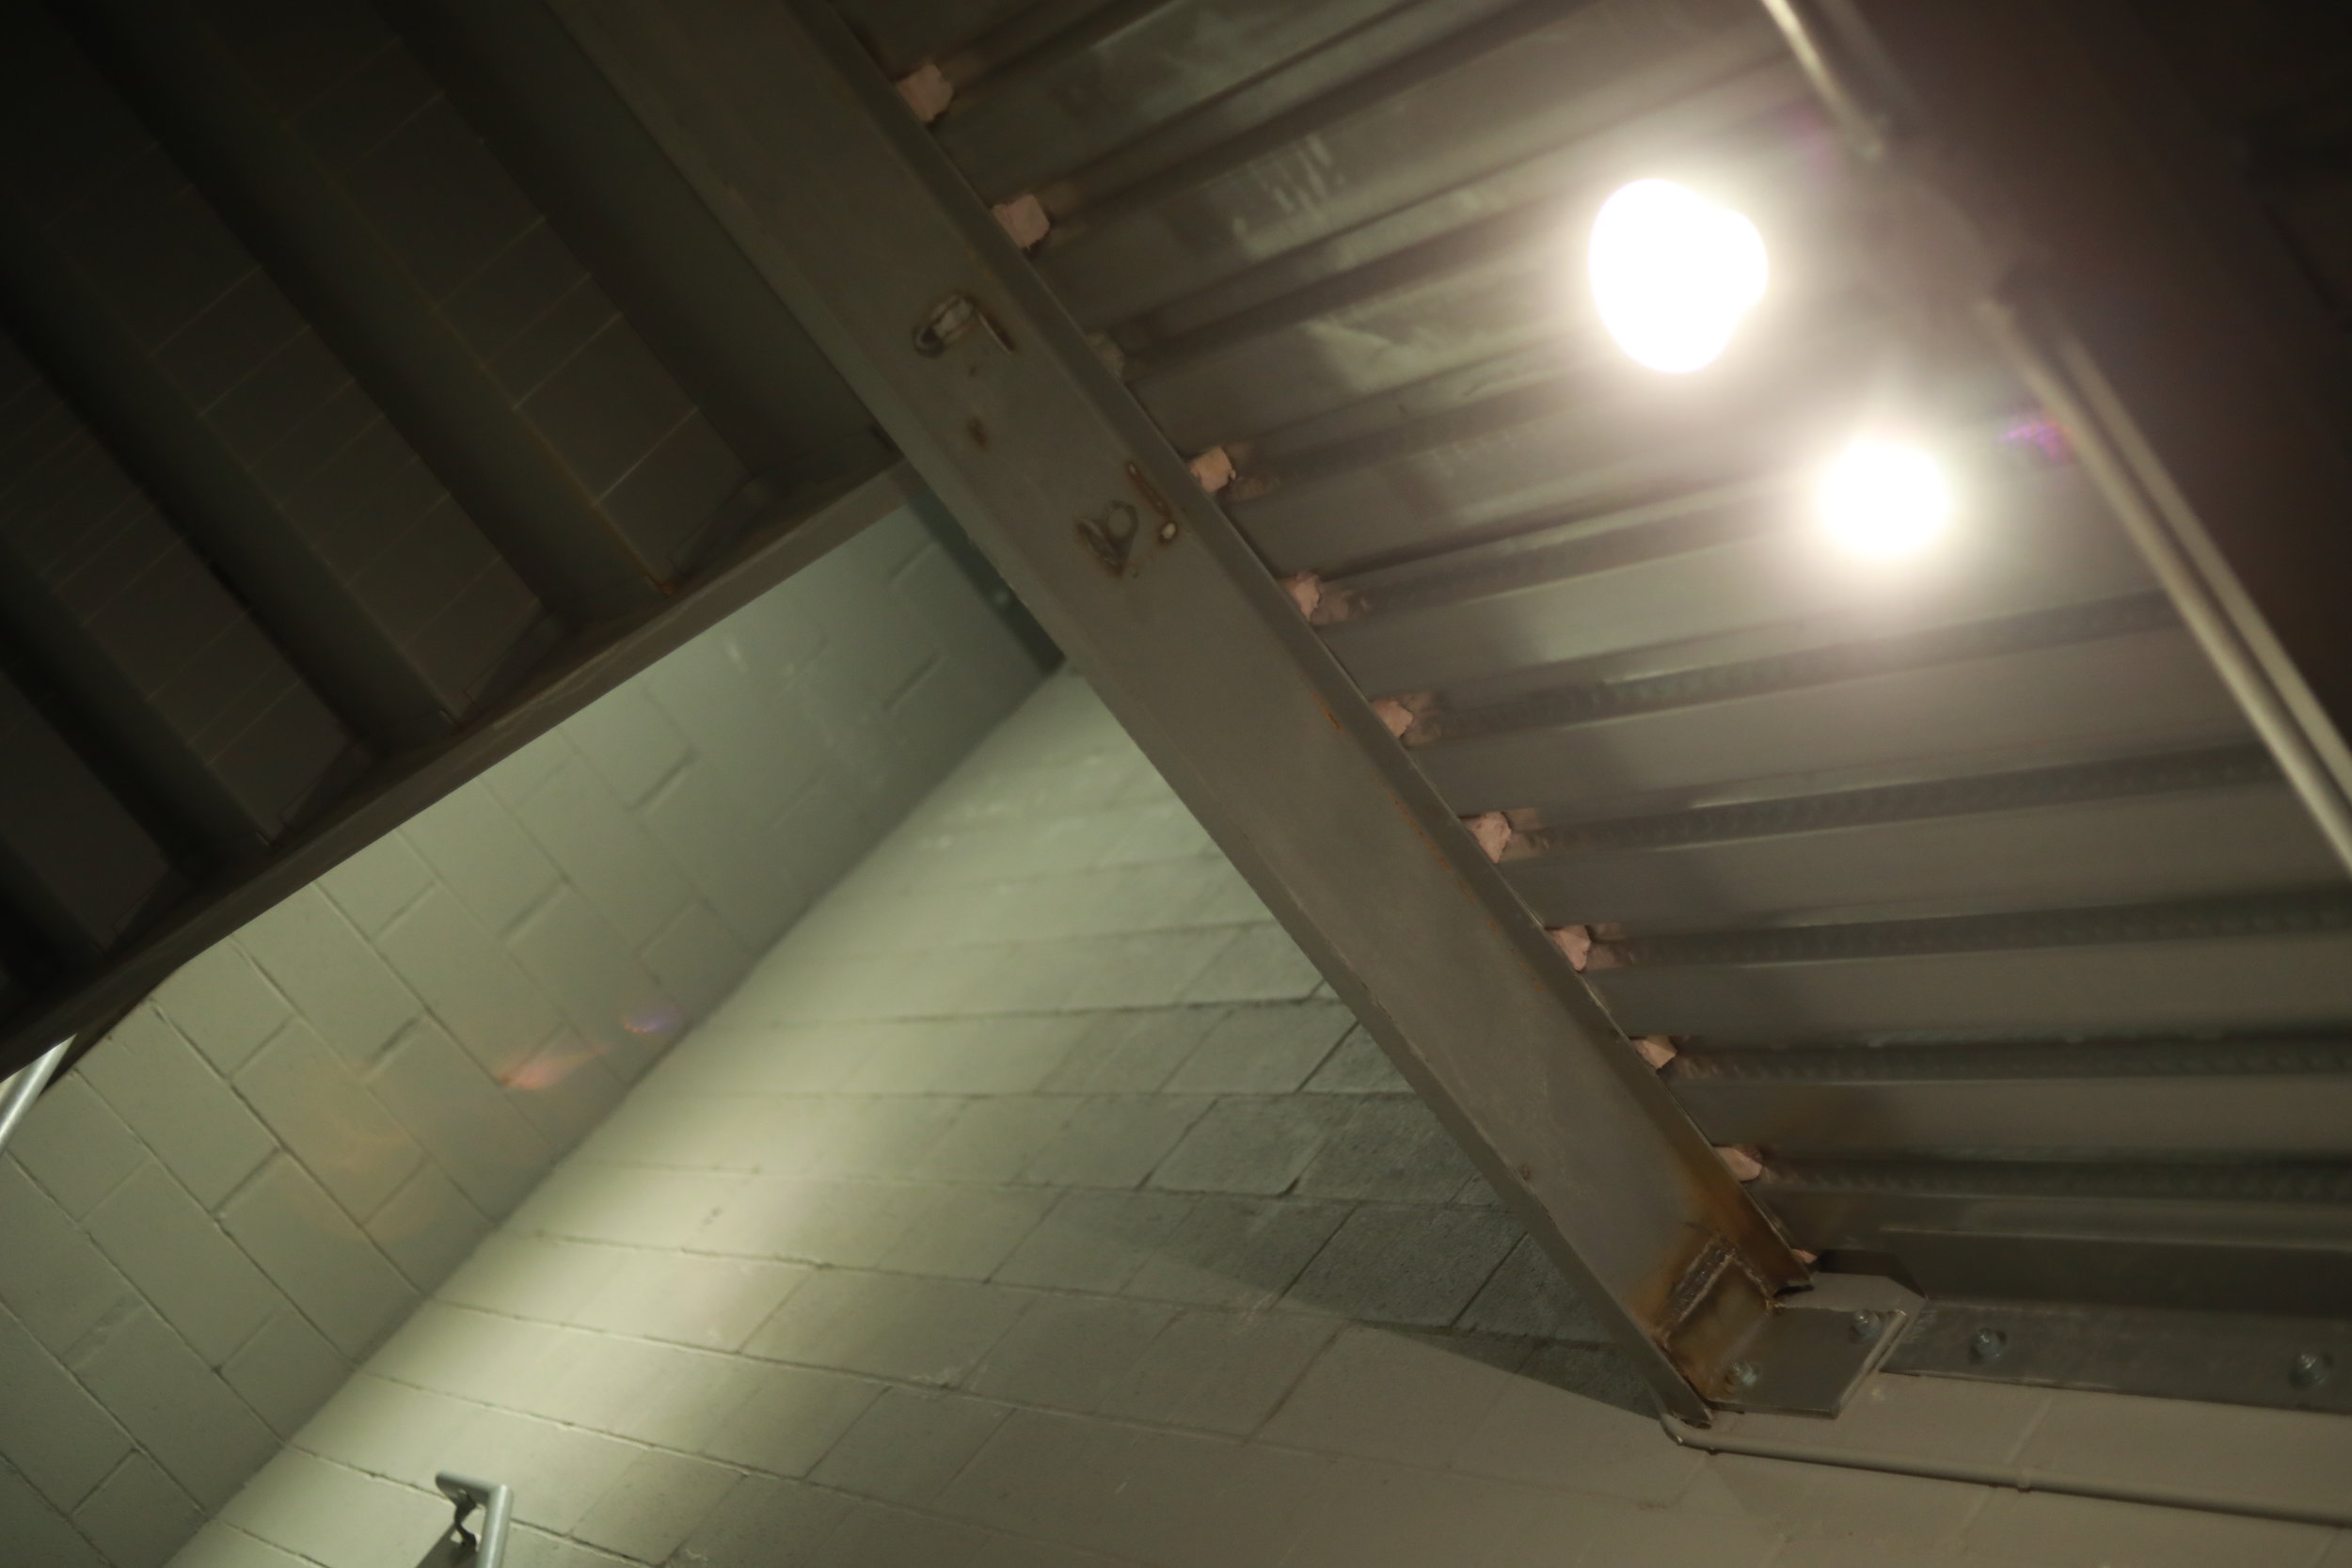
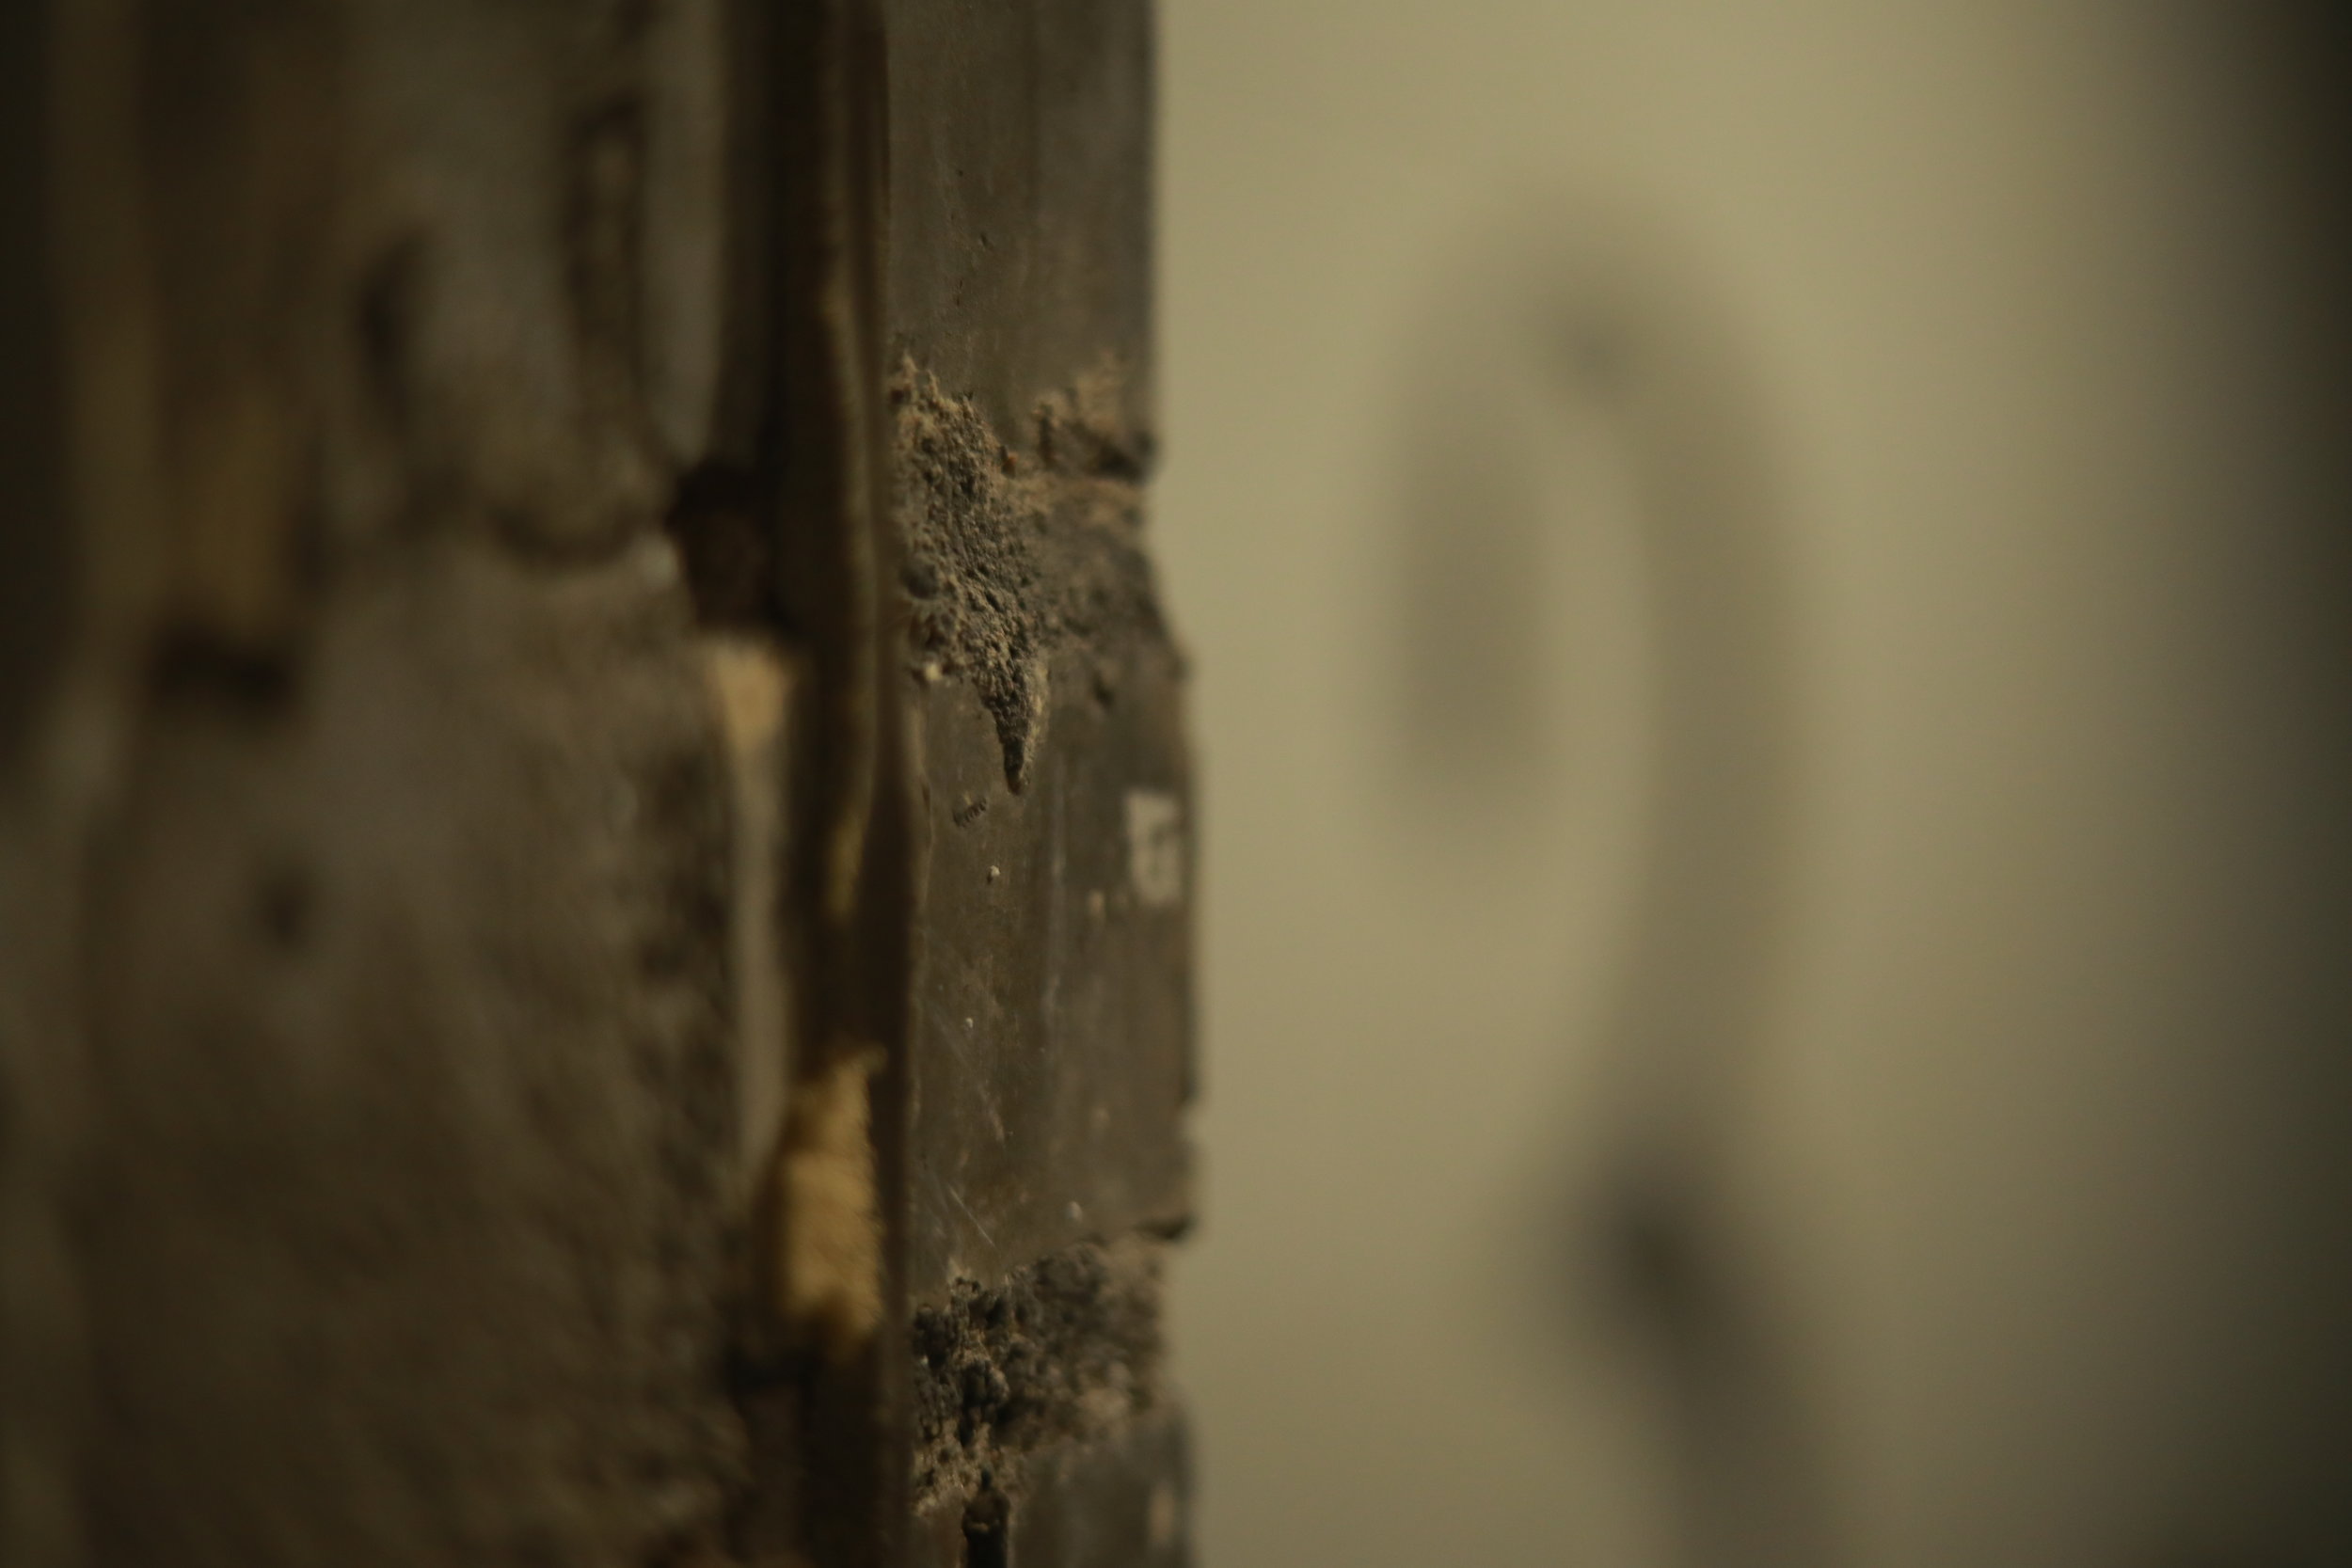
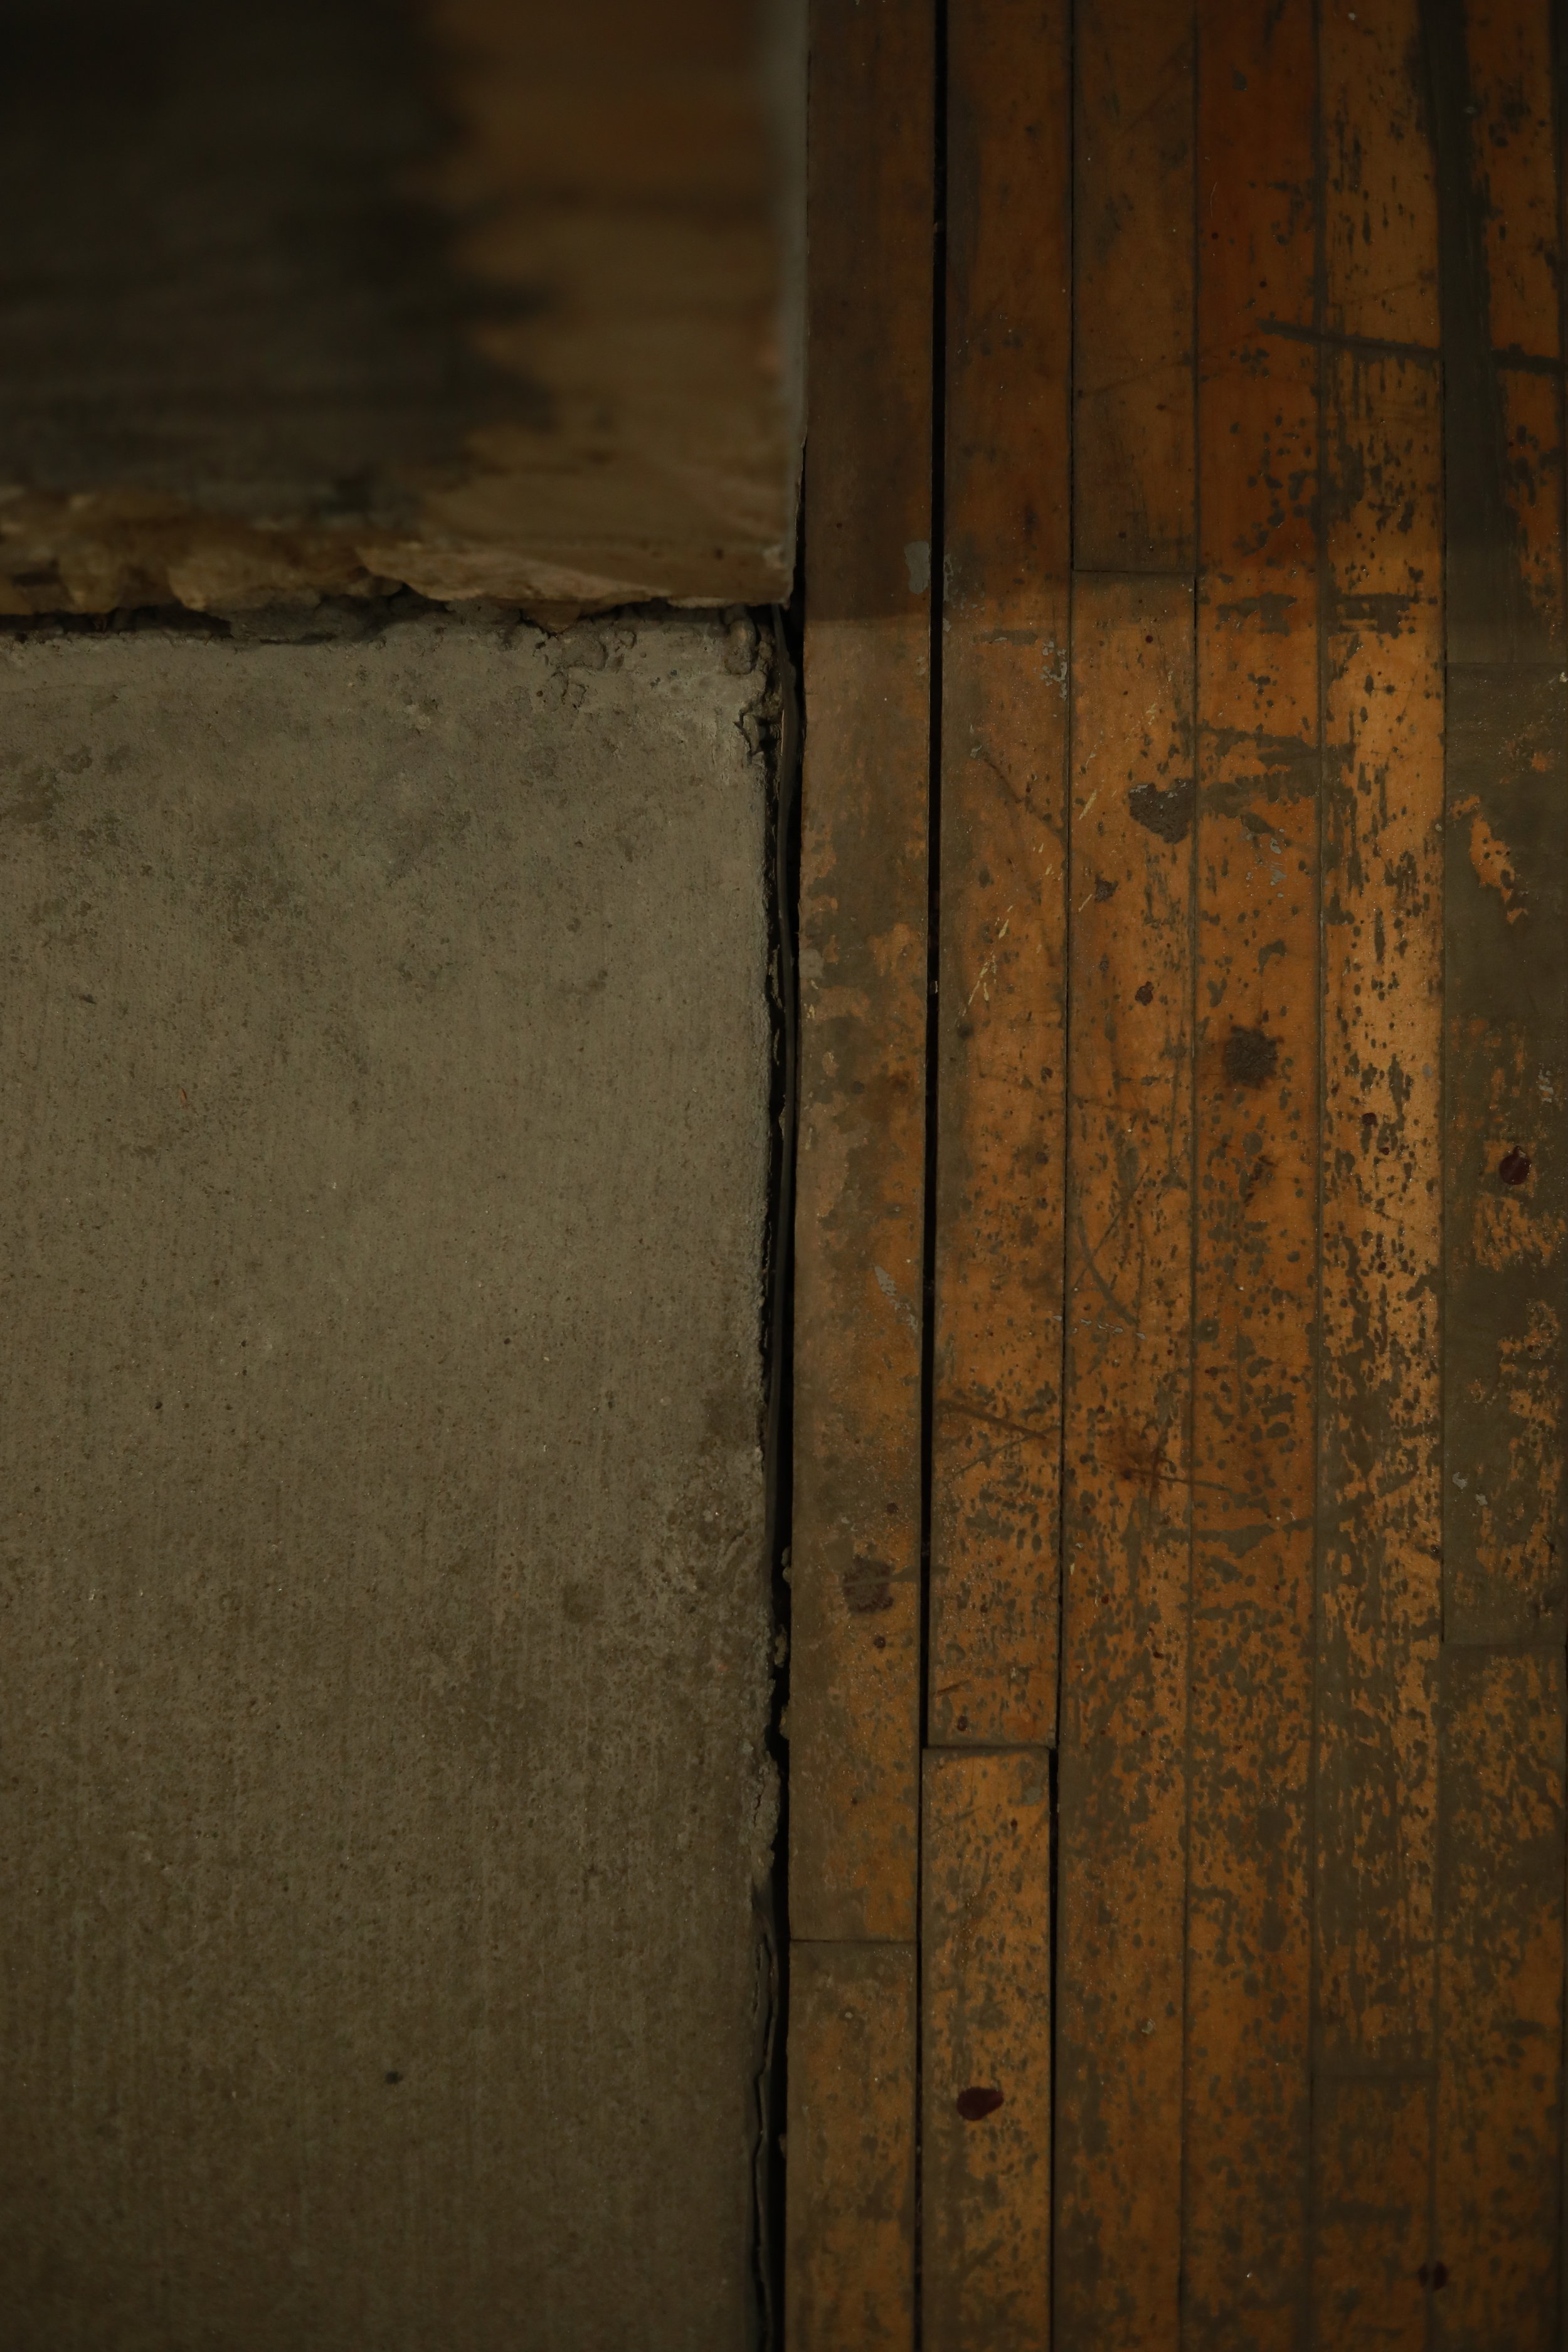
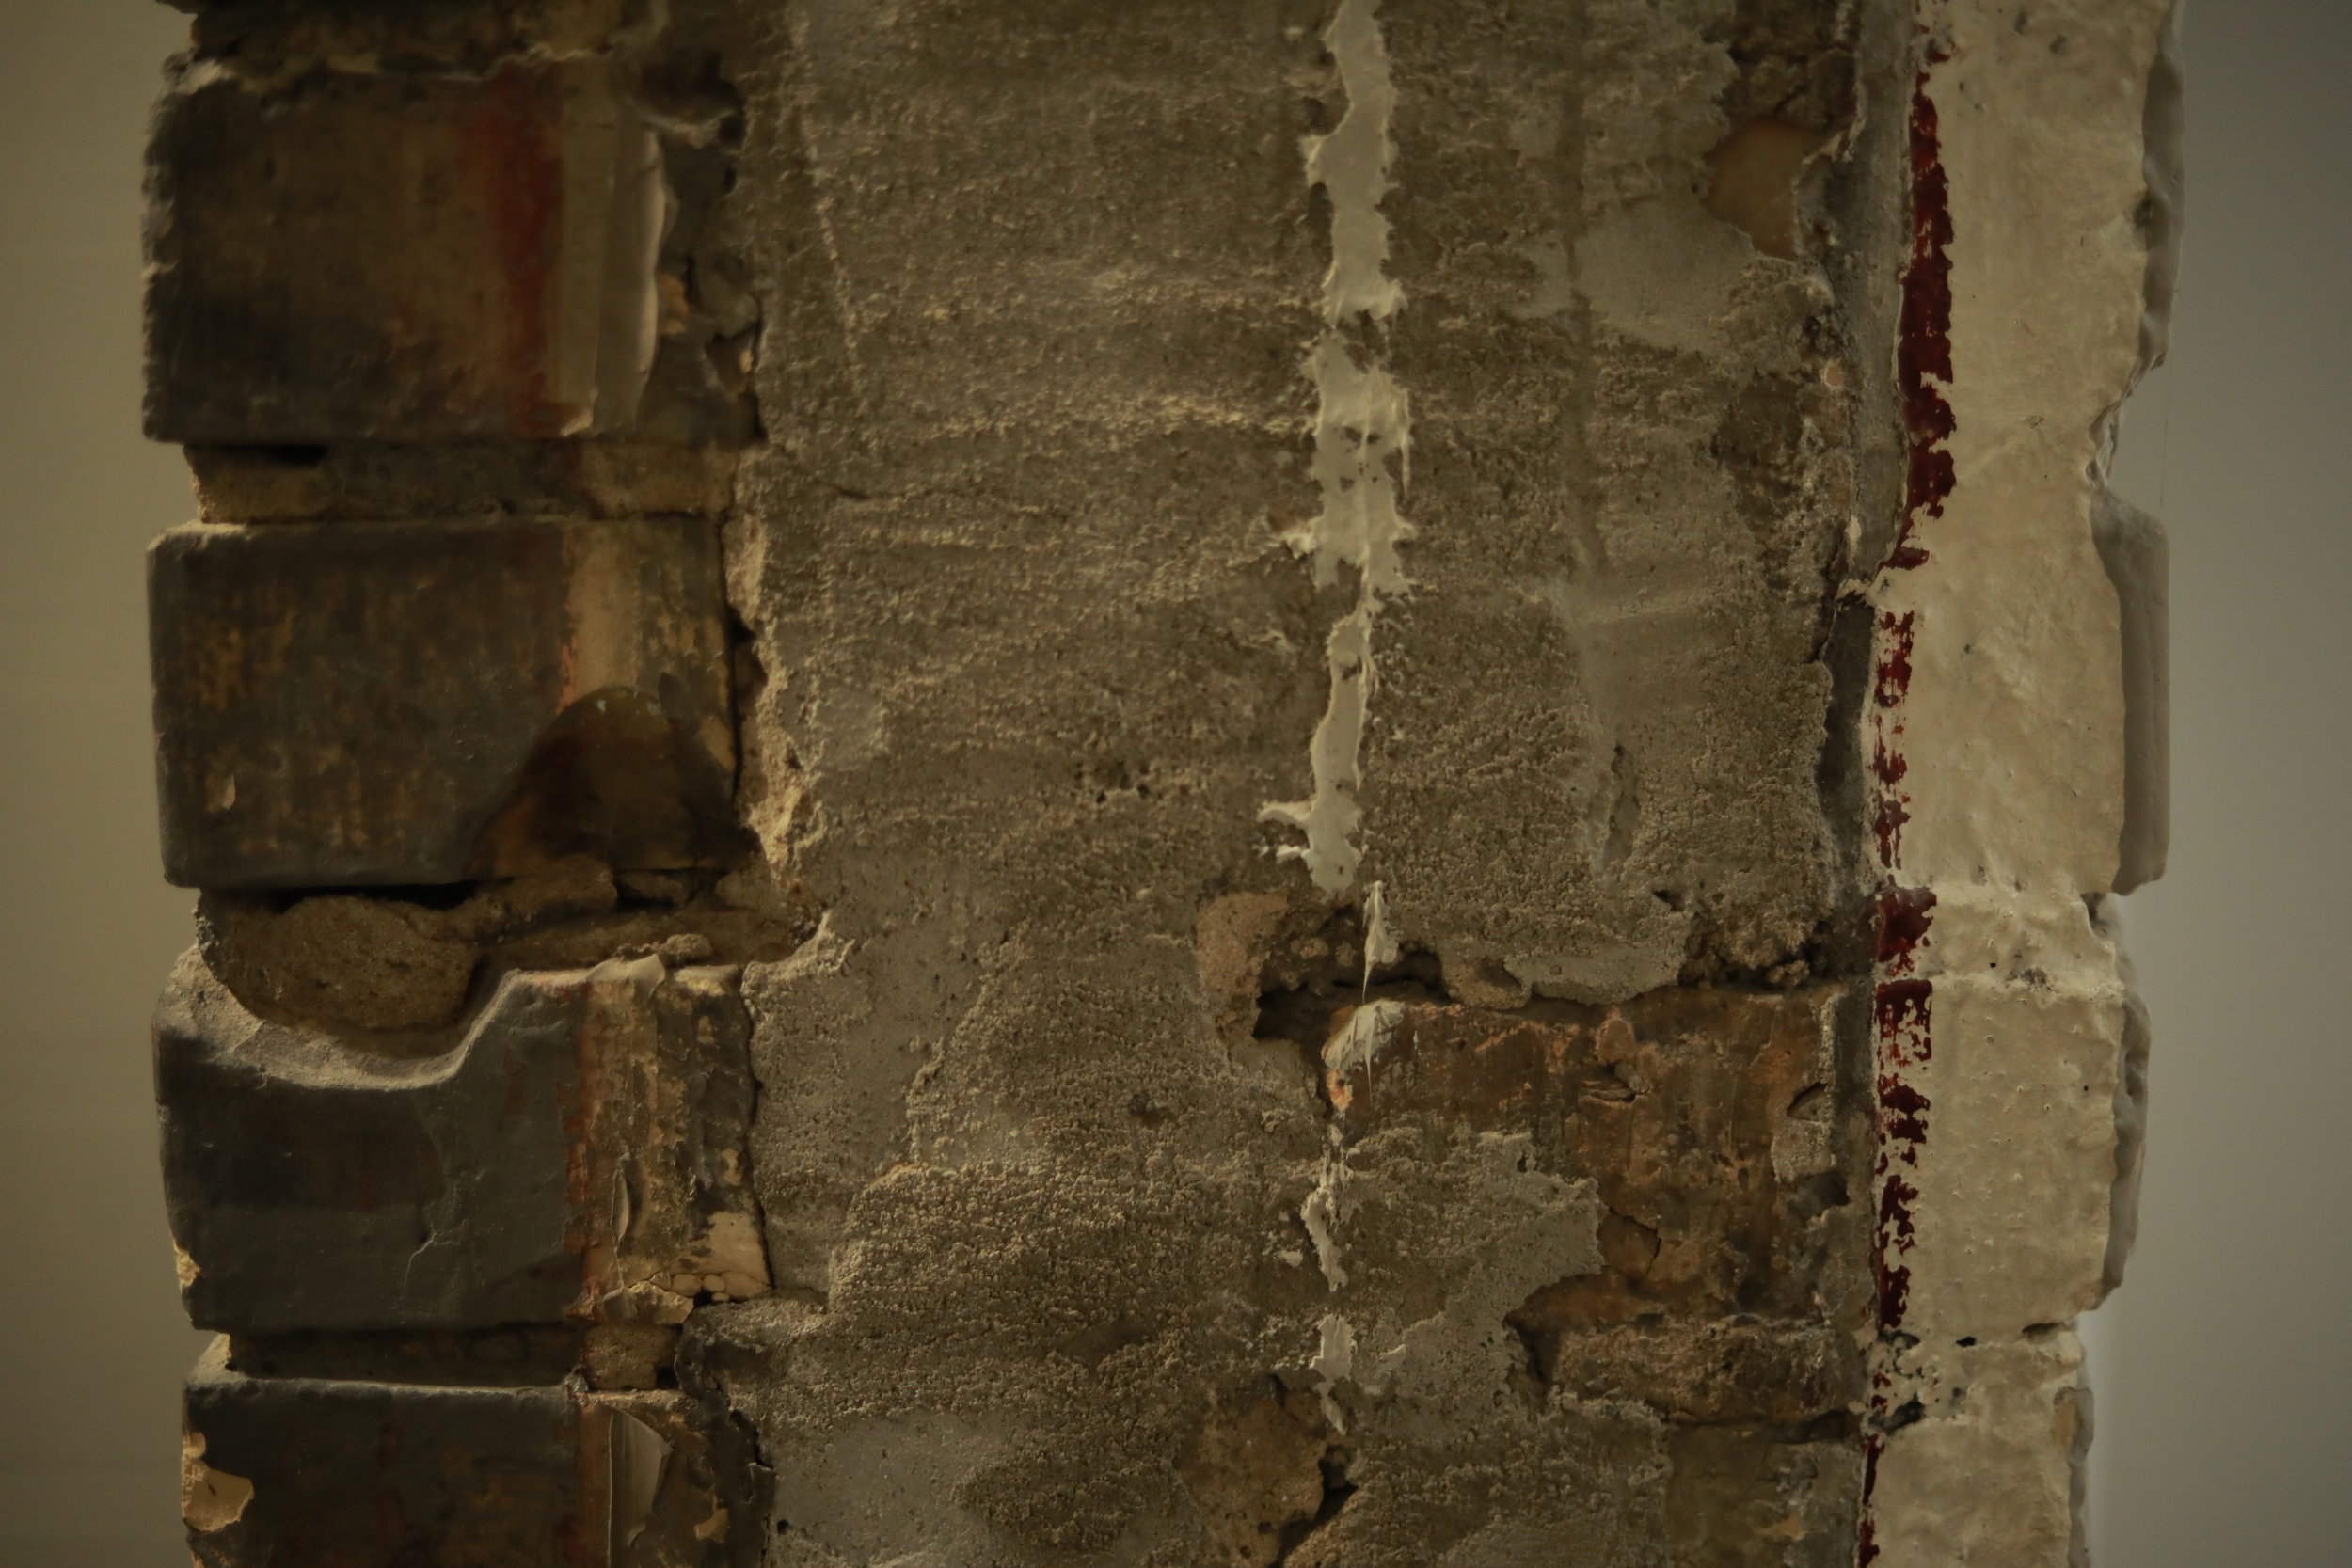
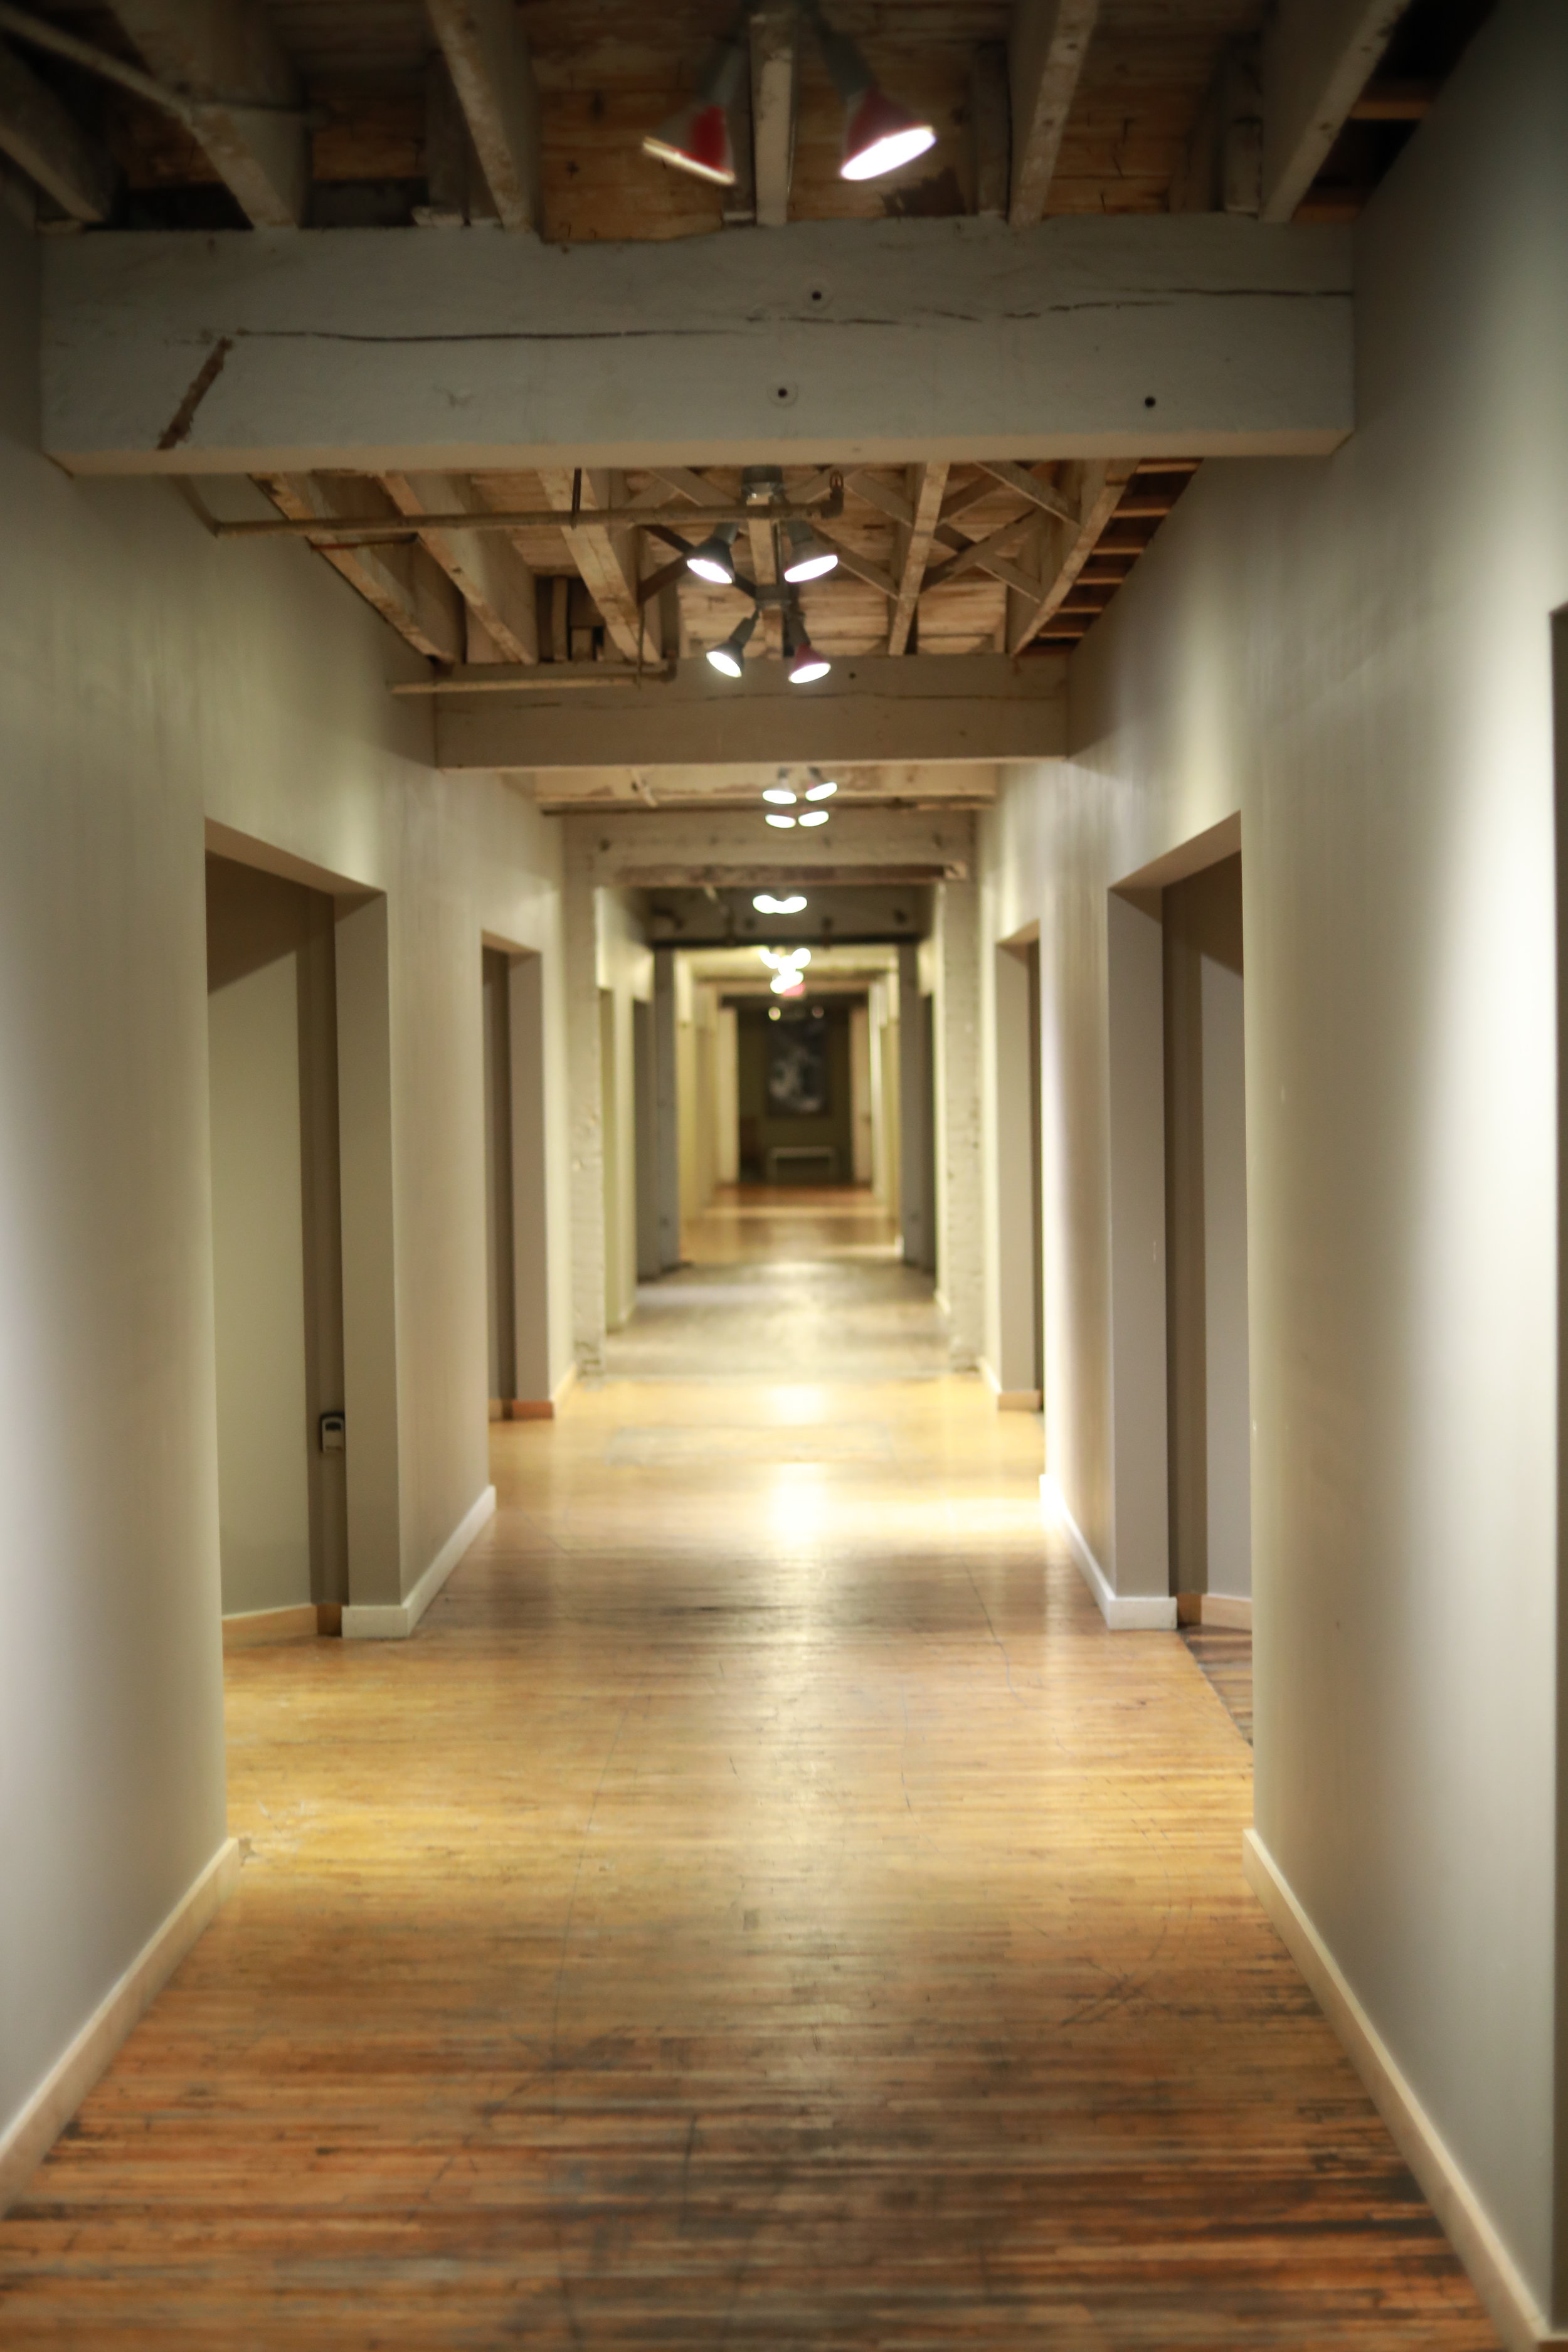

Reflection
This was rather difficult after the first four shots. I had to really think about what I was going to shoot next that would be different. There were a lot of parallel lines within the space - such as floorboards, railings, bricks - all flowing the same direction. Some shots I decided to to with the grain, others against, and in my last few I went dutch. Playing with and against symmetry, as well as diagonally gave me the variety I was looking for within my scene.
Foreshortening
From left to right - 24mm (f5.6 1/60s ISO 6400) , 50mm (f5.6 1/60s ISO 6400), 70mm (f5.6 1/60s ISO 6400), 135mm (f5.6 1/60s ISO 6400)

Reflection
The wider the lens the more exaggerated the depth in the image is and the less out of focus the background. The more telephoto the lens the more compressed the image becomes - the background becomes more blurred as well.
The emotional value of the image changes depending on the focal length. The wider the lens the more bizarre and “nightmarish” the image becomes. When the image is in the mid “normal” focal length range the image becomes more naturalistic - something we’d expect to see with our own eyes. The more telephoto the lens the more surreal and “dreamy” the image becomes - however, I’ve found if you go too telephoto (200mm and beyond) the image becomes unnaturally flat and extreme looking. A great example would be the sunset shot on the film THX-1138 in which they used a telephoto lens that was over 1,000mm I believe.
Part I - Foot Zoom
All Shots - 50mm (f5.6 1/60s ISO 6400)

Part II - Zoom Lens
From left to right - 50mm (f5.6 1/60s ISO 6400) , 70mm (f5.6 1/60s ISO 6400), 135mm (f5.6 1/60s ISO 6400)
Reflection
It’s interesting to compare Part I and Part II. When using different focal lengths in Part II you can see a clear compression in the image when the focal length extends to 135mm. Take notice of the white dots behind the talent’s head. The Part II photograph dots (135mm) are much larger than the fixed (50mm) focal length in Part I even though the framing is identical.
Set 1
Shutter Speed Results
From top left to bottom right - f5 (1/30s ISO 3200) , f3.5 (1/60s ISO 3200), f2.5 (125s ISO 3200), f1.8 (1/250s ISO 6400) , f1.8 (1/500s ISO 12800), f1.8 (1000s ISO 25600)


Reflection
The first image where I begin to see stop action is on the 4th picture (bottom left). You can start to see some definition and separation in the way the water is falling from the fountain. The next two photos really begin to demonstrate true frozen action - especially the 6th picture (bottom right). The picture taken at 1/1000s looks rather abstract compared to what our eyes are used to with normal real-time motion blur.
Set 2
Panning
From left to right - f1.8 (1/30s ISO 1600), f1.8 (1/30s ISO 1600)

Reflection
This was challenging exorcise because it took a lot of patience, patience, and luck. I found what worked best for me was to use the focus points in my viewfinder to track onto a single point of my target. For example - I would take my focus point and try to keep it locked on Coopers nose or a car’s headlight. That’s when I started to get good results.
I think this is a great way to capture action and introduce motion blur into your images. Sure, it’s not perfectly sharp or framed exactly the way you want it, but there’s an art in the process of discovery with this method of photography that is beautiful and interesting.
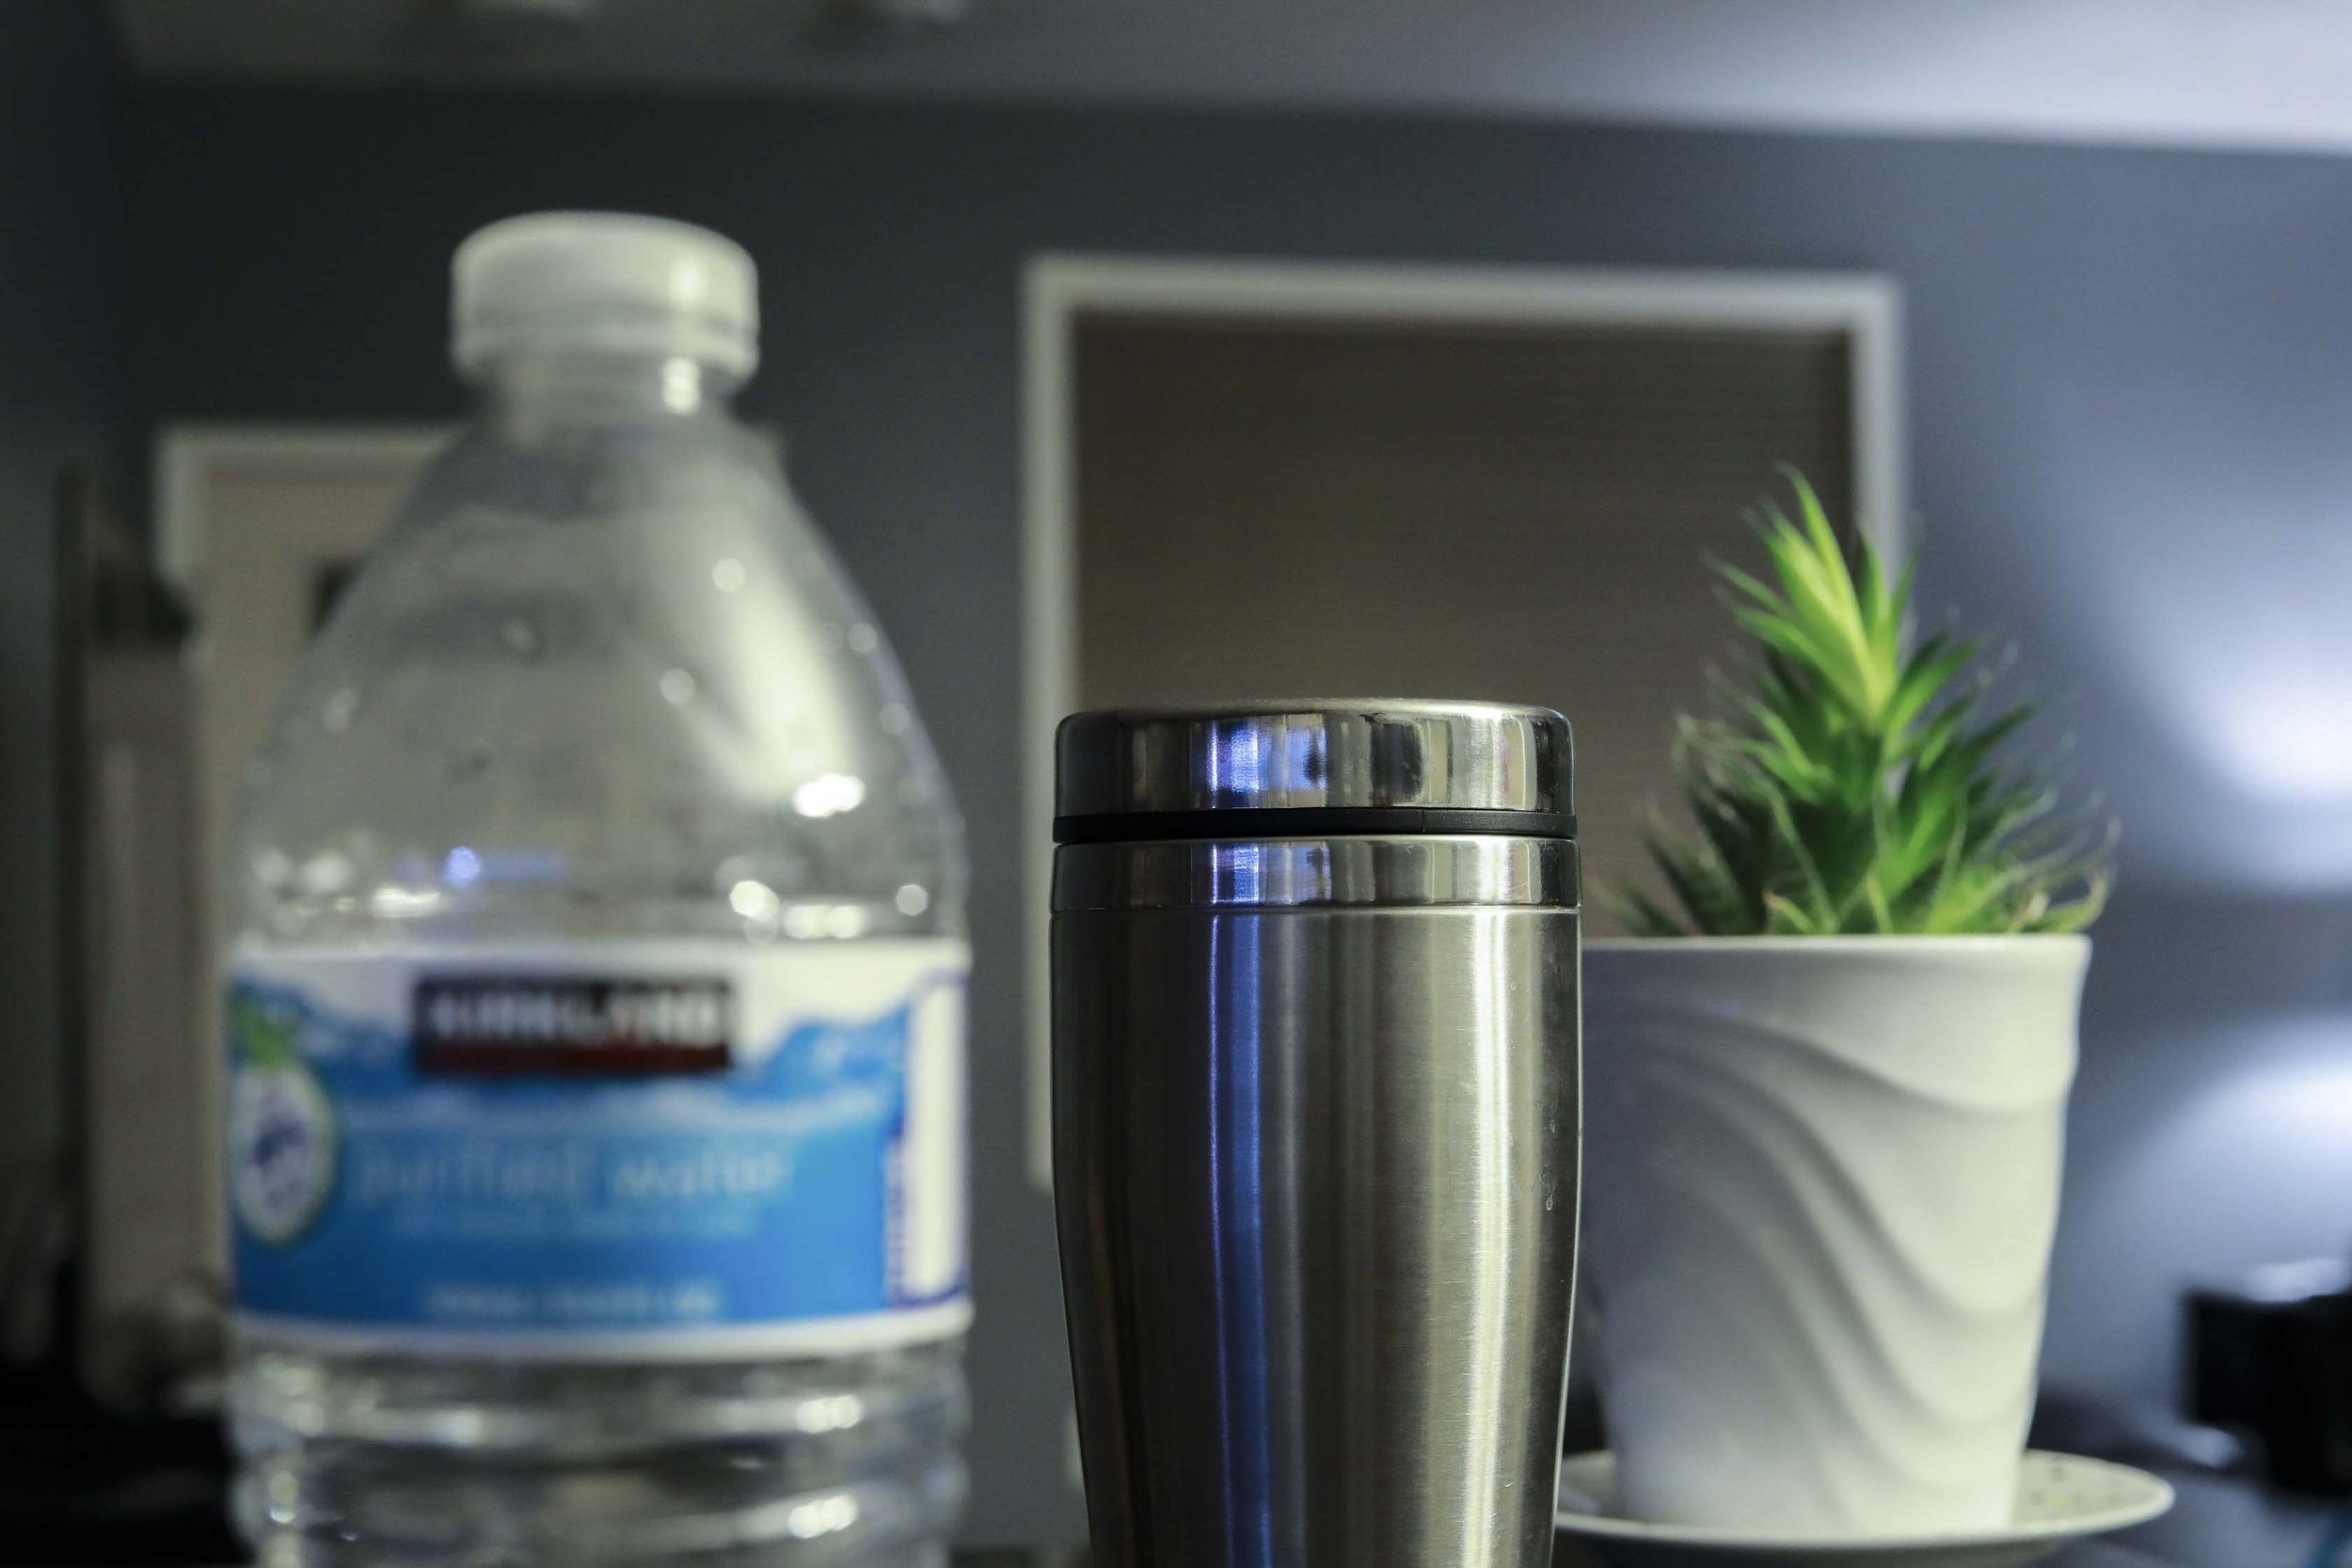
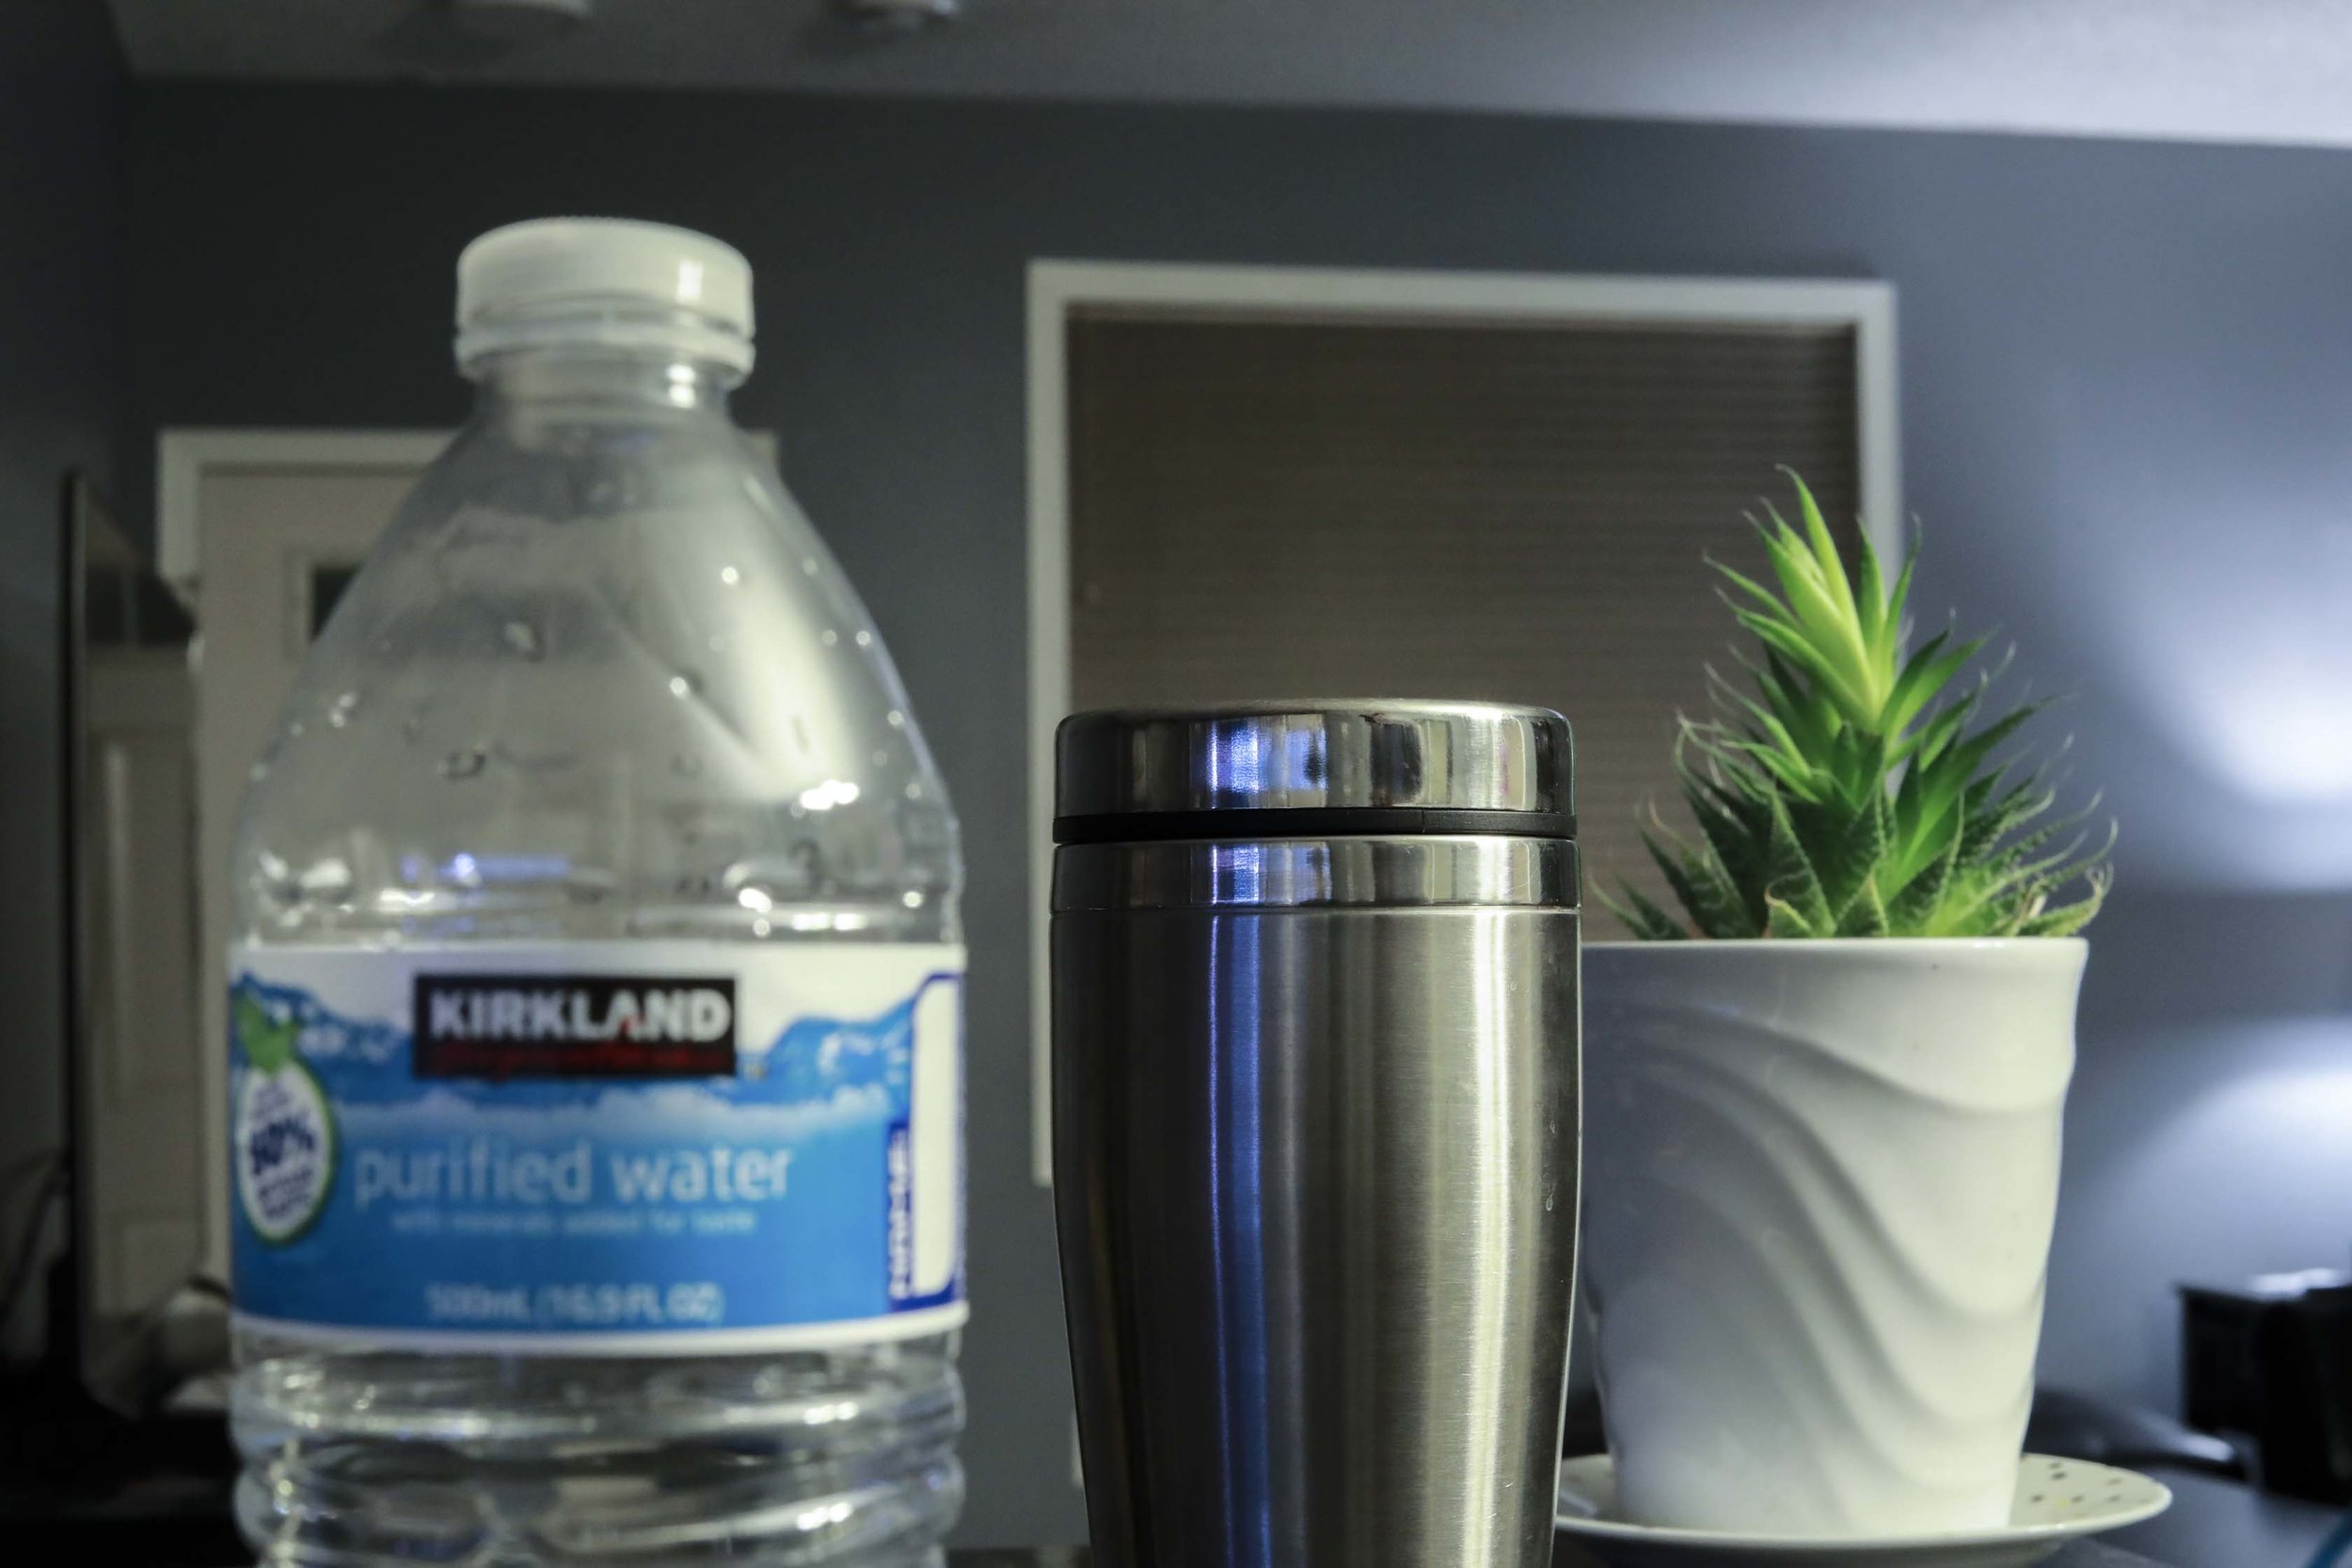
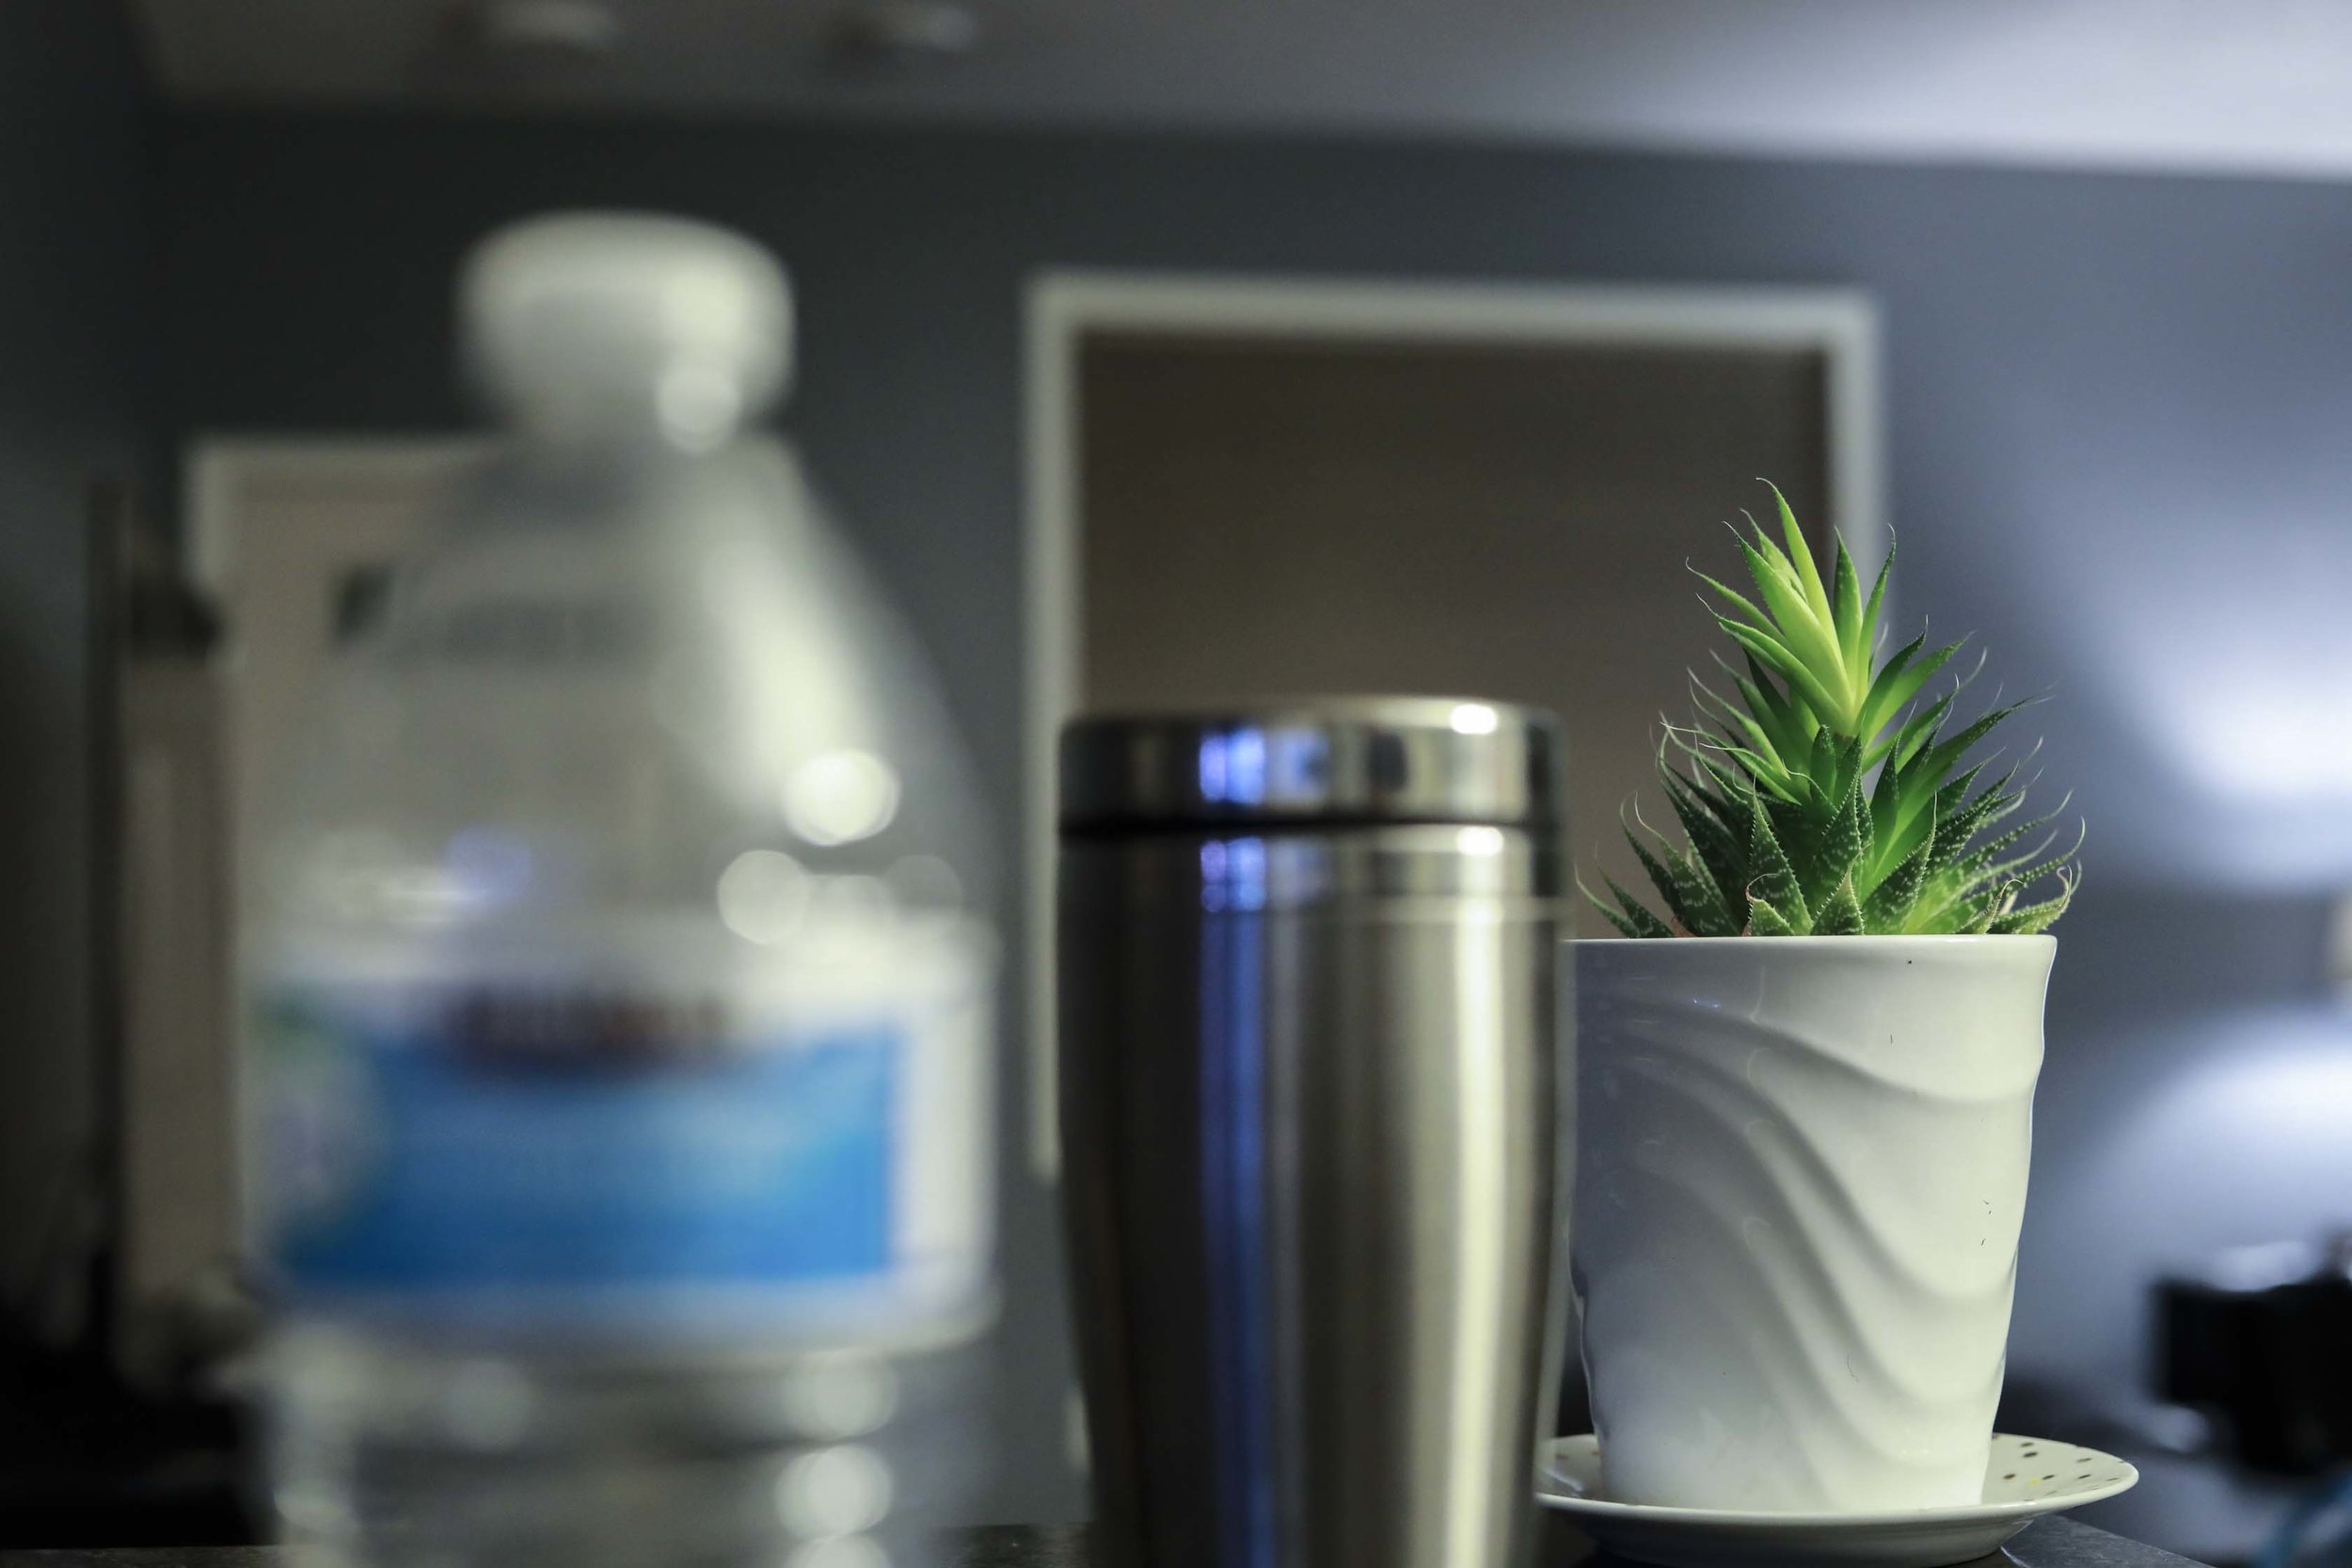
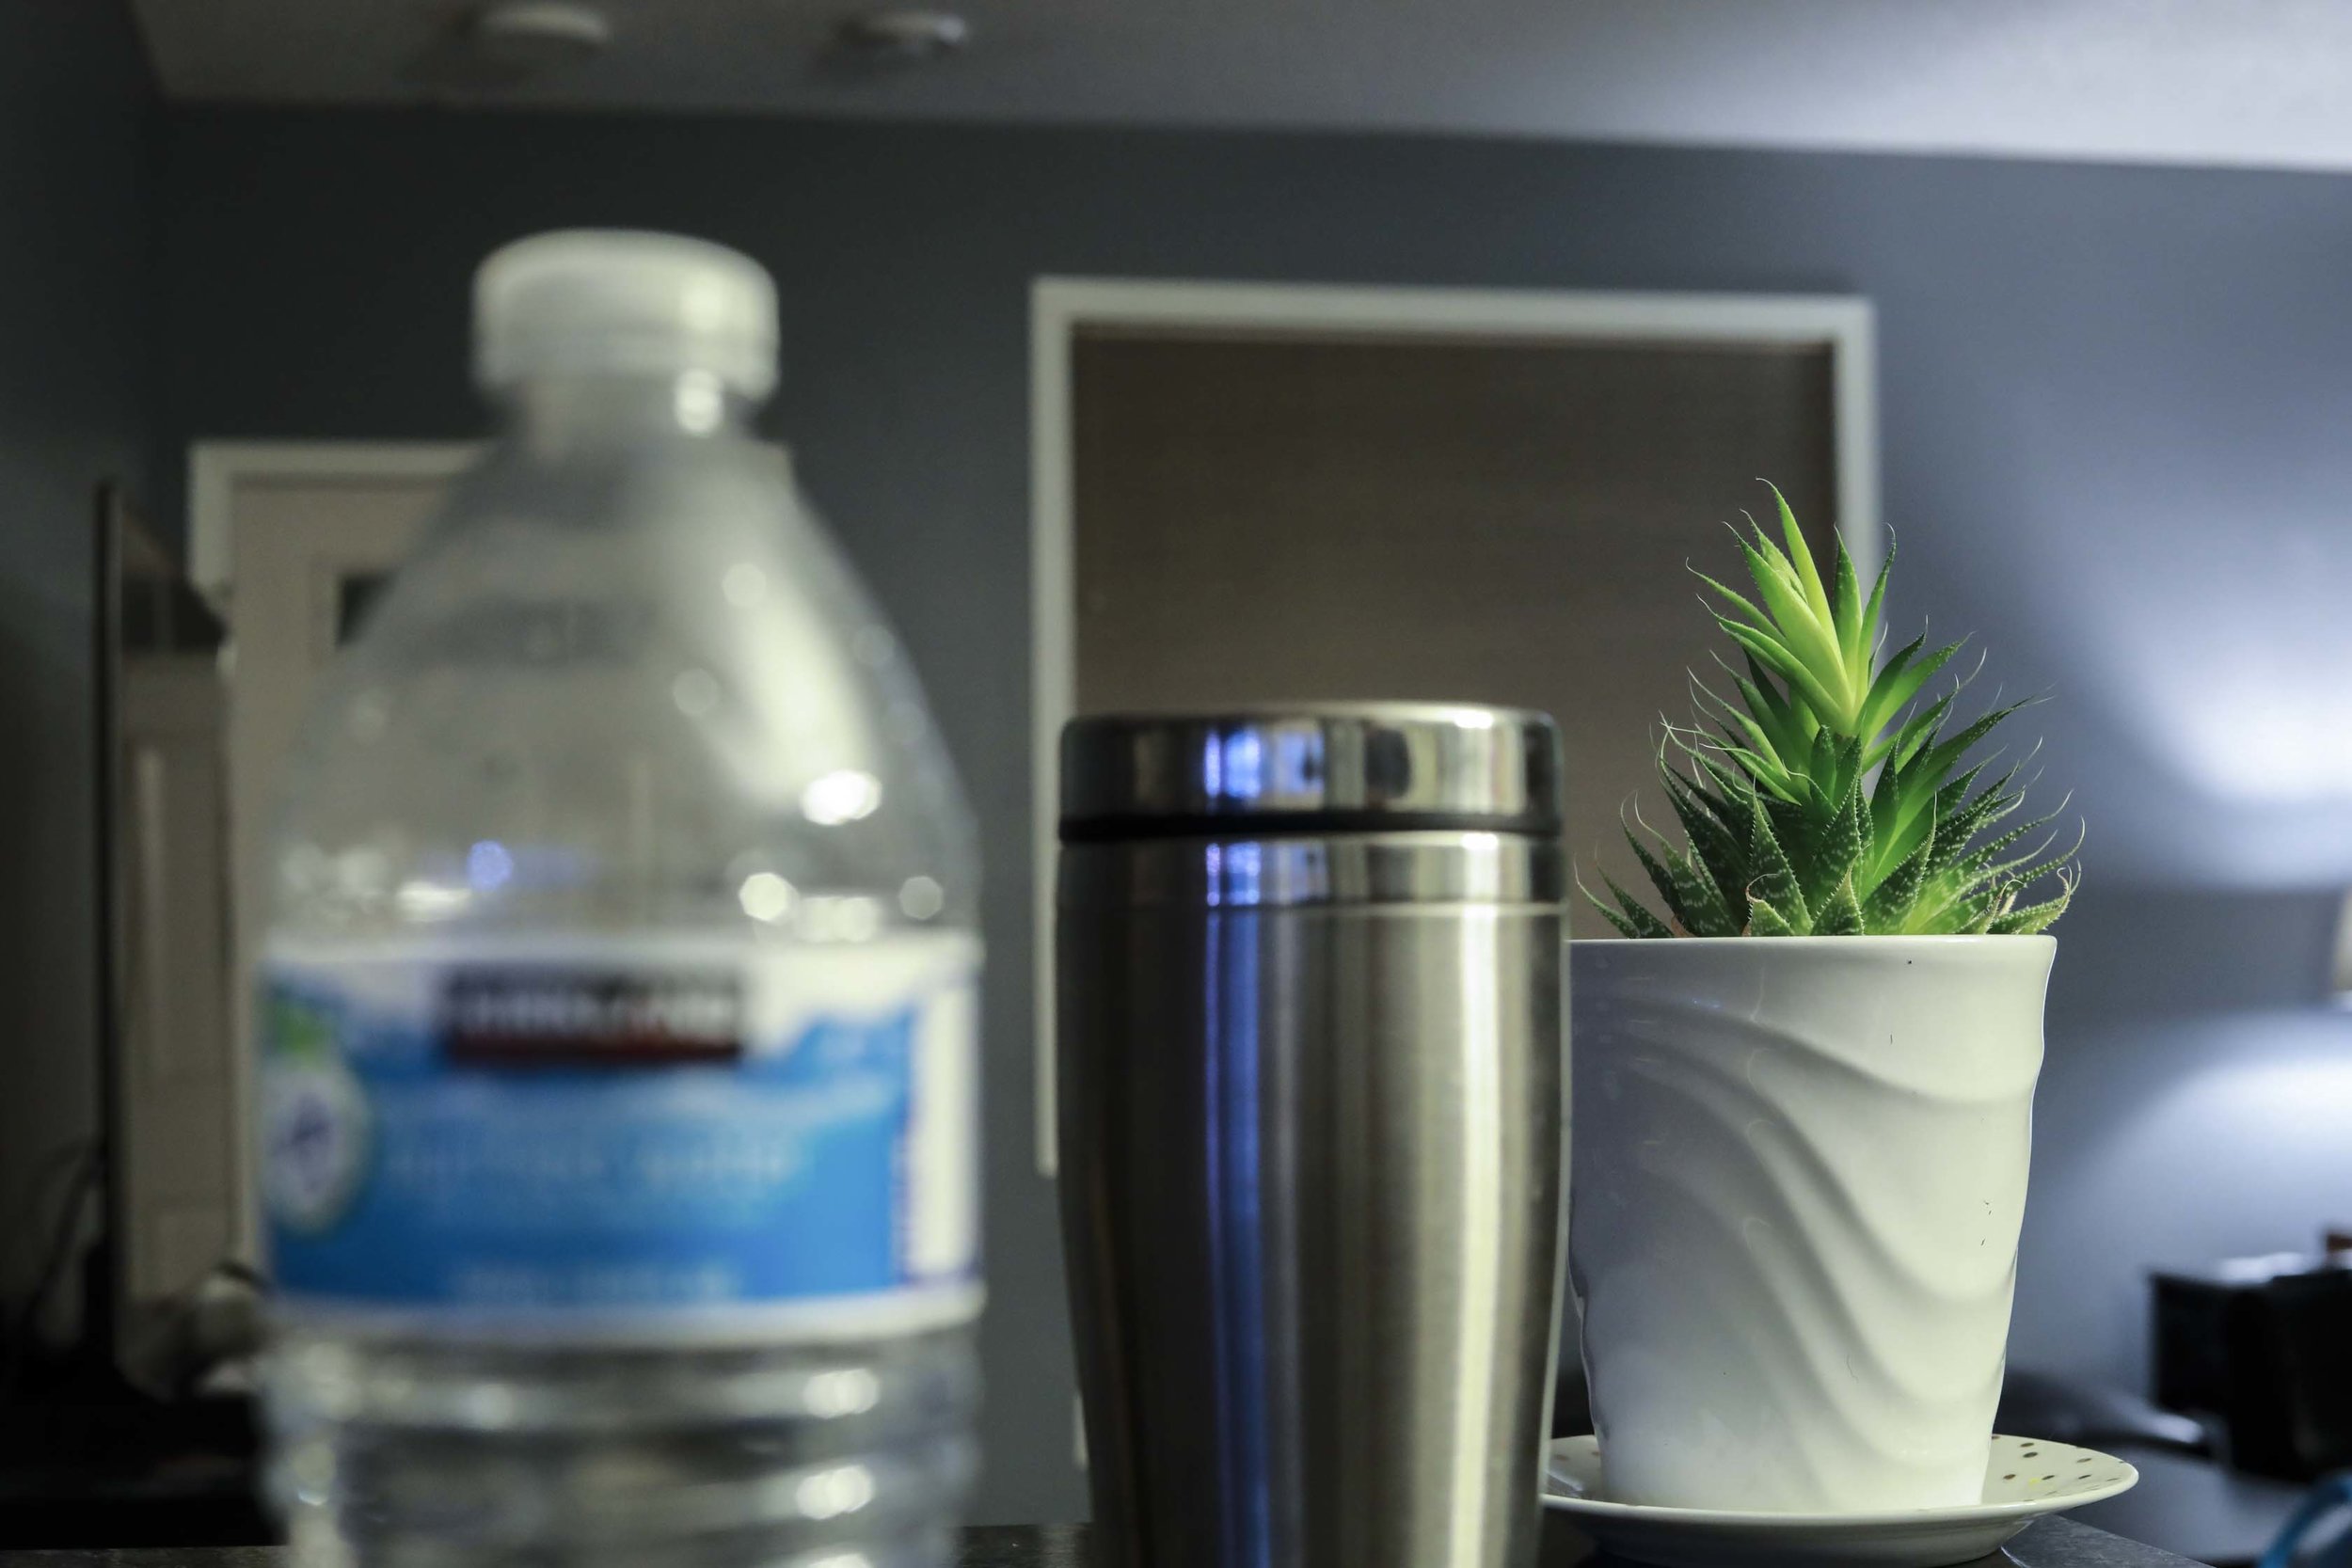
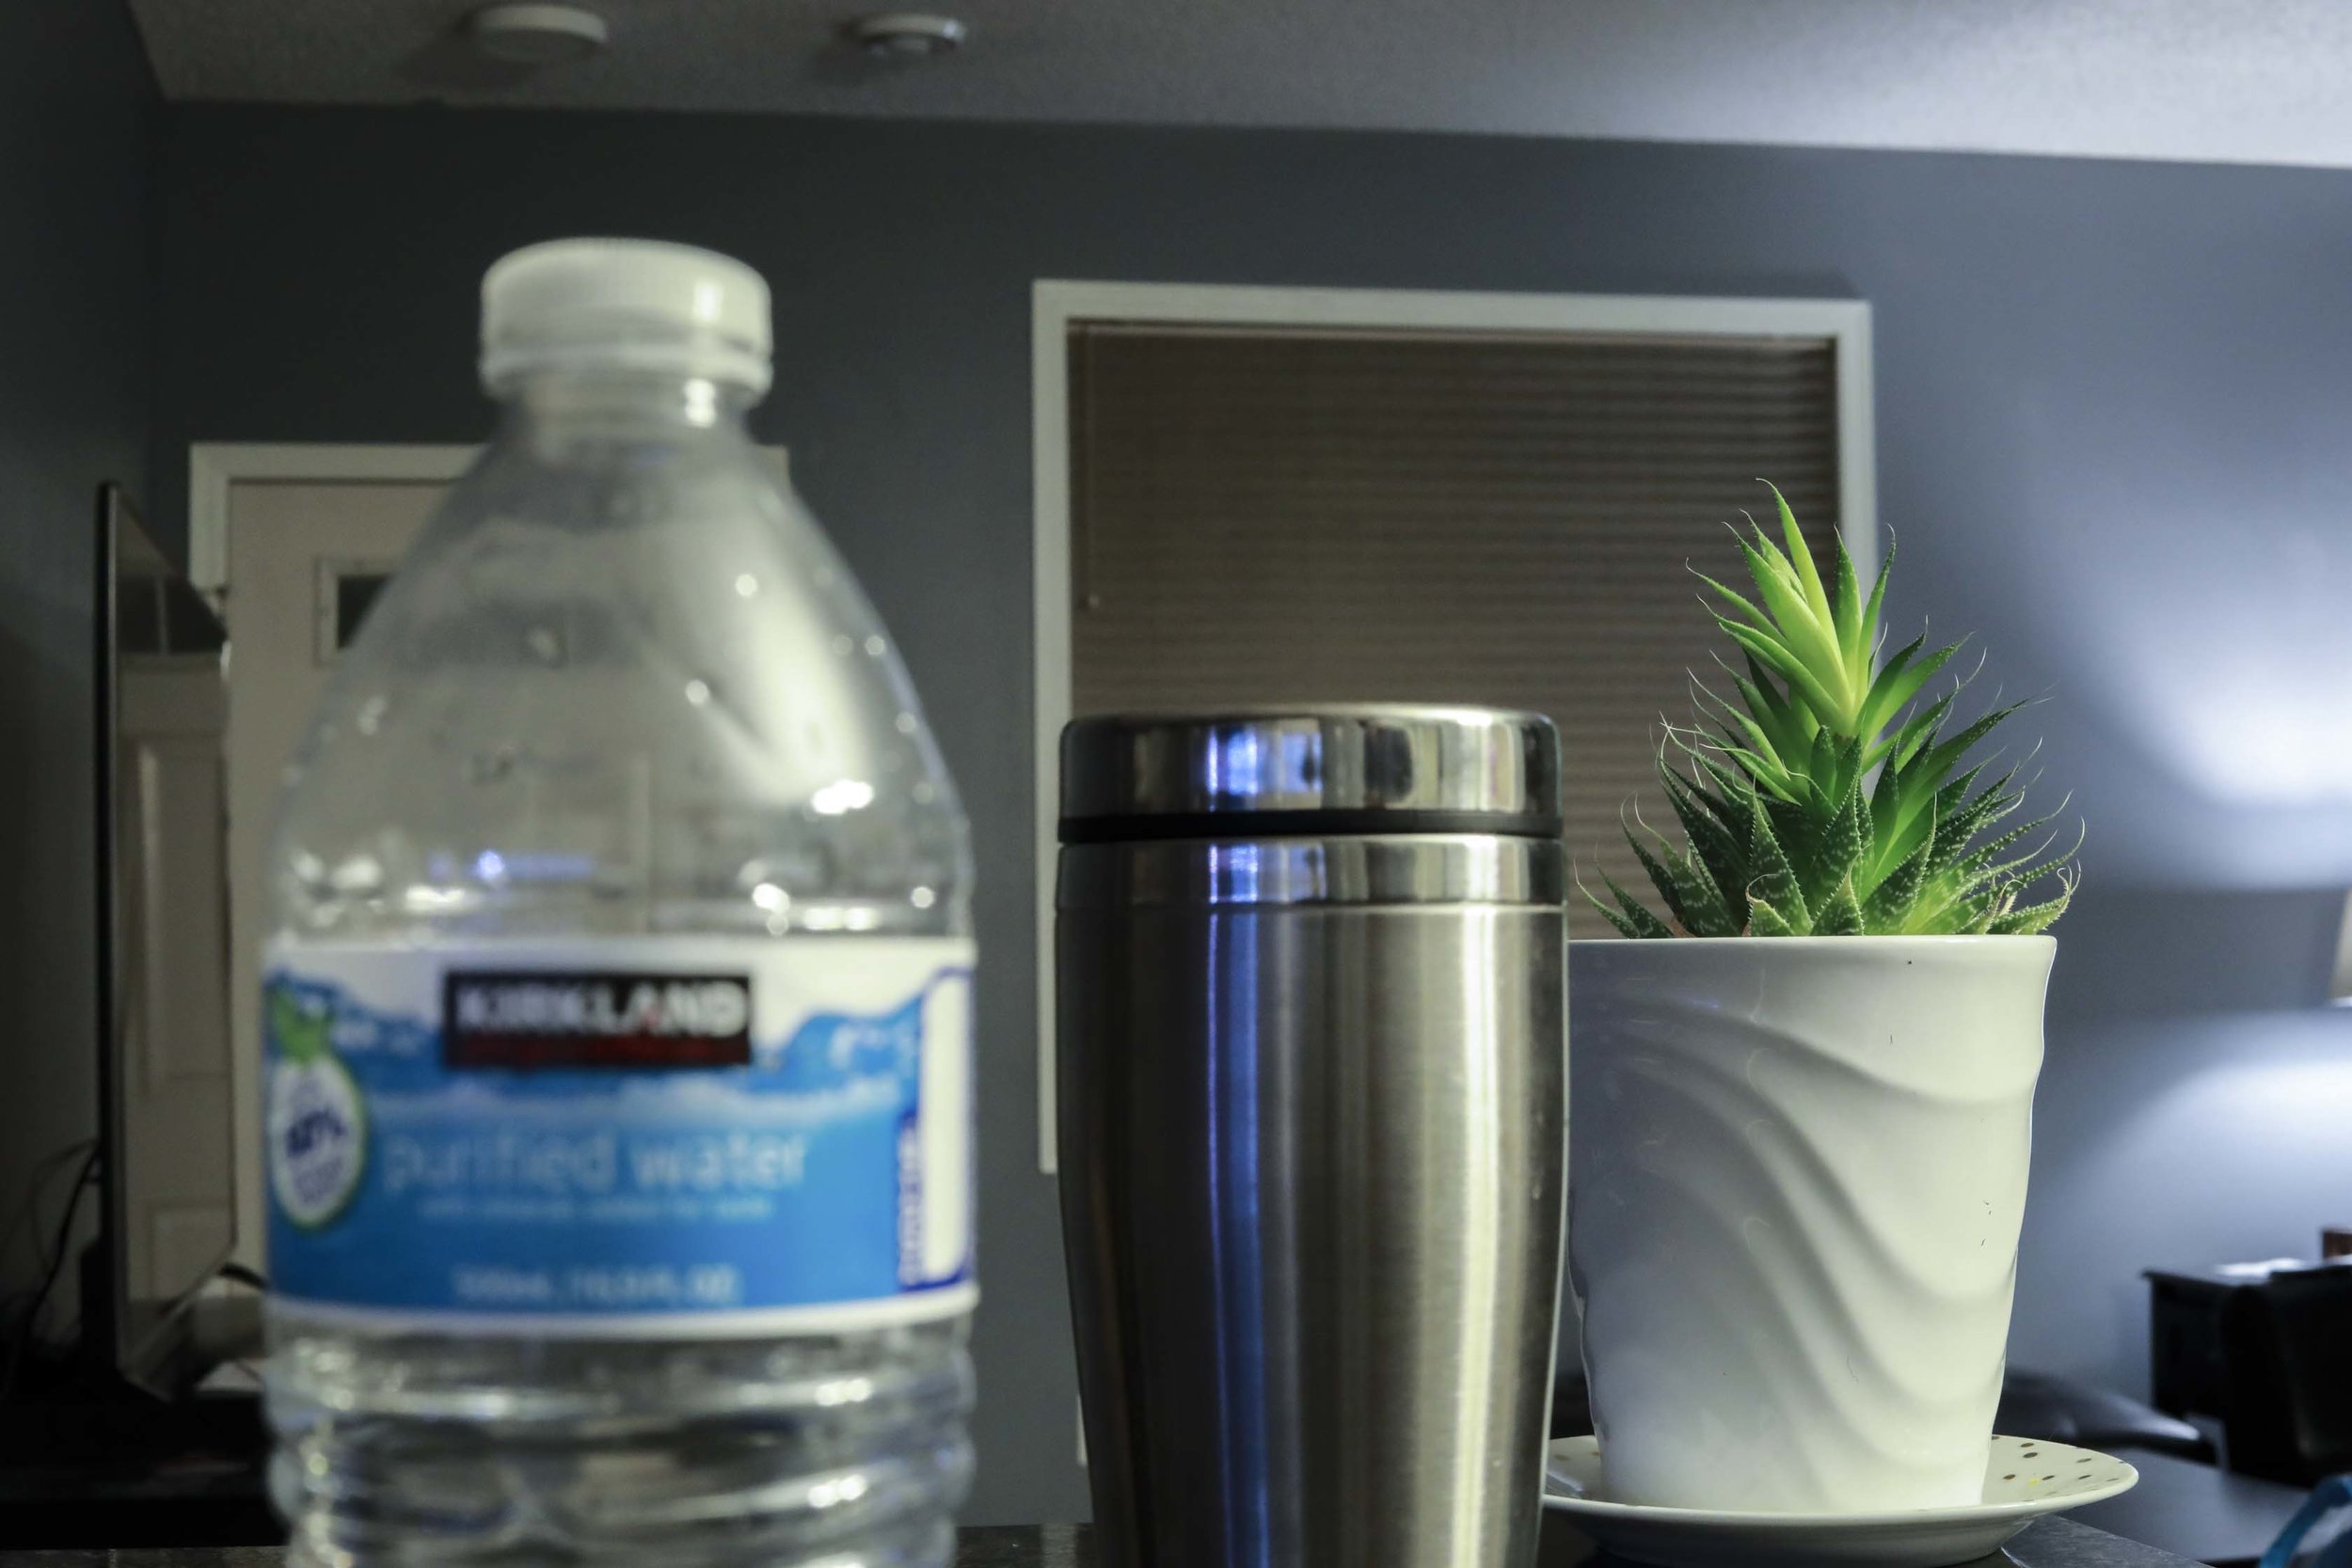
Scene 1
From left to right (all photos) - f4 (1/20s ISO 4000) , f8 (1/5s ISO 4000), f16 (.8s ISO 4000)
Reflection
The shot that best demonstrates Selective Focus is the shallowest (f4) shot of the thermos. I believe it best demonstrates the effectiveness of isolating a subject even among other neighboring objects in a scene. This makes for a very powerful method when trying to bring attention solely to your subject.
The shot that best demonstrates Maximum Depth of View is the last (f16) shot of the plant. Not only can you almost read what’s on the bottle in front of the lens, but you can see the TV, door, and fixtures on the ceiling (which you couldn’t see in most other shots). Maximum depth of view shots are very useful for showing the viewer most everything in frame - landscape shots might be particularly useful in maximum depth of view.


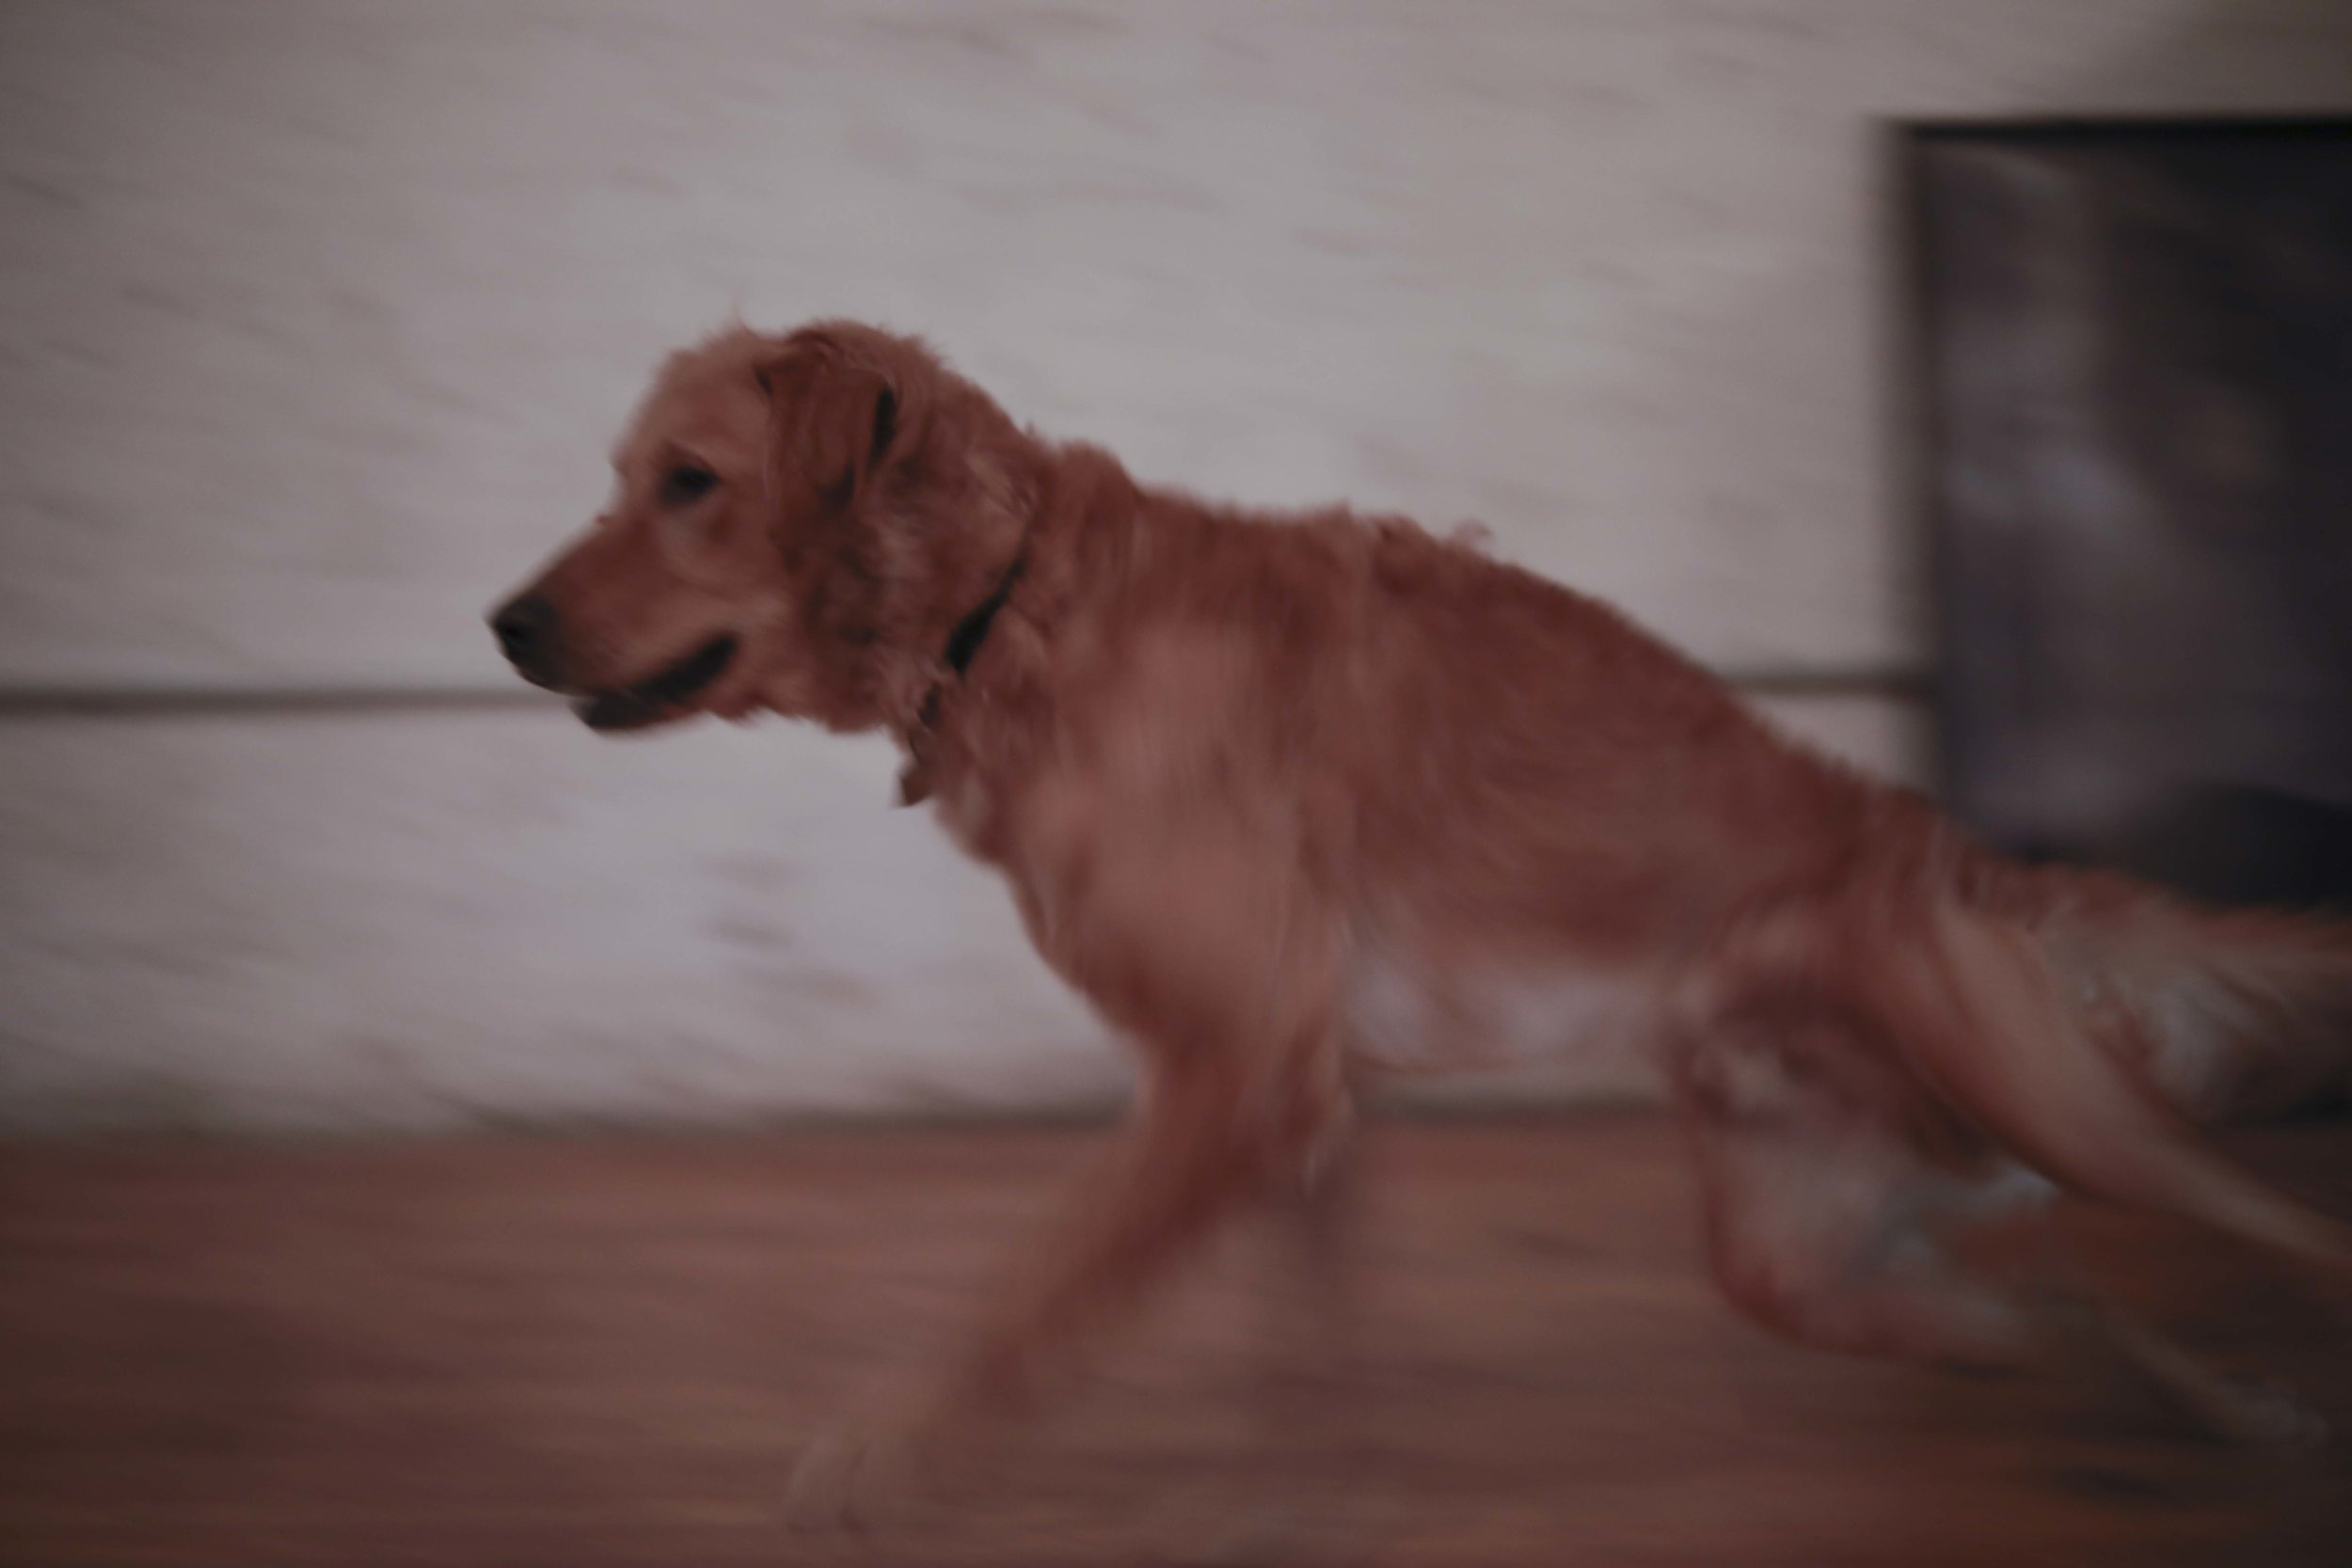
Scene 2
In this scene I took a picture of Cooper at - f2 (1/60s ISO 800) , f4 (1/60s ISO 3200), f8 (1/30s ISO 6400)
Reflection
I like the first photo (f2) the most because it brings all the attention to Cooper and away from the trees in the background. The photo is so shallow his ears are slightly out of focus which I think looks great.